Set up your Active Directory connection
Create the LDAP connection the RDS Proxy uses to authorize Active Directory groups and publish AD computers.
← Back to: Use Active Directory with your RDS Proxy
The RDS Proxy does not need the appliance to join the domain with NTLM or Kerberos. It only needs an LDAP connection to Active Directory, and that connection can use a read-only account.
- Make sure the Active Directory feature is installed (Your system » Features).
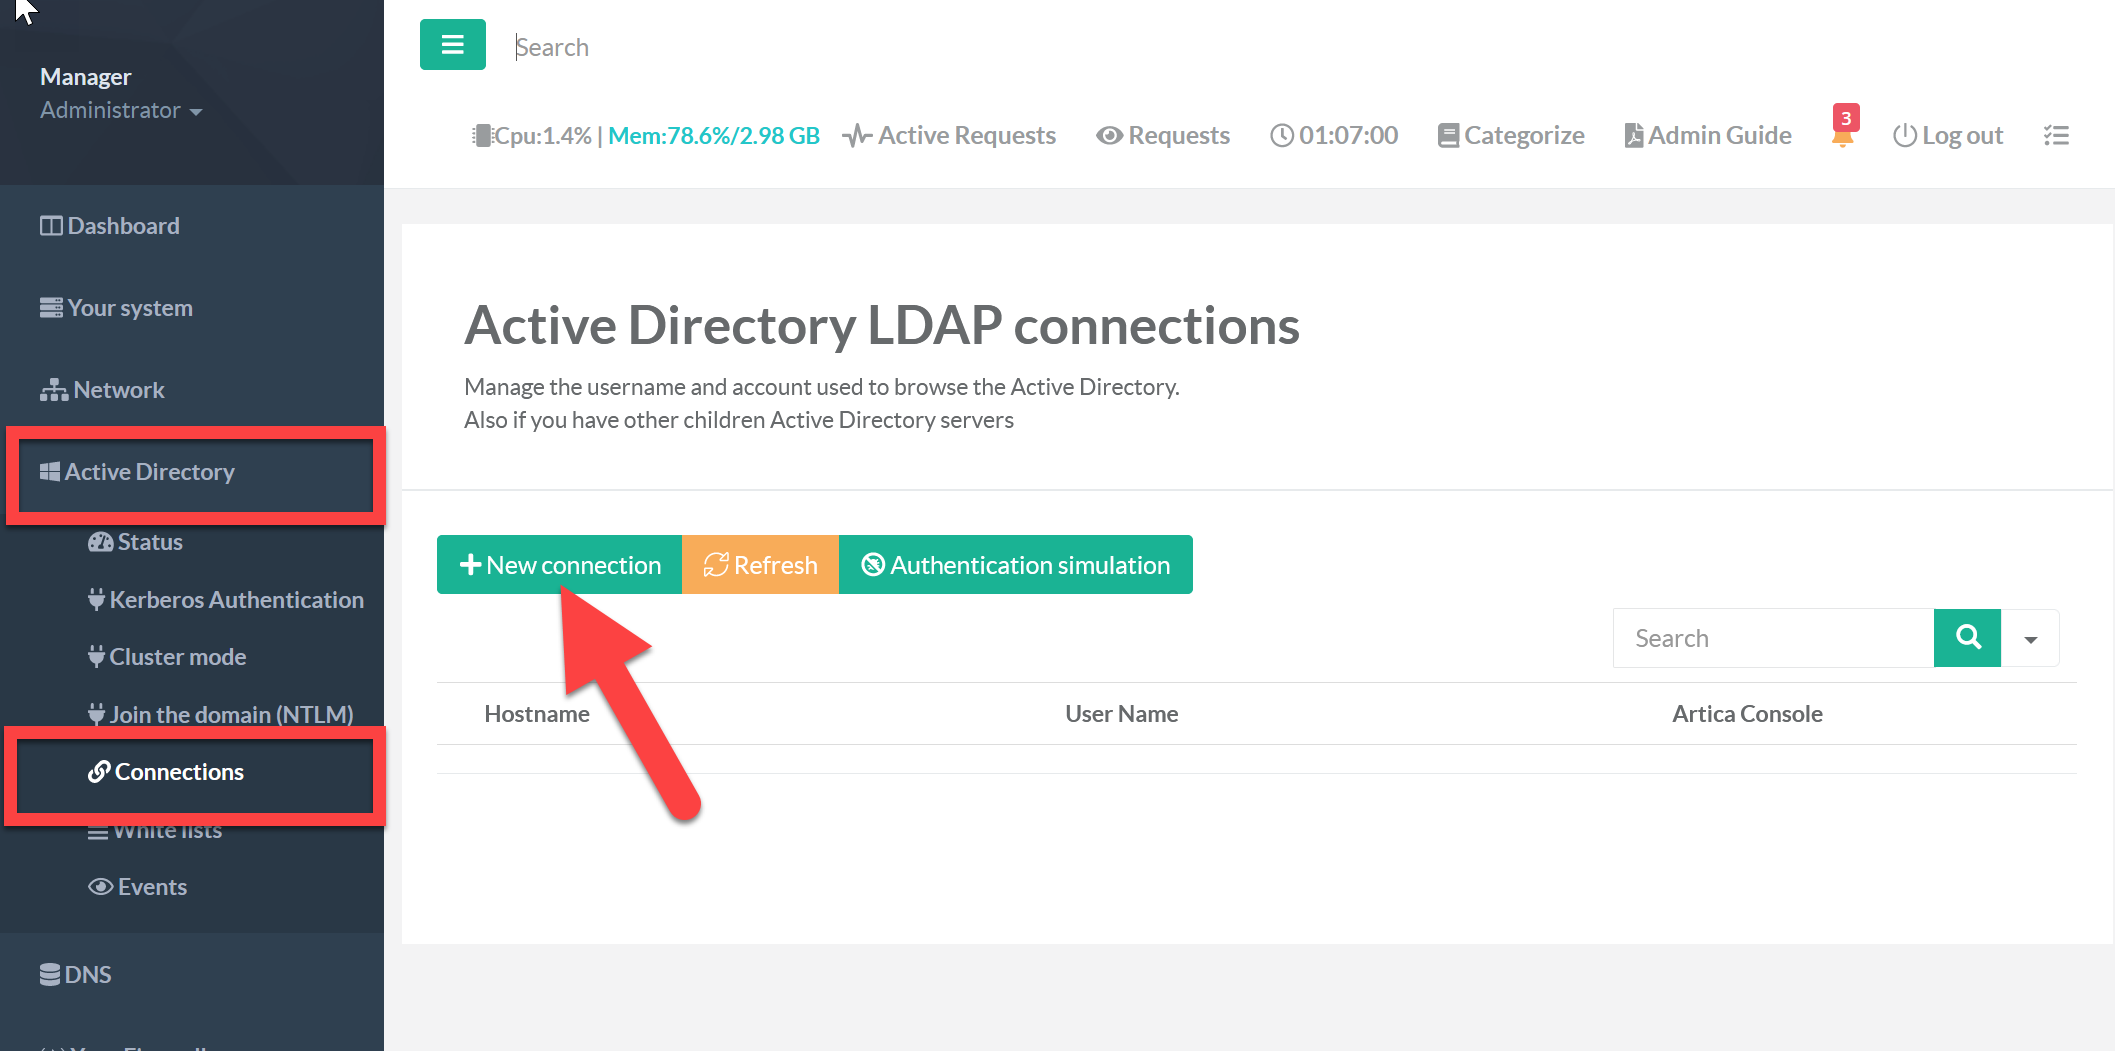
- On the left menu, choose Active Directory » Connections.
- Click New connection.
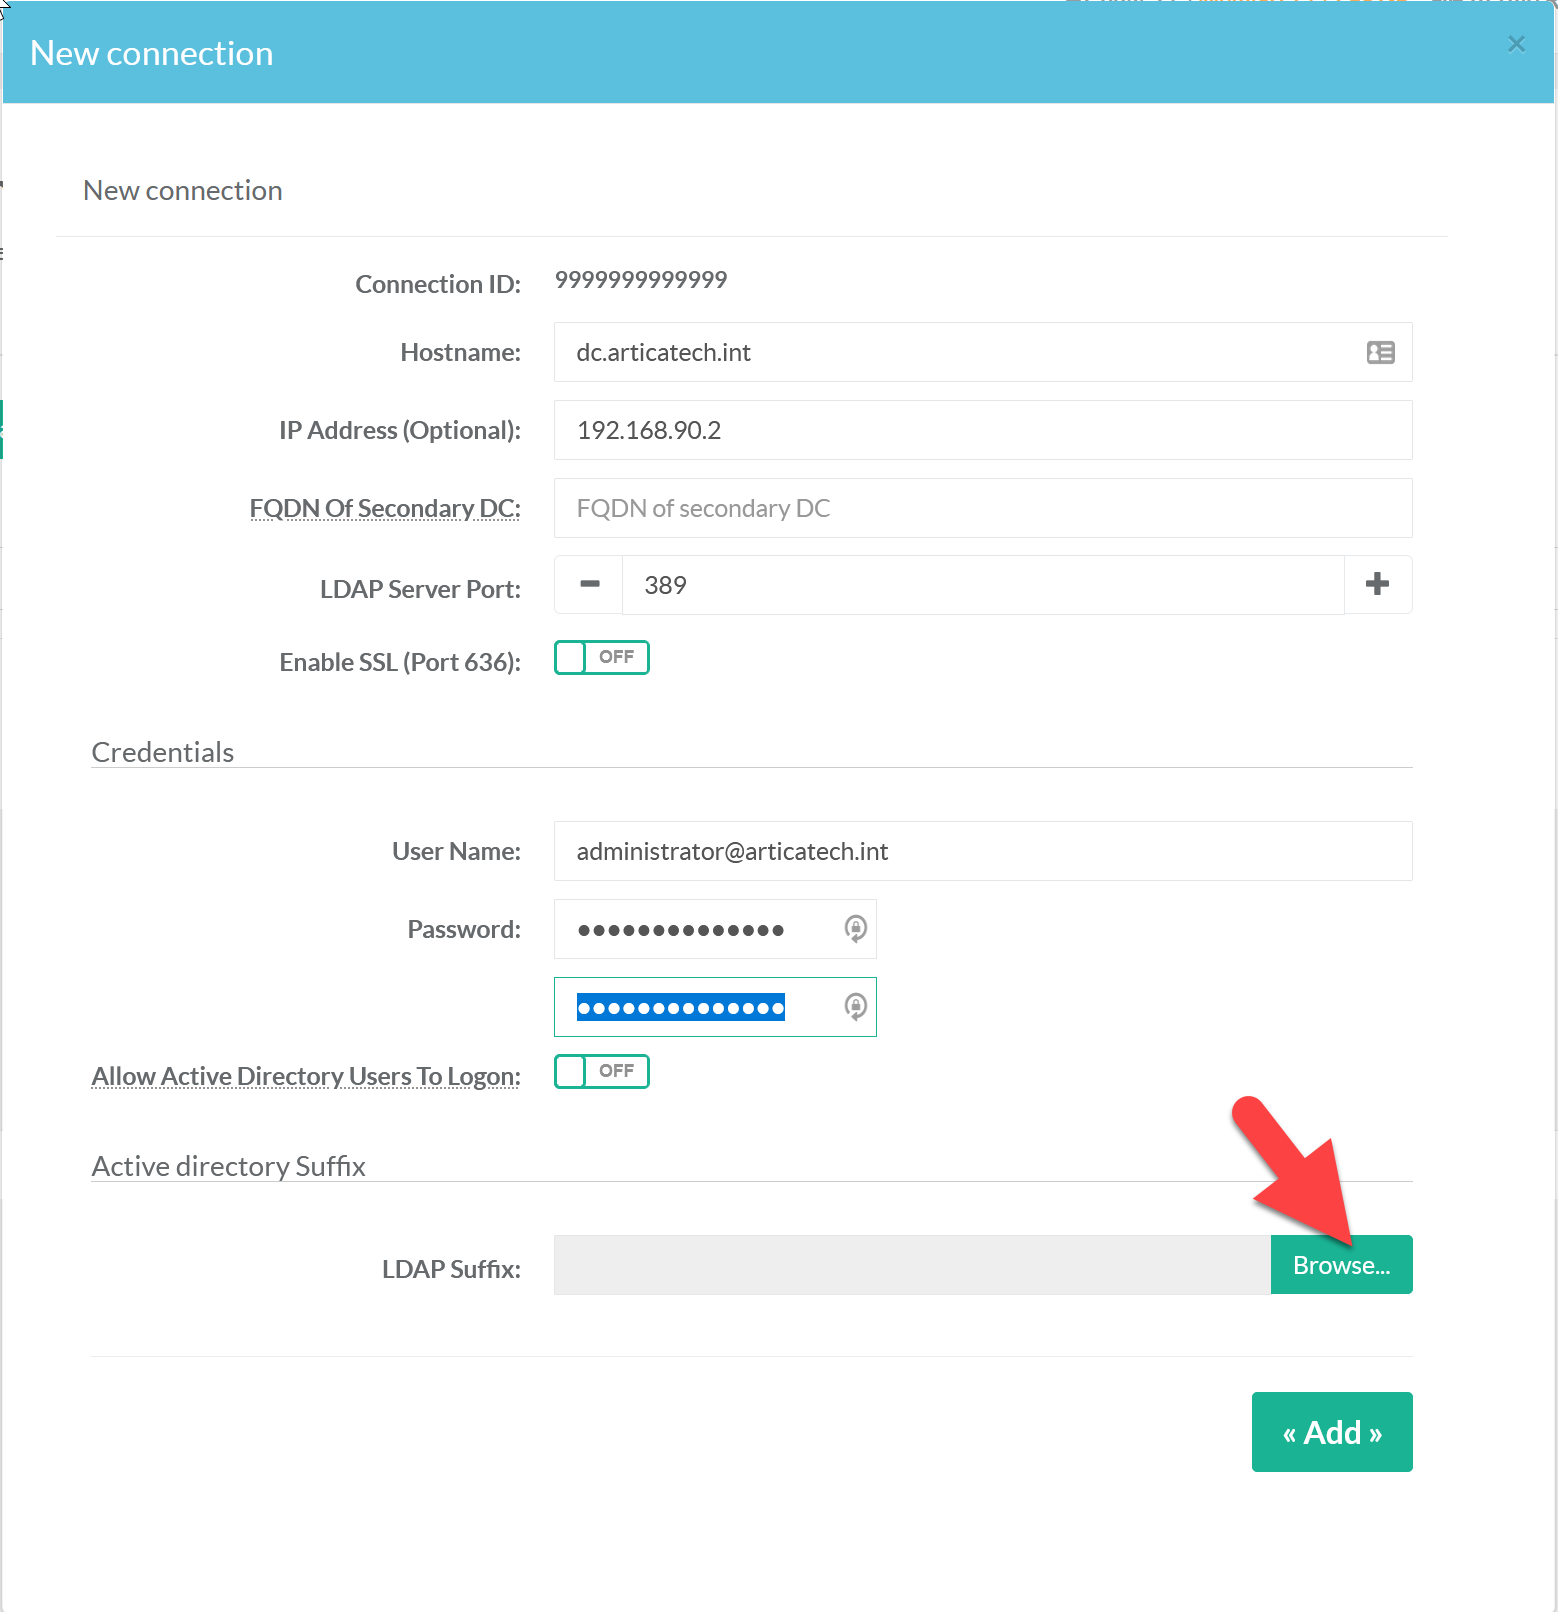
| Field | Value |
|---|---|
| Hostname | The full host name of the domain controller. |
| IP address (optional) | Set it if the appliance cannot resolve the host name. |
| FQDN of the secondary DC | Not needed for the RDS Proxy. |
| LDAP server port | The non-SSL LDAP port (389 by default). |
| Enable SSL (port 636) | Forces LDAPS on port 636. |
| User name and password | An account allowed to query the directory. Read-only access is enough. |
| Allow Active Directory users to log on | Must be enabled: it lets Active Directory users authenticate on the gateway. |
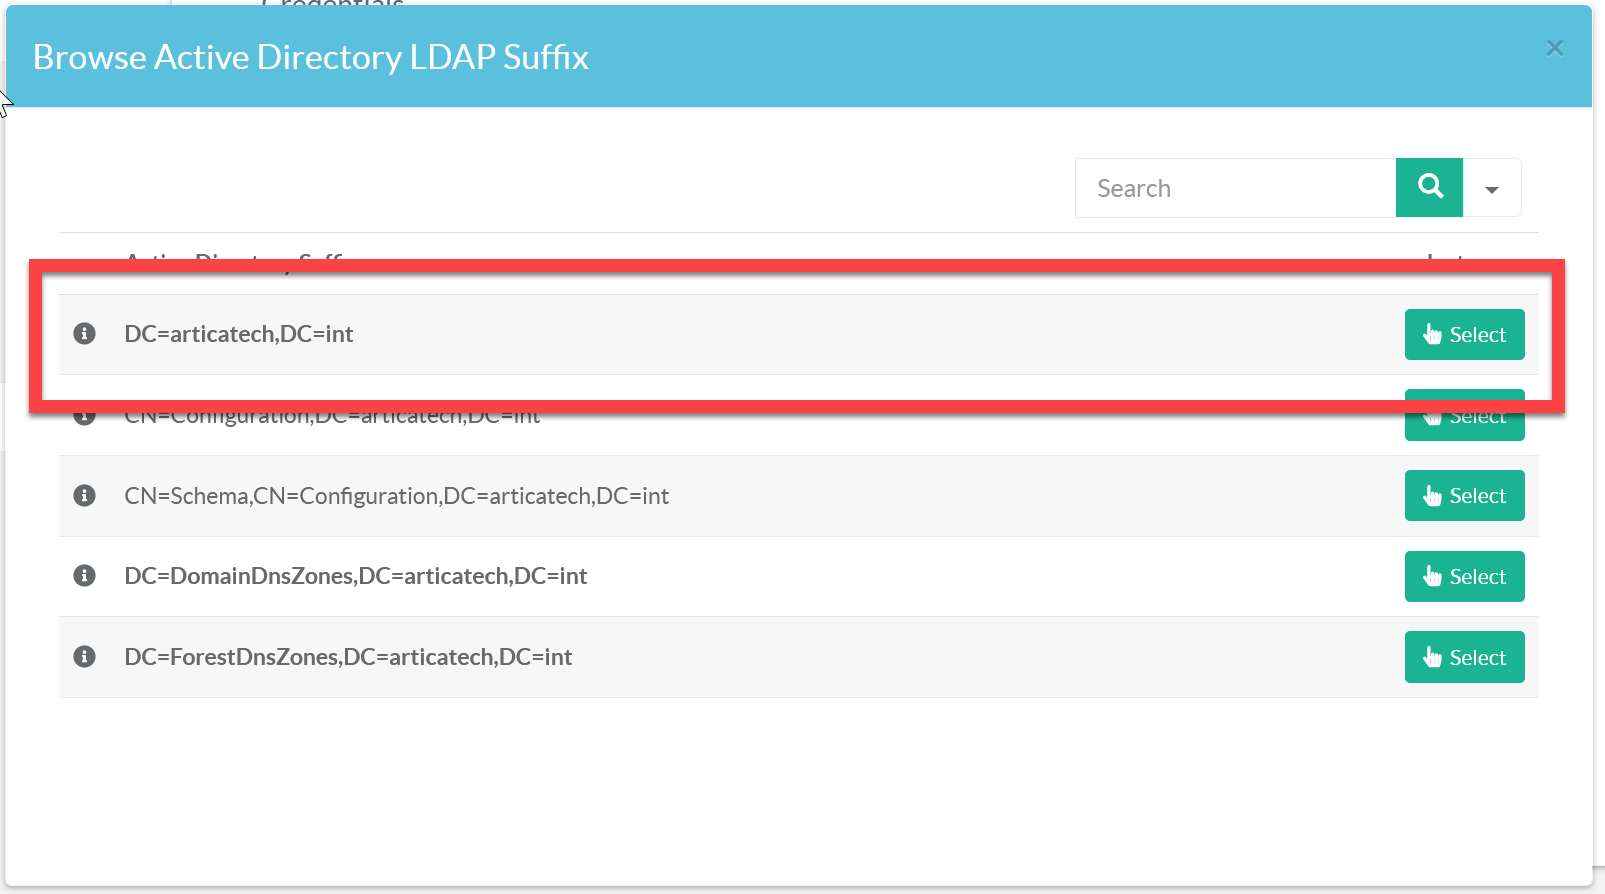
Save, then check that the connection status is green.
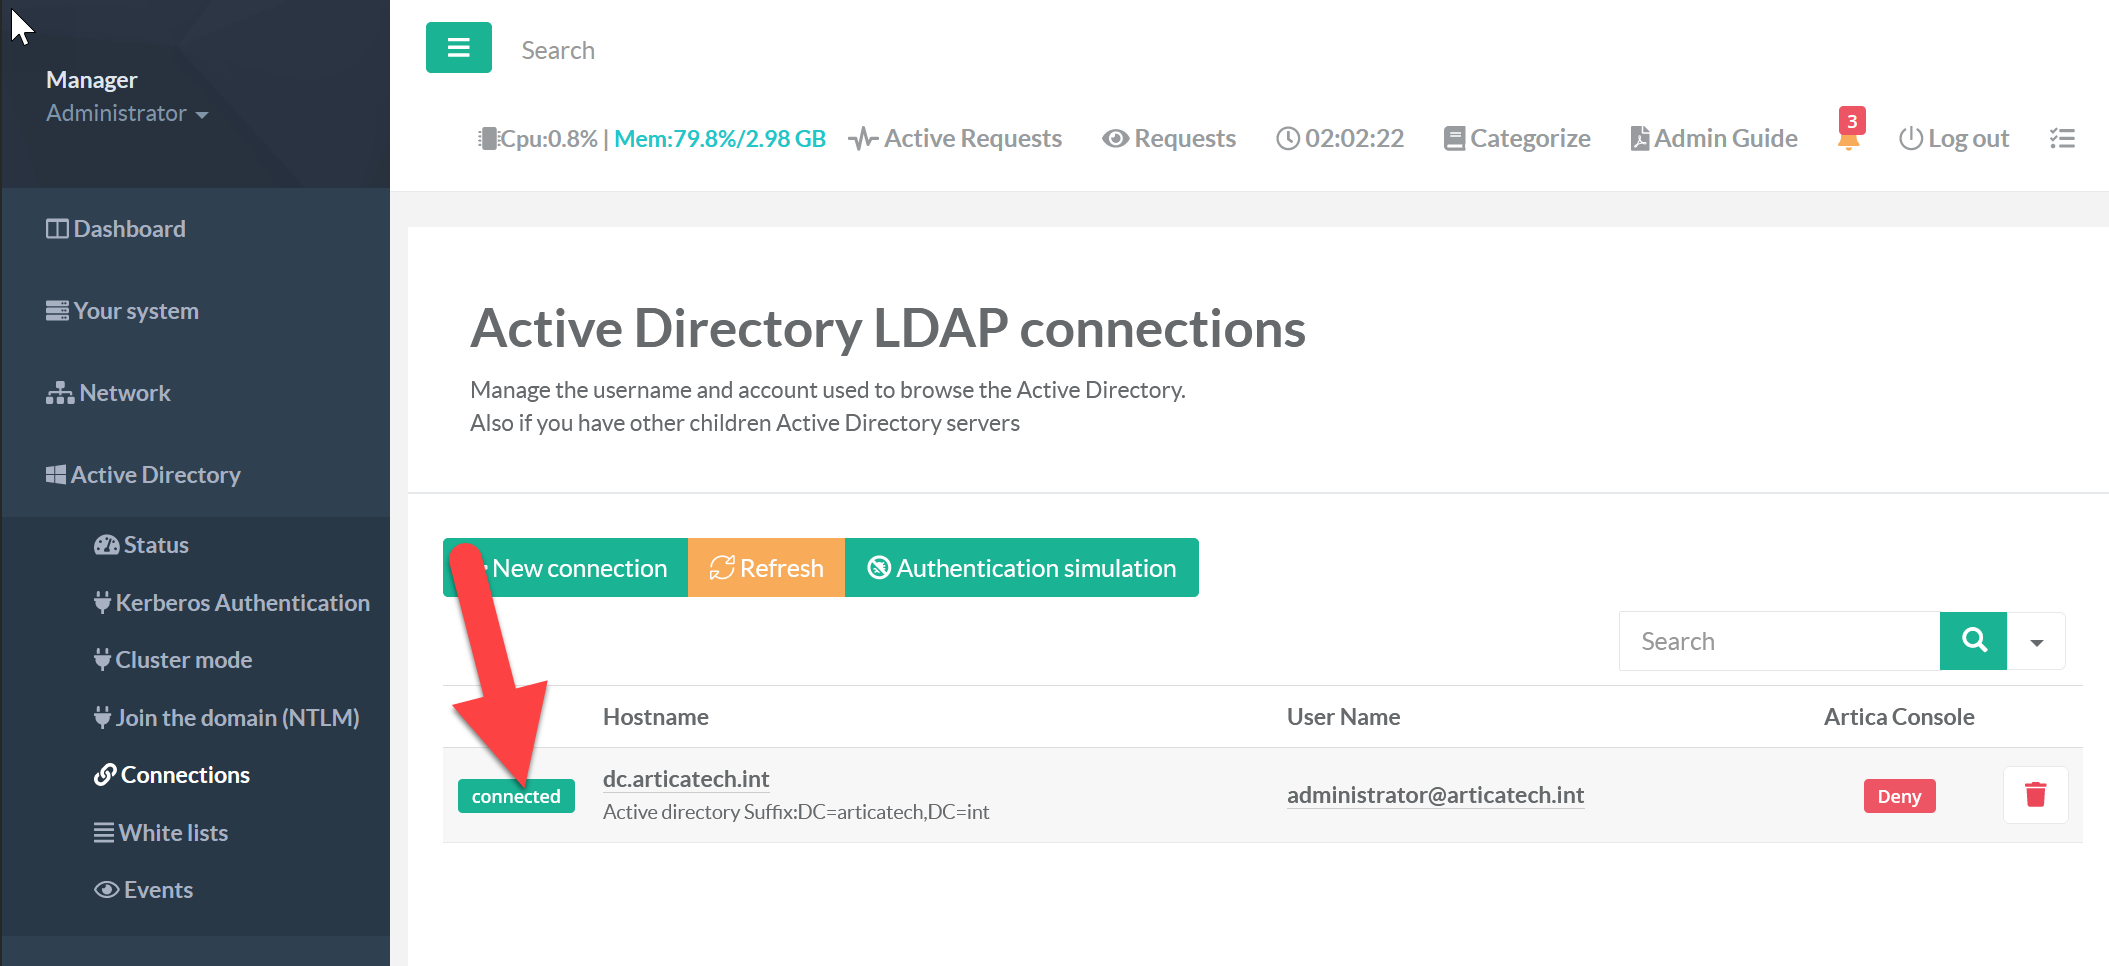
You can now authorize Active Directory groups in the Members tab and publish AD computer groups in the Targets tab.