Create a support ticket using the Artica Web console
Simplify and integrate our support portal directly into Artica servers to save our customers time.
These days, good customer service is one of the keys to a product's success and reputation. At Artica, we're well aware of this, and we're always trying to offer better support to our customers.
With this in mind, we have decided to simplify and integrate our support portal directly into Artica's servers to save our customers time.
Setup
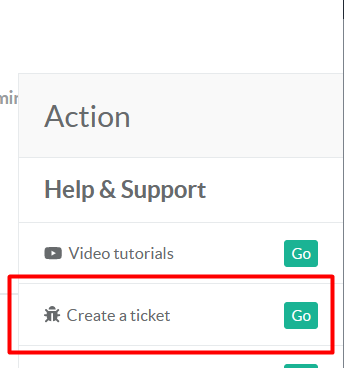
- On Artica Top menu, click on right icon to open the sidebar

- Click on the menu
Create a Ticket
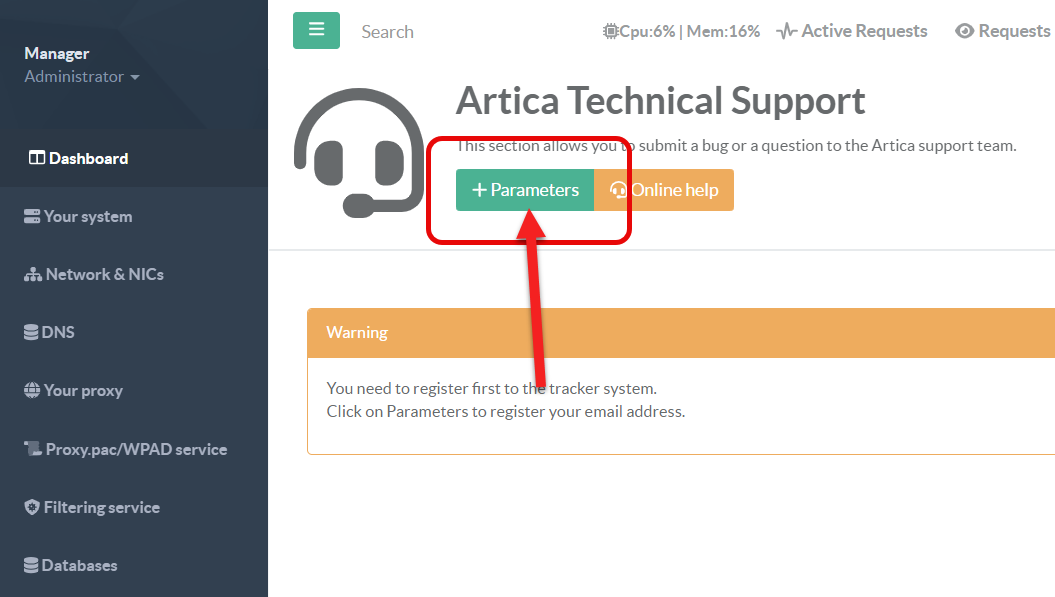
- Click on
Parametersbutton.
- Set your email, first and last name and your security code.
if you don't have a security code don't worry, proceed anyway way, at the end of the process the system will send you a security code to your email
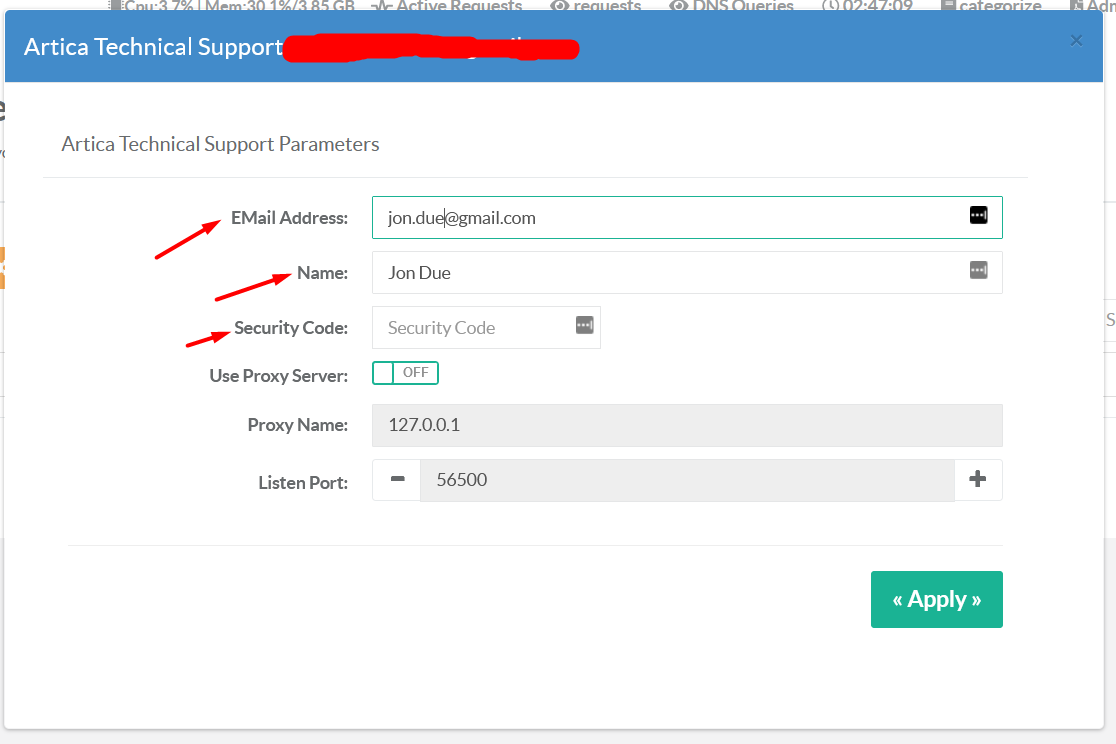
- Click Apply
- If you proceed without a security code, you will recieve a “
Please check your email” message.
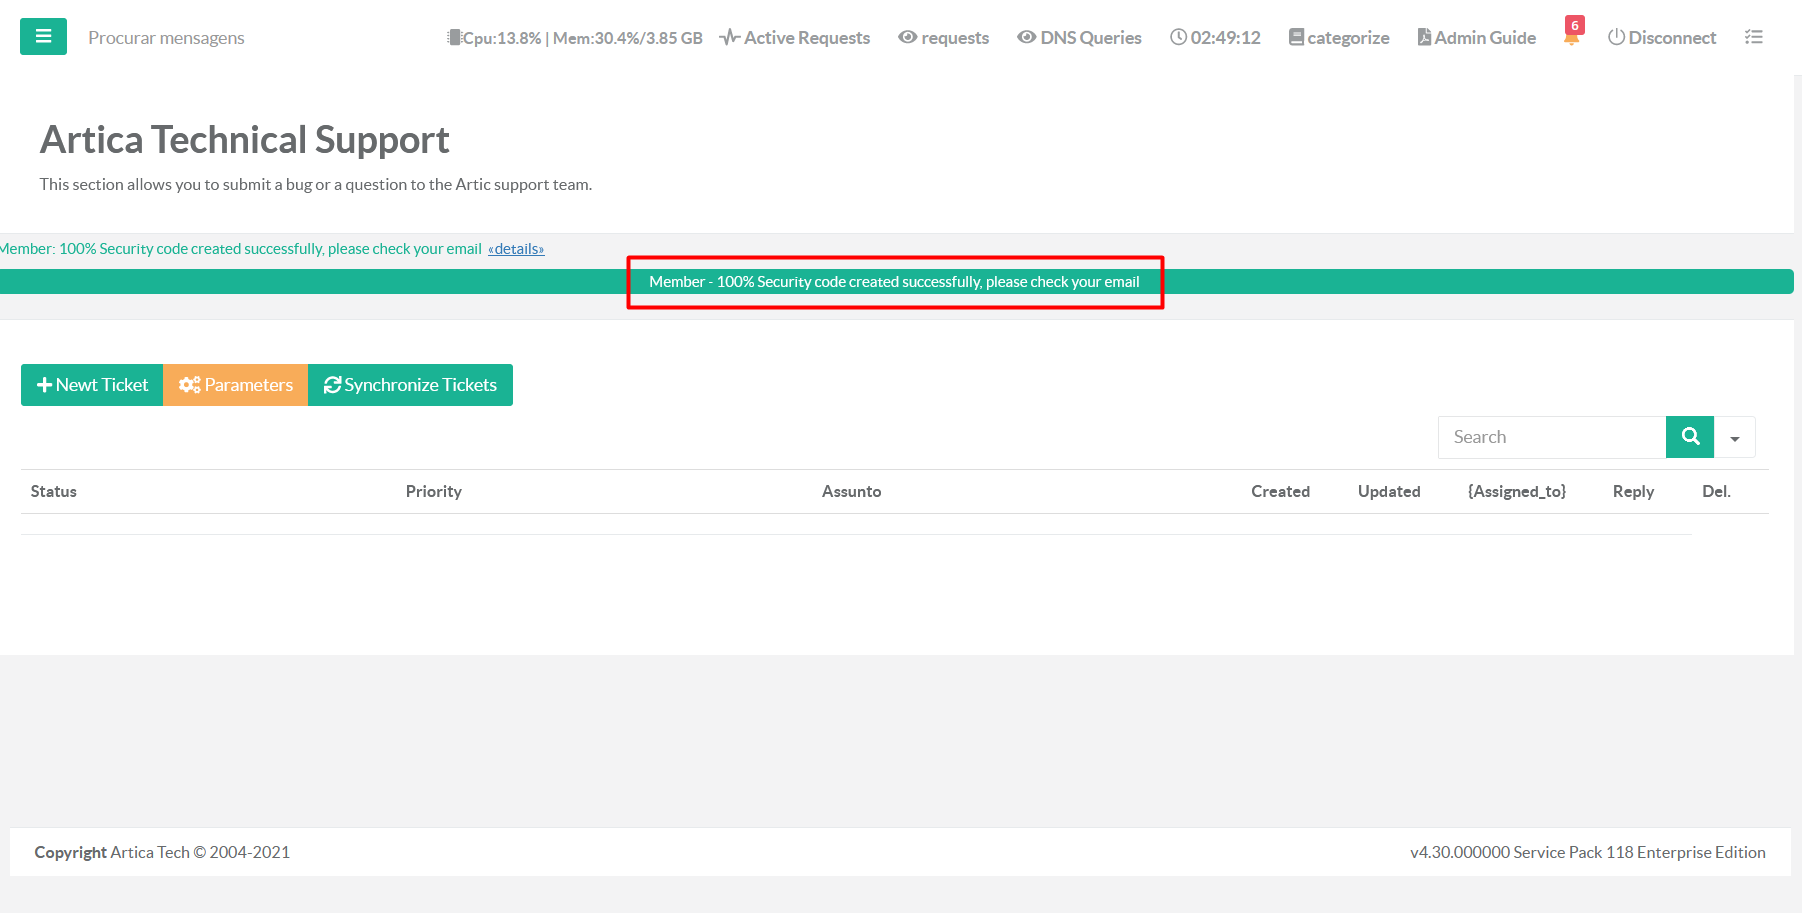
- Go to your email and copy the security code.
Sometimes the message goes to the spam box.
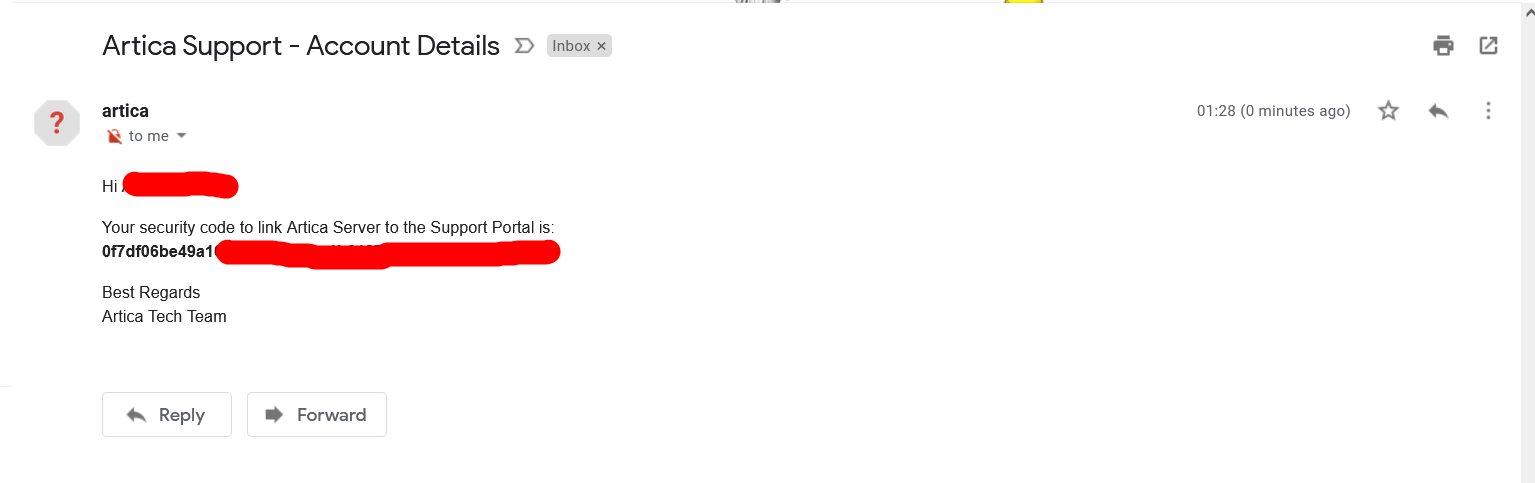
- Click on Parameters button again, paste your Security Code and click Apply
Tickets List
In main table you can find all the tickets created using your account, through the Artica Server, directly in support portal or by email.
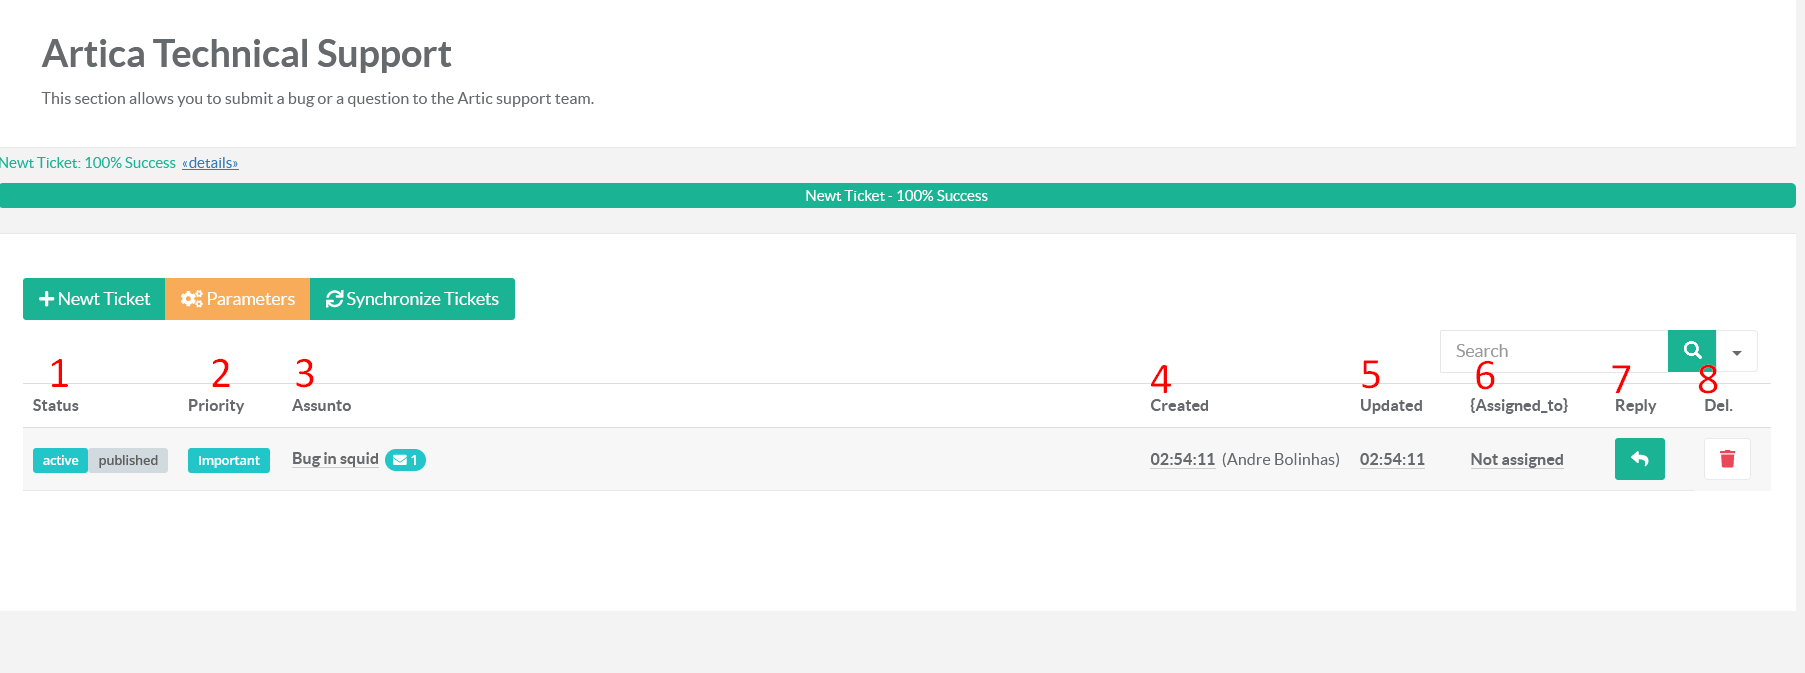
- Status and State of the ticket, the Status could be Active, Pedding or Closed and the State could be Published or Deleted.
- The Priority of the ticket.
- The Subject of the ticket and the number of messages.
- The date and the person who create the ticket.
- The date of last update of the ticket.
- The Artica member who is in charge of the ticket.
- The option to reply to the ticket.
- The option to delete the ticket.
Update the Tickets List
Click on the button Syncronize Tickets to update all information.

Create a Ticket
- Click on New Ticket button

- Select the Priority of the ticket
- Type the Subject
- If you want to attach the support tool to the ticket, enable the option Upload the support tool
- Describe your issues / question in Comment textarea.
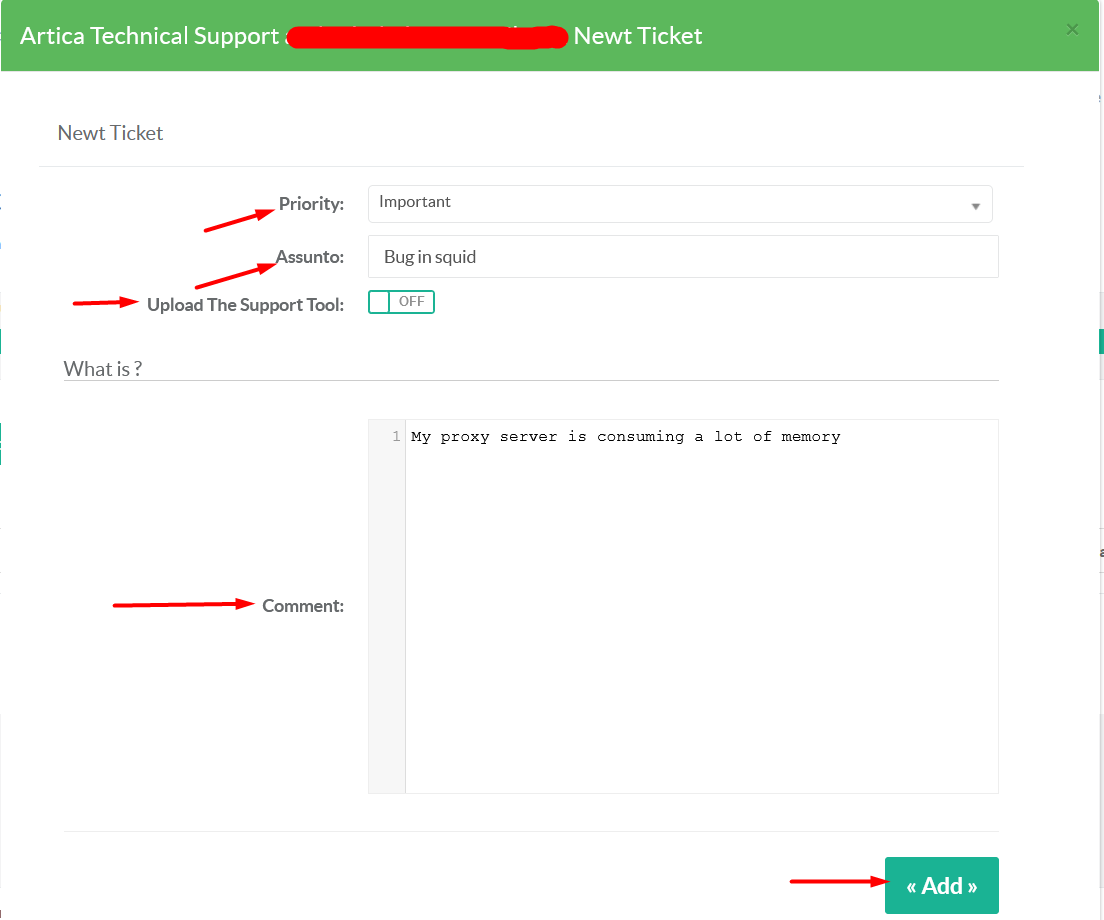
- Click Add
Show Ticket Timeline
From main list, click on the Subject of the ticket that you want to open.
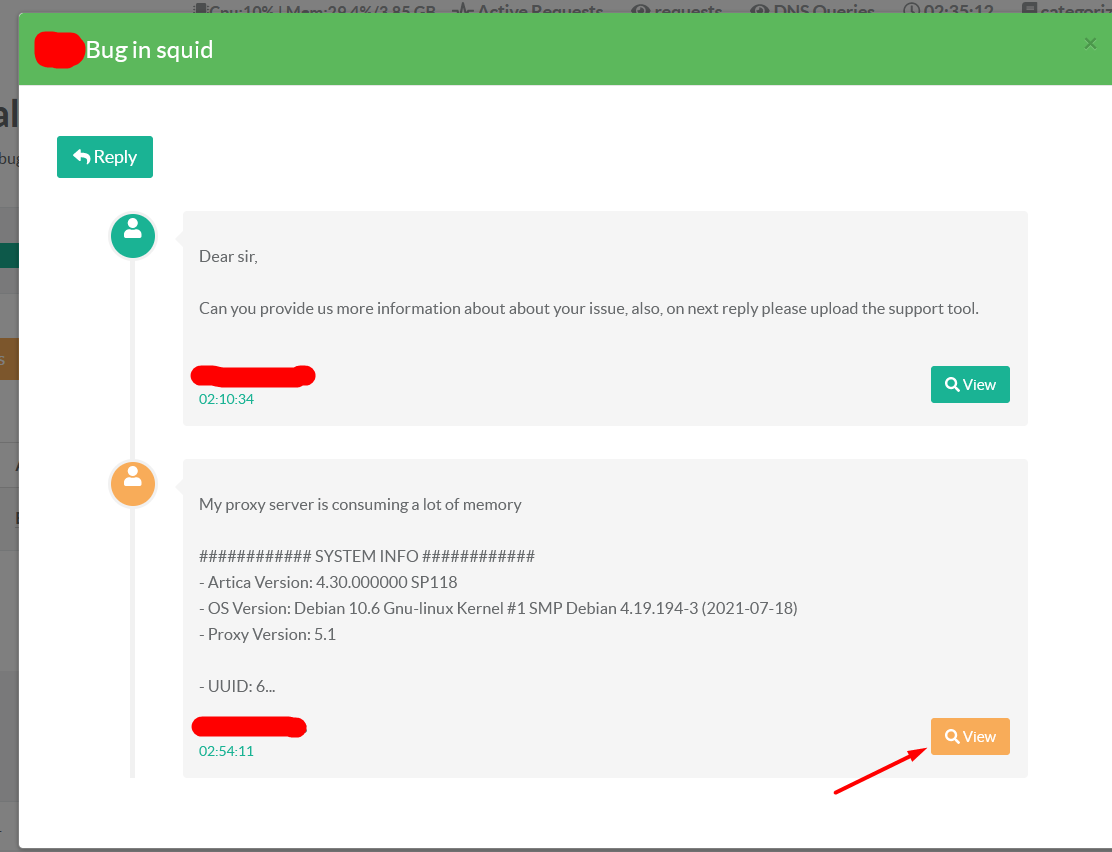
By default, in timeline the text is limited to 256 characters, to show the full message click on the button View.
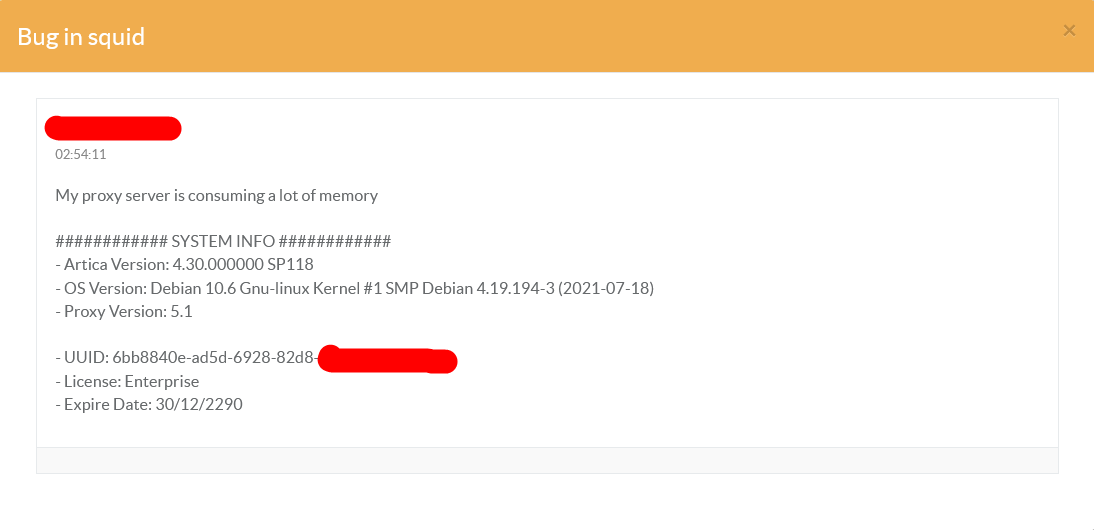
If a reply contains an attachment, you can download it from the timeline.
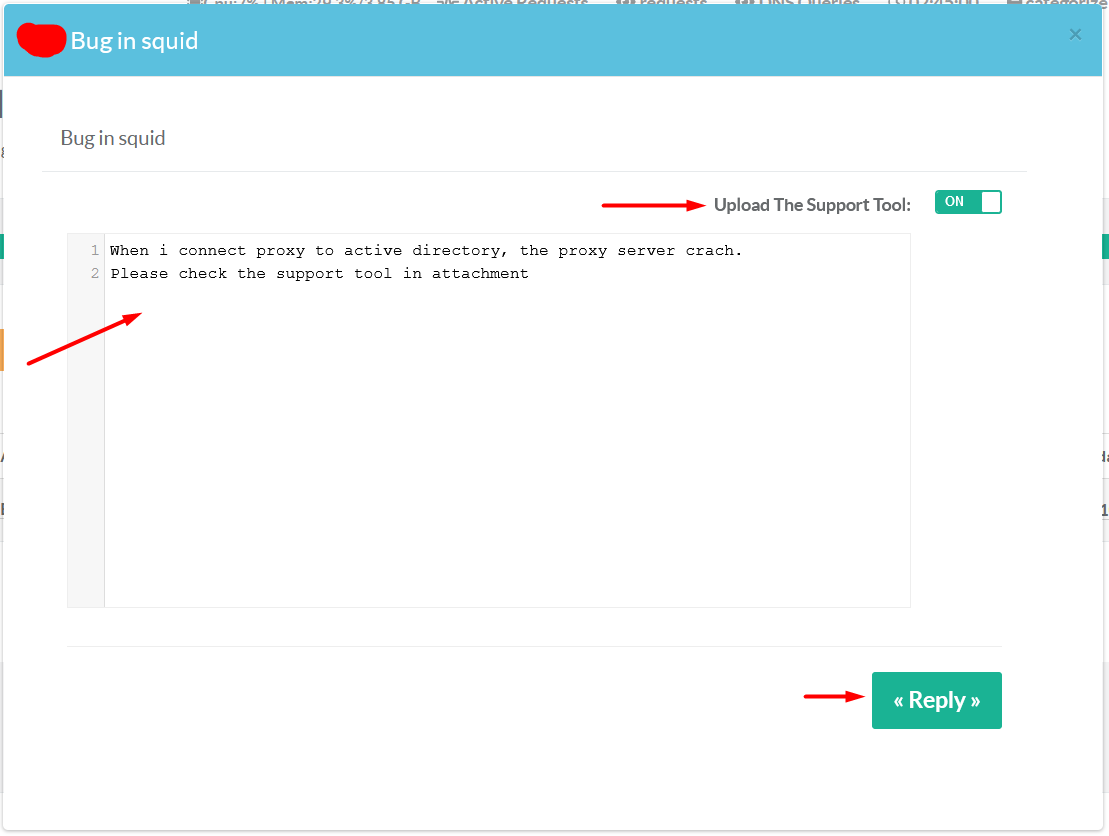
Reply to a Ticket.
You have two option to reply to a ticket:
- From main table

- From Timeline
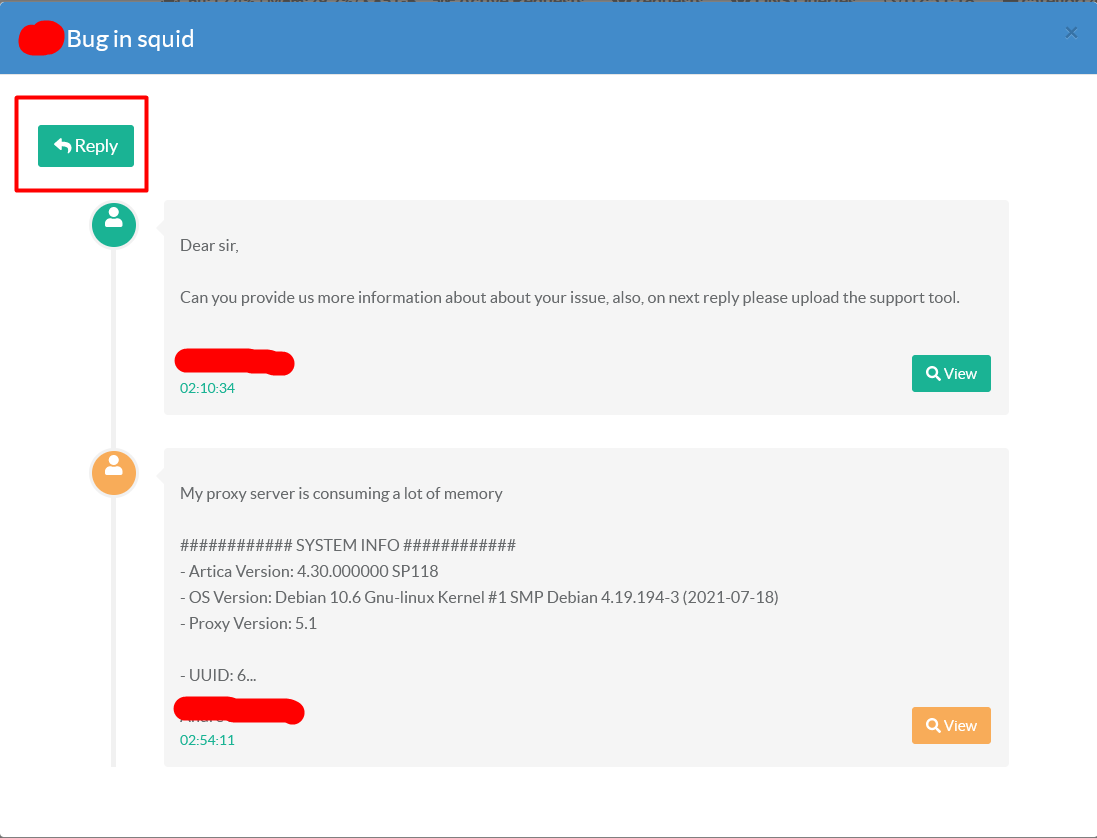
- If you want to attach the support tool to the ticket, enable the option Upload the support tool
- Write your reply inside the textarea.
Delete a Ticket.
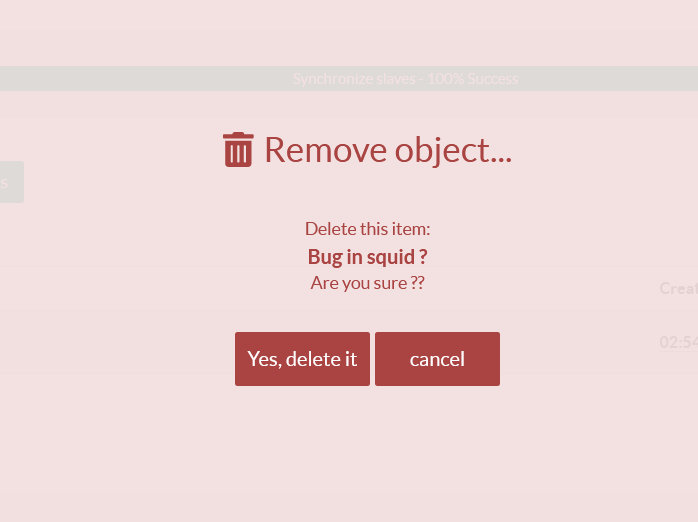
From main list, click on the button Delete and confirm the operation.

Delete Account
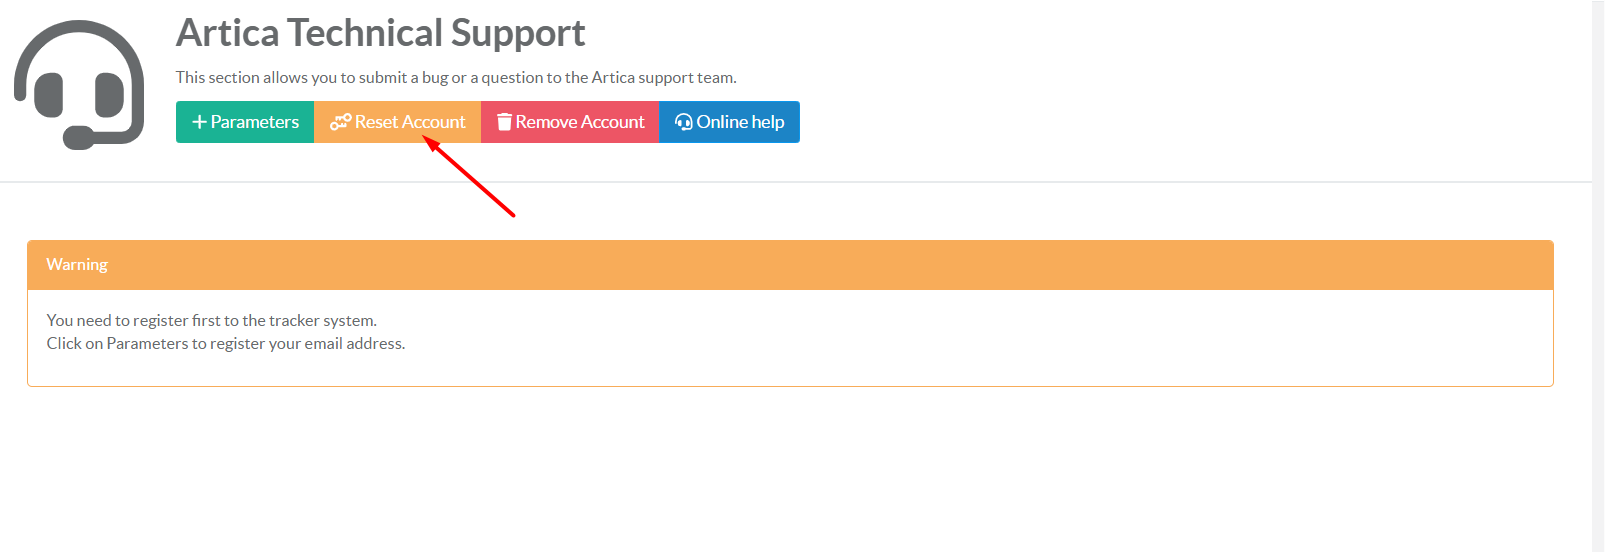
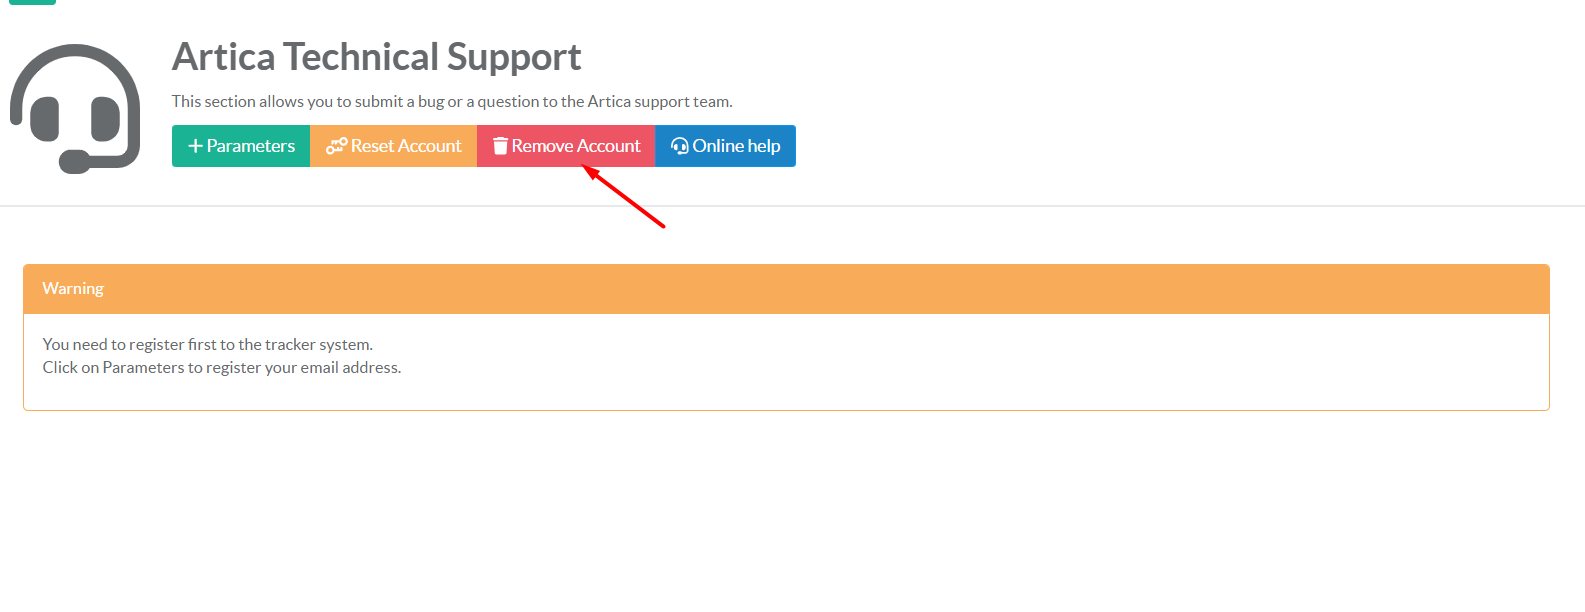
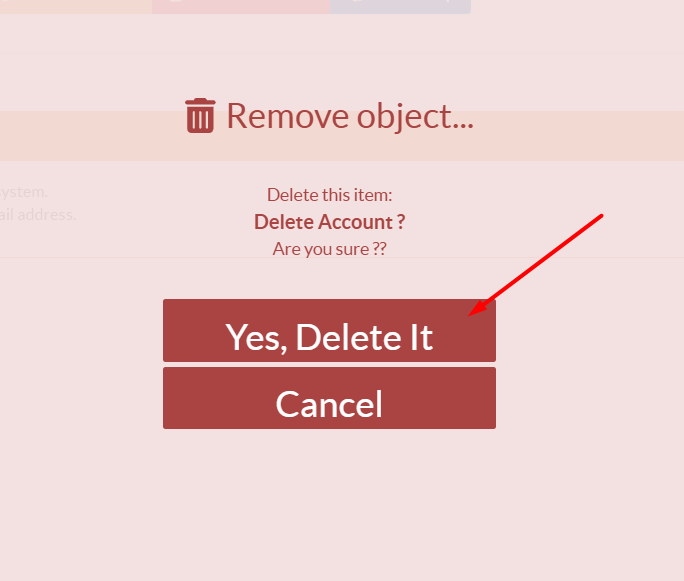
Click the button Remove Account to unlink the support account and remove all tickets from the server.
Recover Security Code
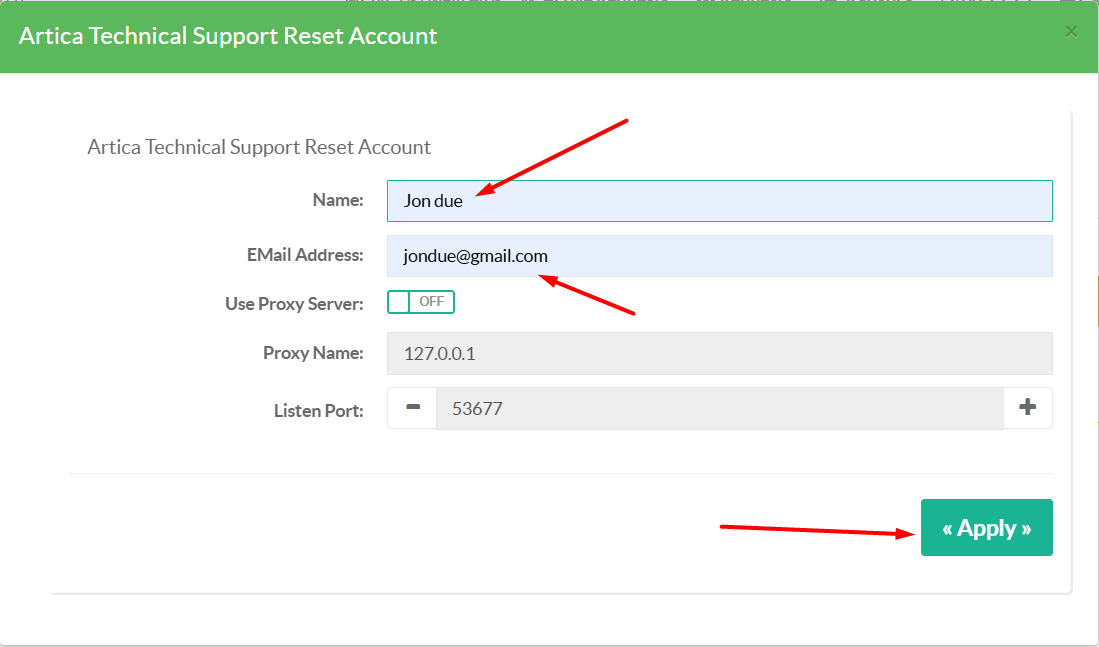
If you lost your security code you can recover it by clicking the button Reset Account, after you fill the necessary fields and click apply, a new email will sent to you with the security code.