Return back to the Web error service main section
Please note that the use of the error page works when trying to access the HTTP stream.
The ssl stream can not be broken, see this article to understand the limitations.
- Replace text with specific information:
Replaces specific signatures with dynamic content from the error-page service.
- Customize the ticket notification email message.
When you allow users to report an issue from the error page and have email notifications enabled, you can tailor the message sent to administrators.
- Under “Your proxy” / “SSL protocol”, select the “Rules” tab
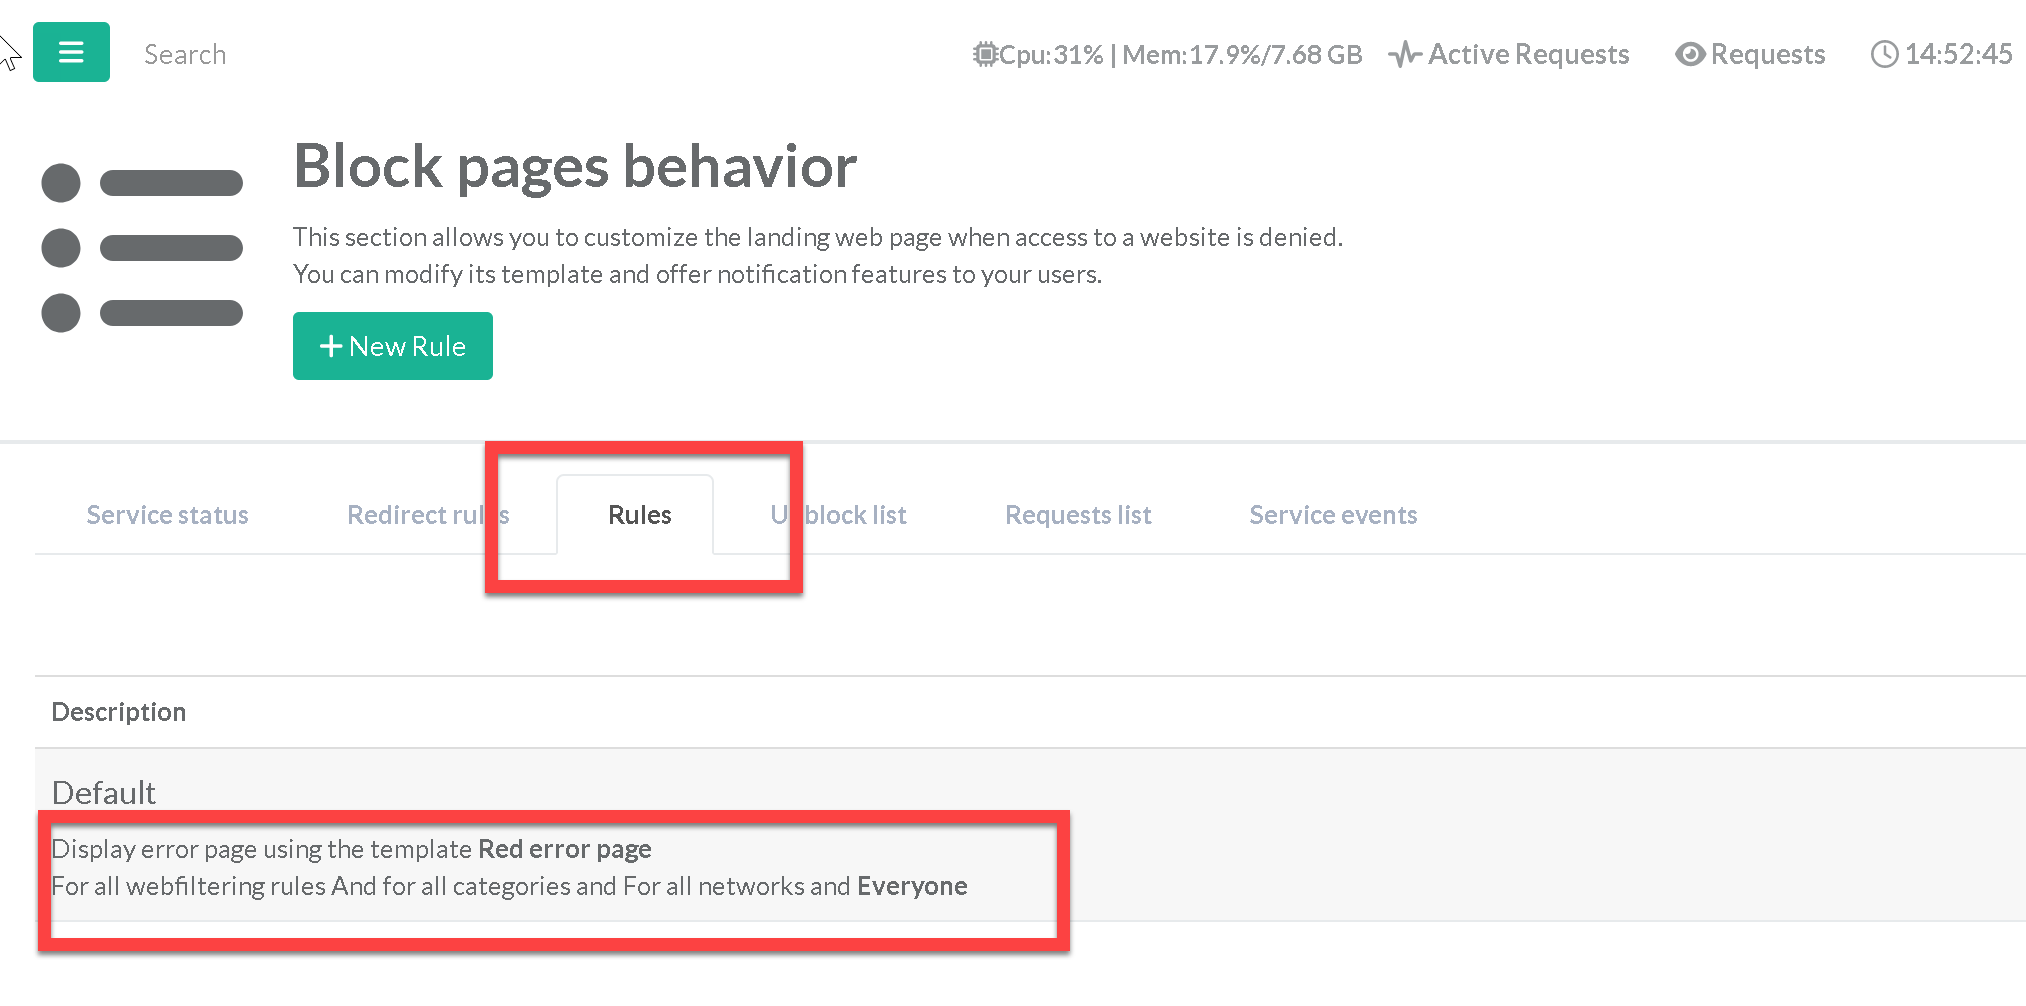
- A first default rule is displayed that indicates that the web filtering service uses the error page service for information only. This rule cannot be modified or deleted, it corresponds to the rule that will be used as a last resort.
Click on the “New Rule” button.
The parameters of a rule are divided into 3 main sections:
¶ Rule section 1: General settings
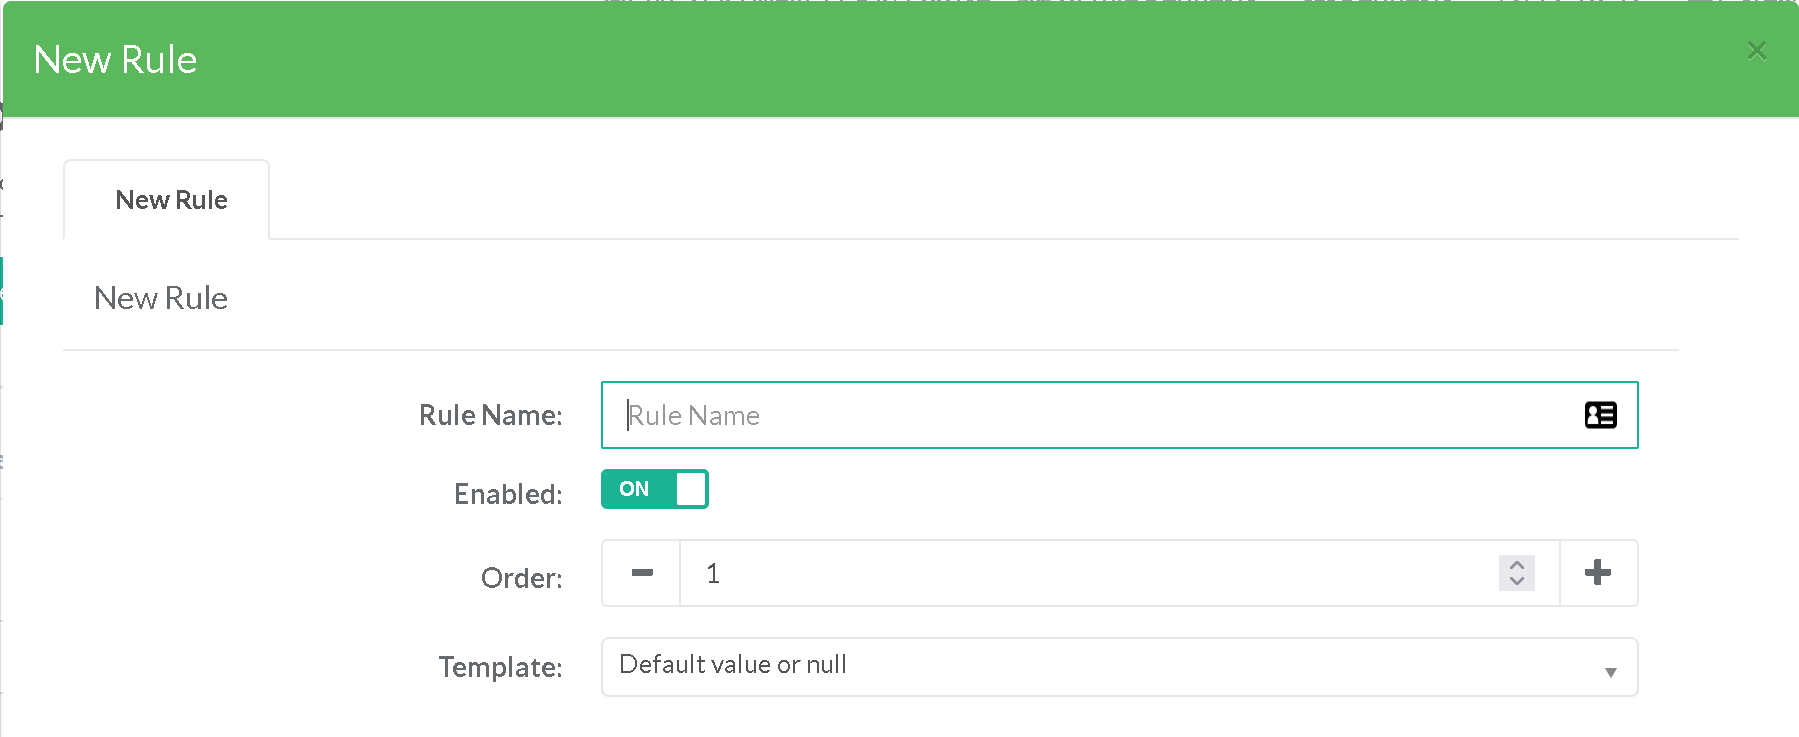
You can define here the “Rule name”, if this rule is active or not with the “Enabled” checkbox, the “Order” of the rule and the “template” to generate the web error page.
¶ Rule section 2: Source
The source section are criteria that the error page service will take into account to display the information.
The information retrieved will depend on the external elements that the web service can view.
We will find there:
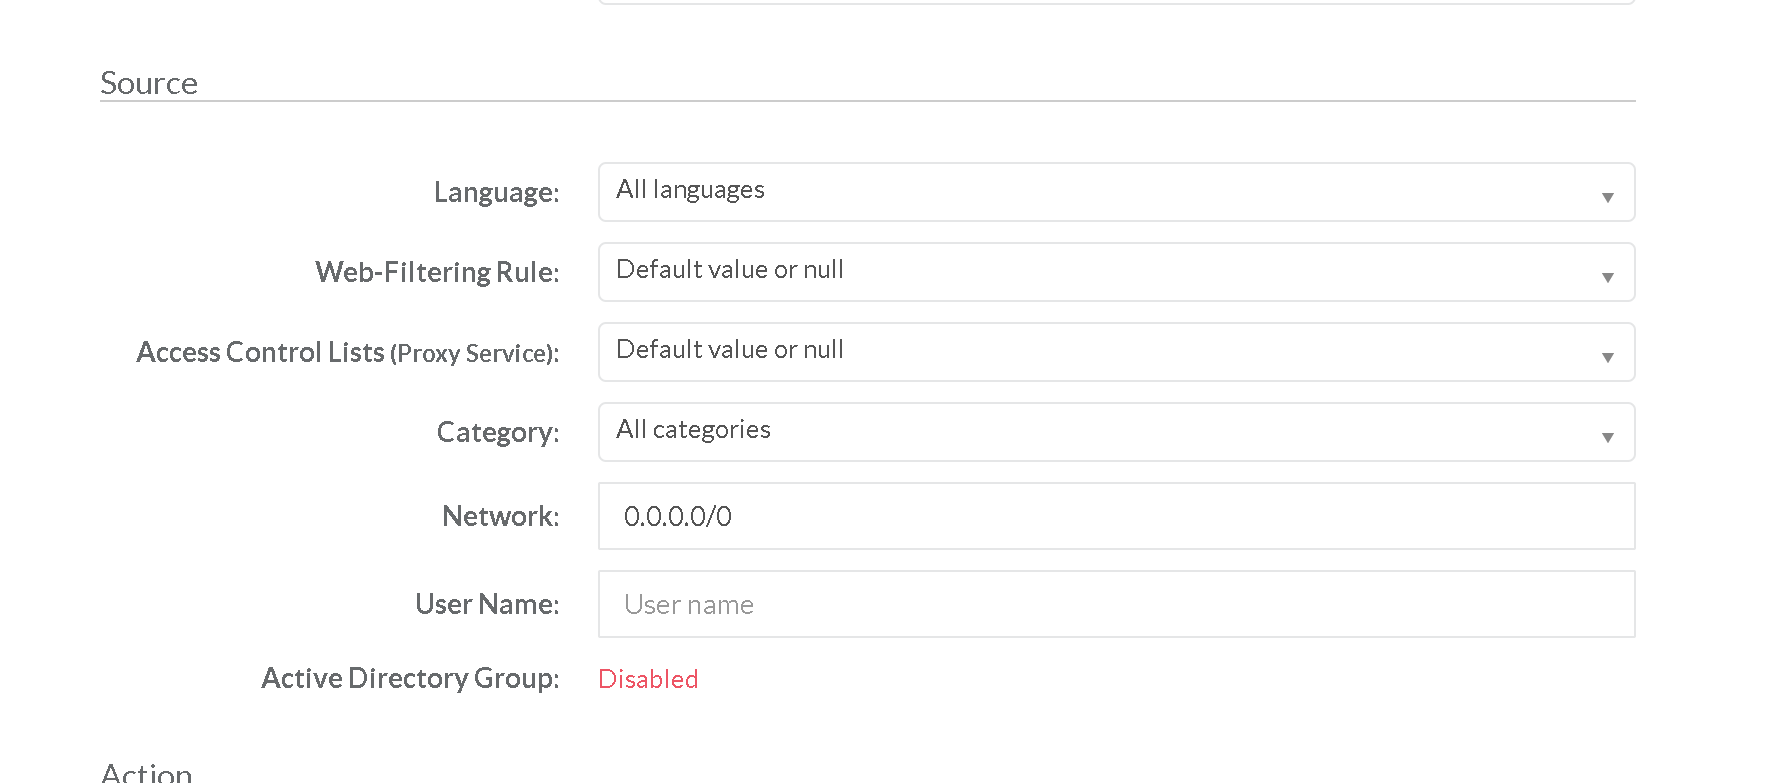
- The Language: The prefered browser language.
- The Web-filtering rule: If the Web-filtering service is enabled, you will find the list of the available Web-filtering rules
- Access Control Lists: The list of all ACLs that deny access with the Error page service enabled
- Network: if the client is a part of the defined Network.
- User Name: The account identified through the proxy (Active Directory, ldap, HotSpot, Aliases…)
- Active Directory group: If Artica proxy is connected to the Active Directory, you can define an Active Directory group that will matches the connected user.
¶ Section 3: Action
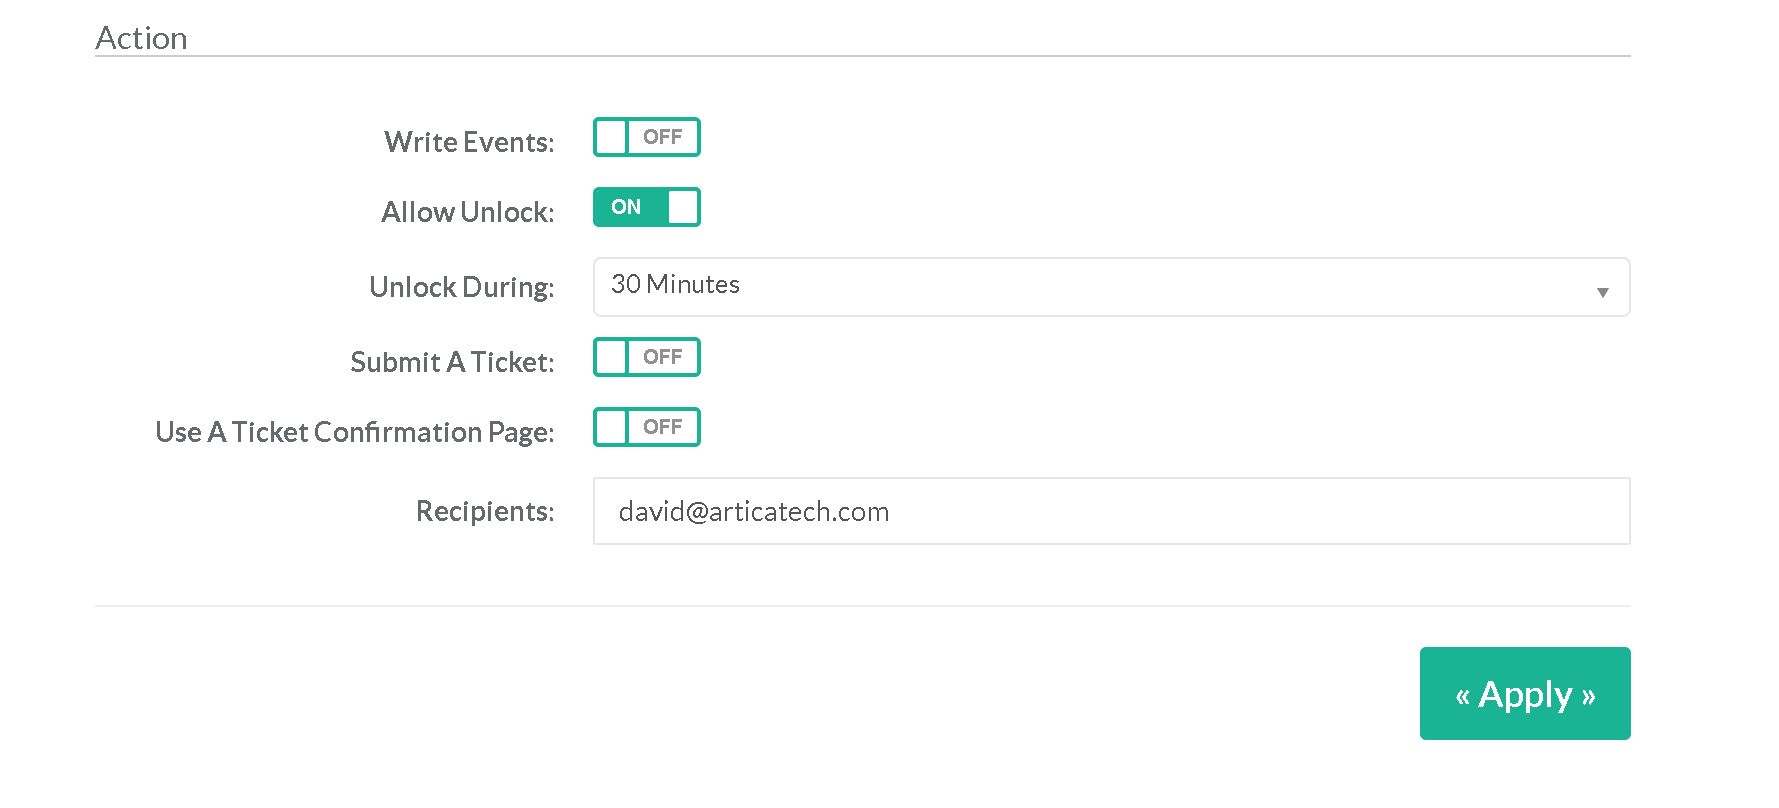
The action section allows you to add features for your users
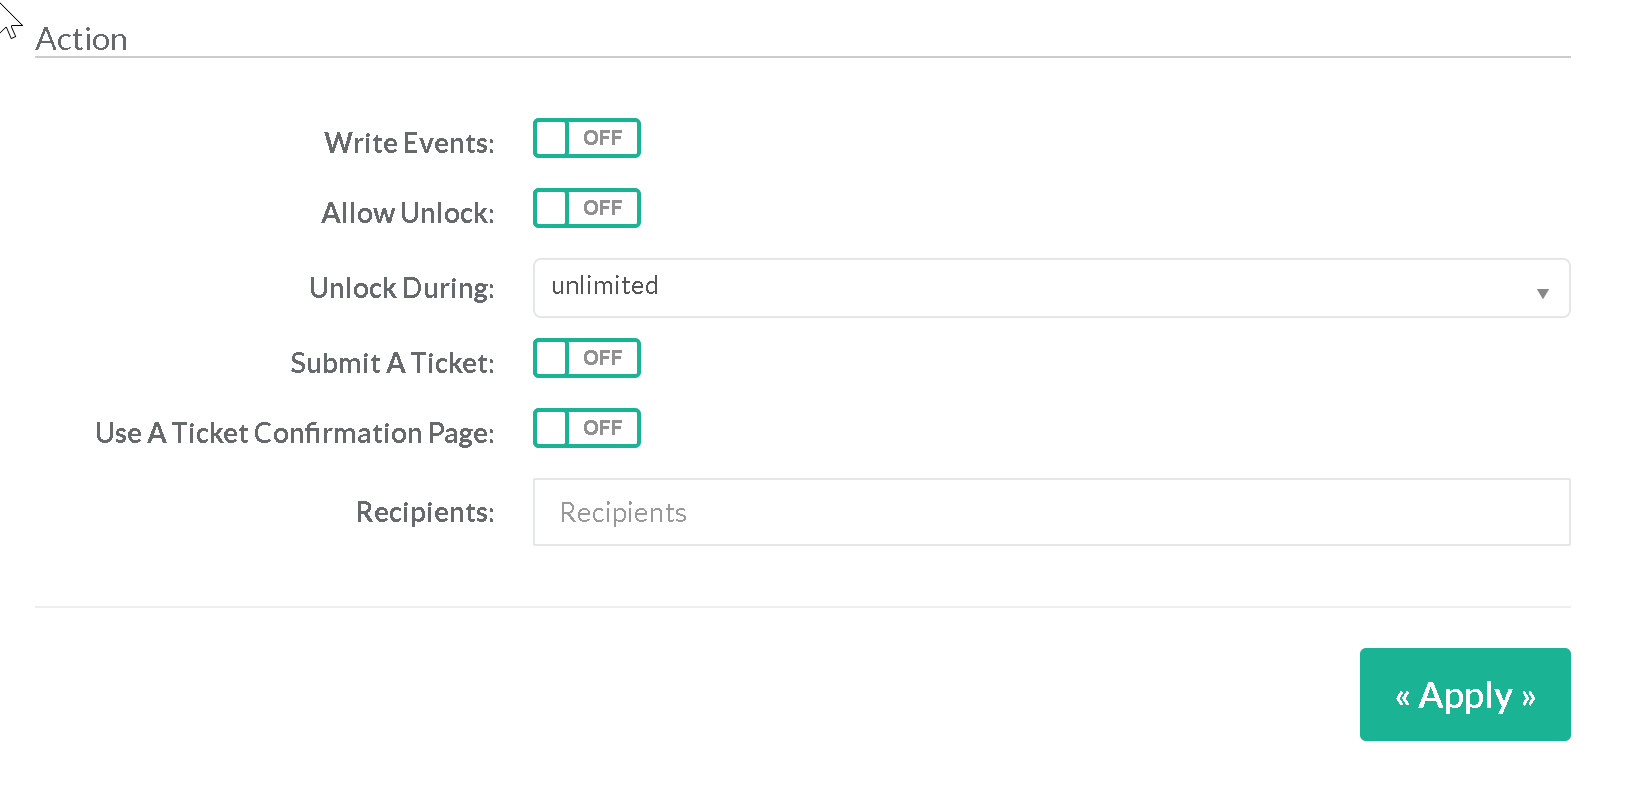
- Write events: Write access to the web page to the application events log.
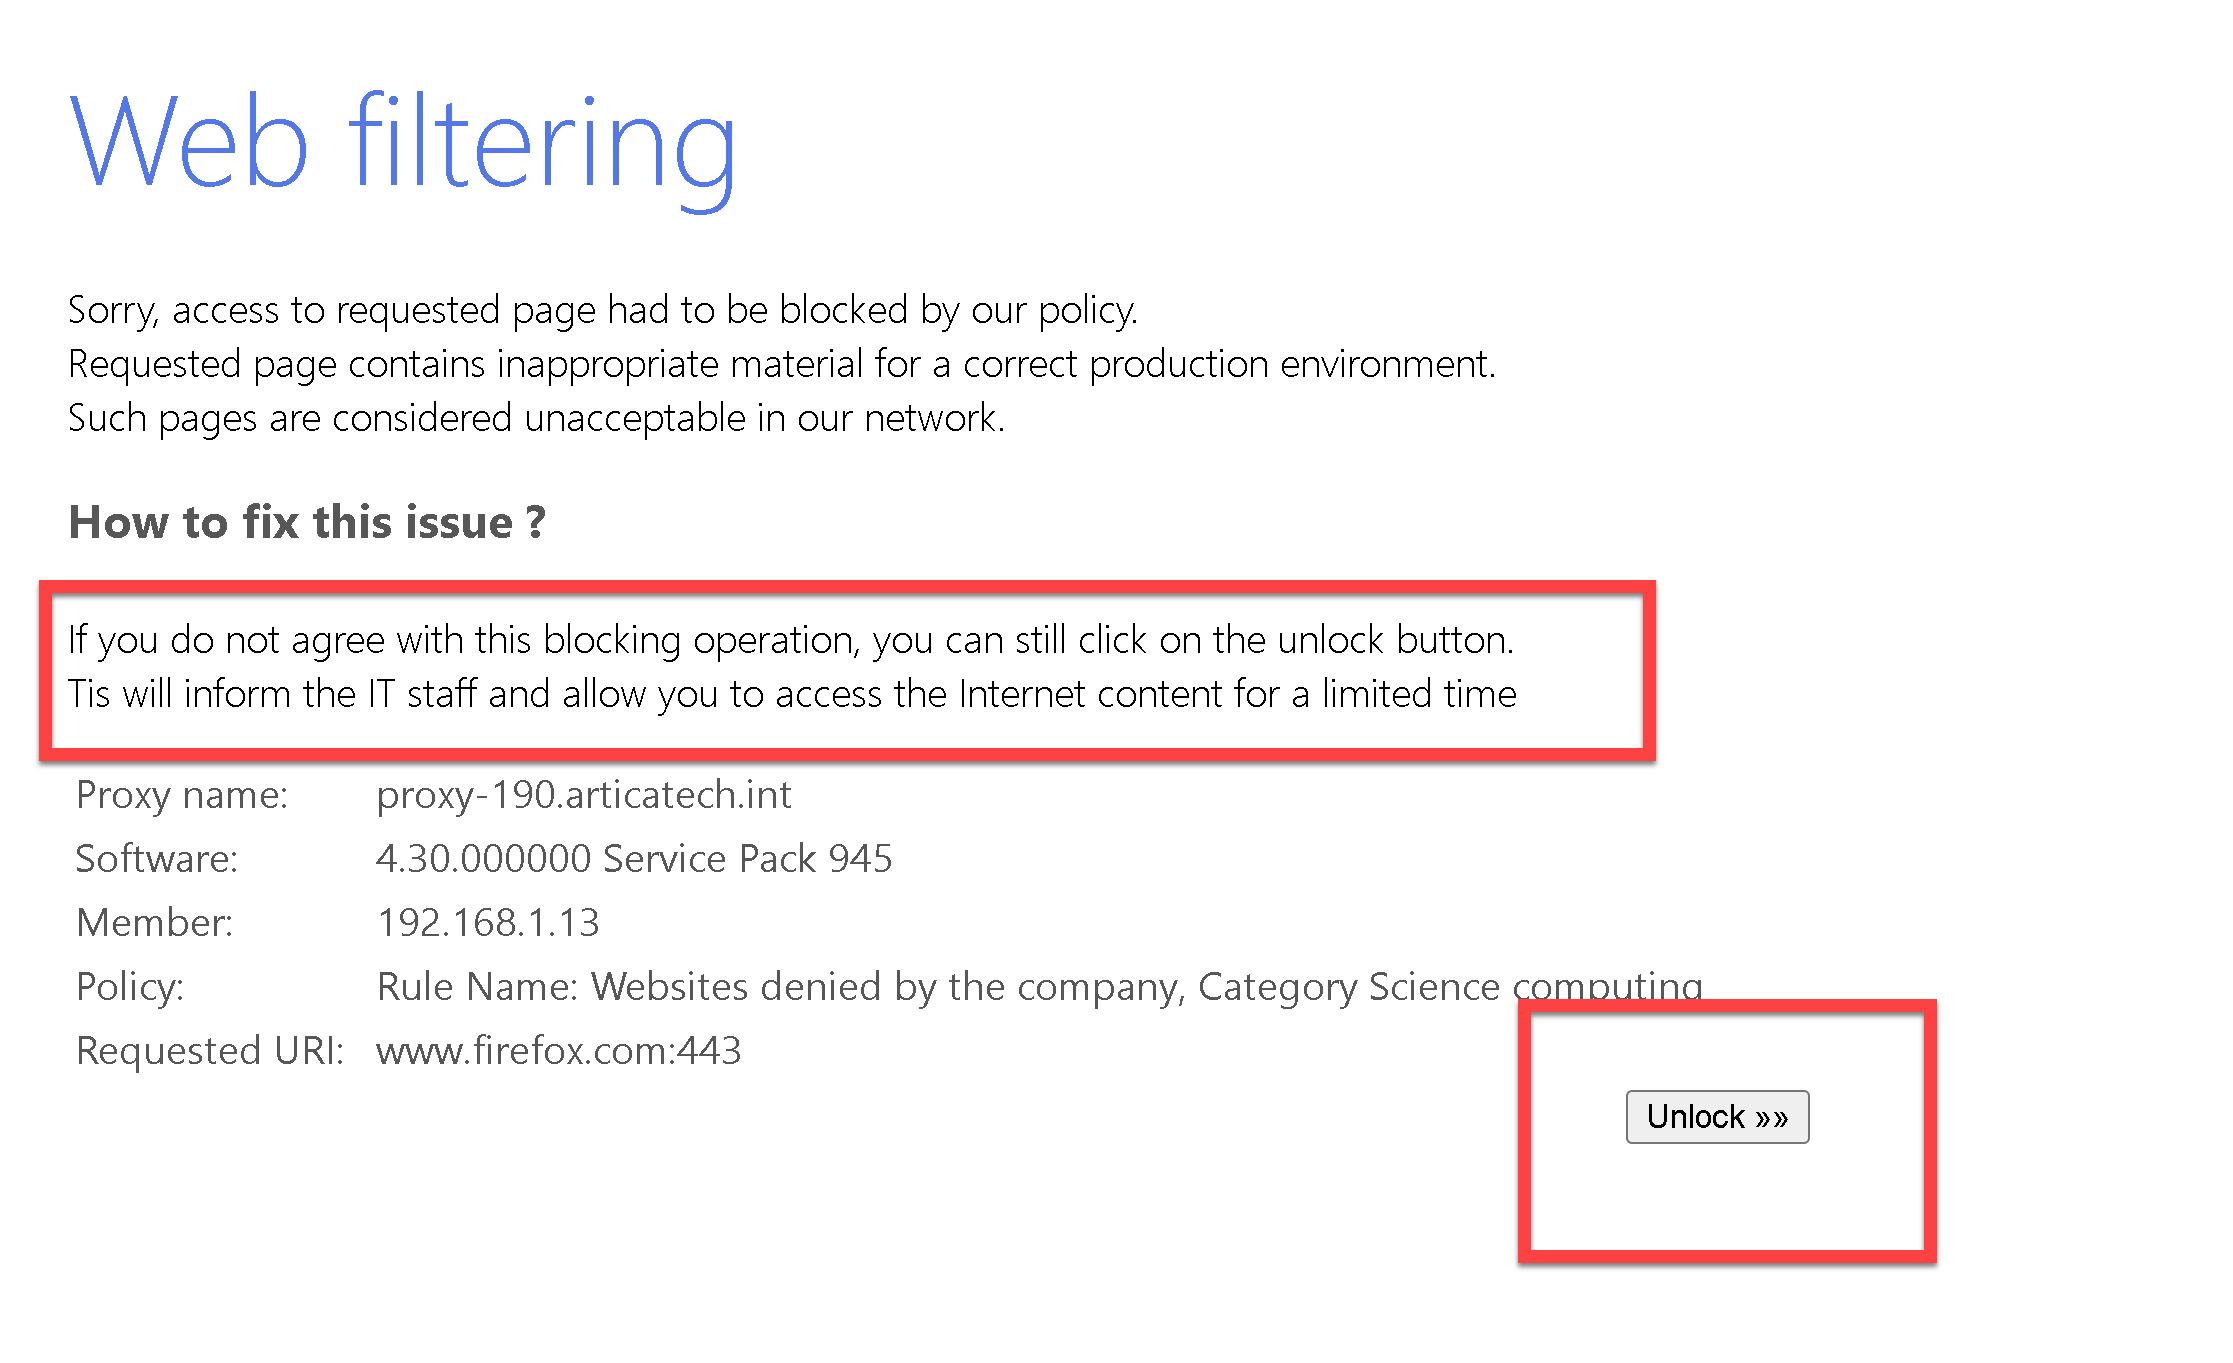
- Allow Unlock: Allows users to enable temporaly access to the blocked website during the specified time defined in “Unlock During” option. (if Notify is enabled,recipients will recieve a notification message of the unblocked website )
- Recipients: Separate all email addresses with a coma
Depending on what you put in the action section, the behavior of the page may change.
¶ Section 4: The API section
- Send blocking issue details to your Support application.
If you want to provide your users with the ability to create a ticket directly on your support platform, the API option allows you to post blocking information directly to your support software.
¶ A) Let user complain by sending an email message to a recipient:
- If the SMTP Notification service is enabled and you have defined on or several email addresses:
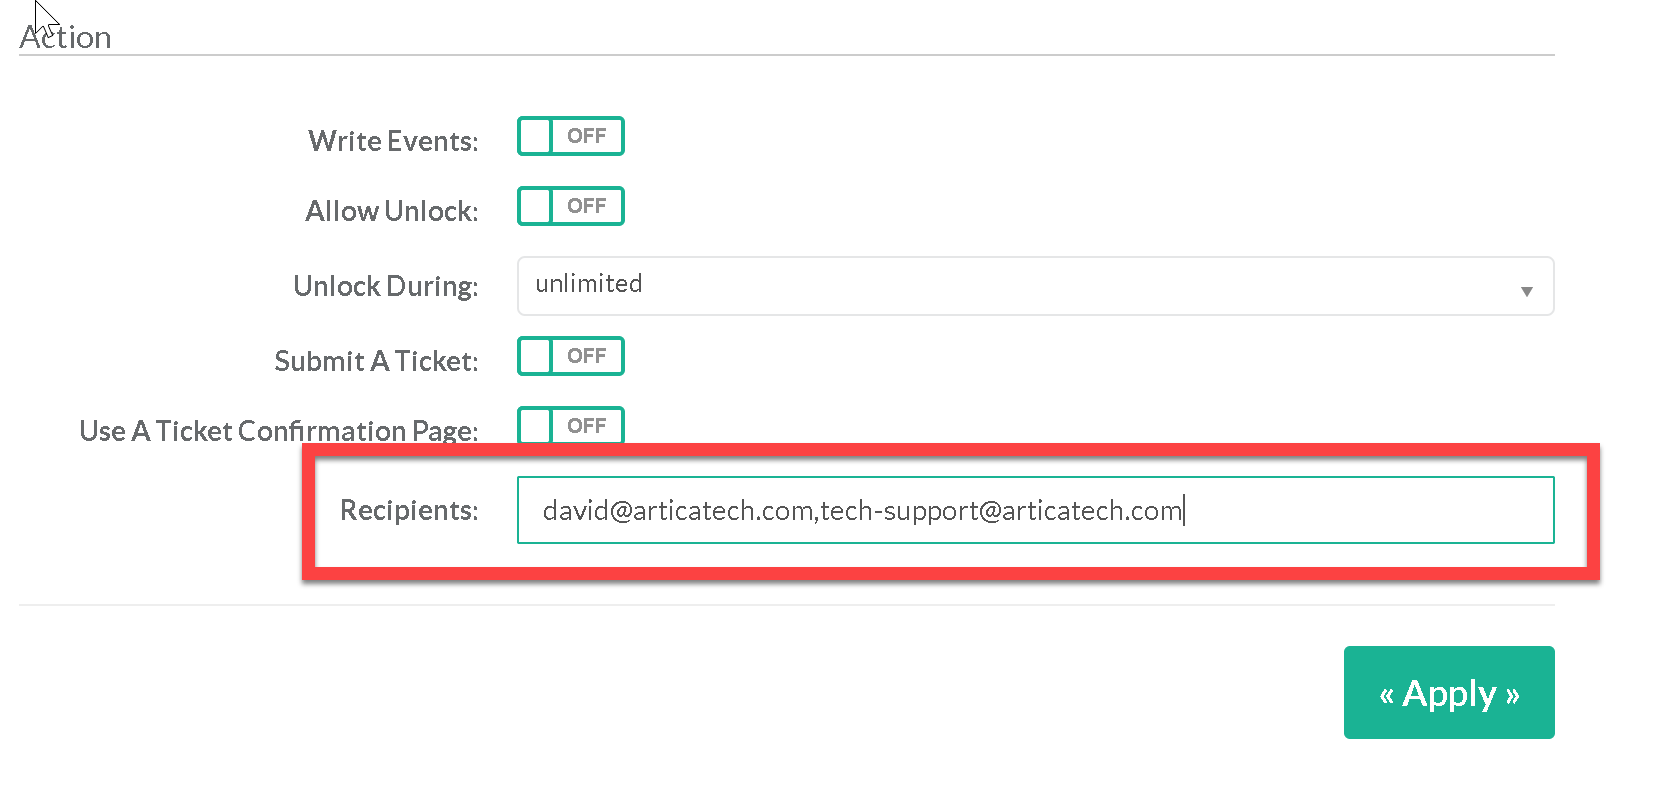
- The web error page will display a “Submit” button that will send a notification message to defined recipients.
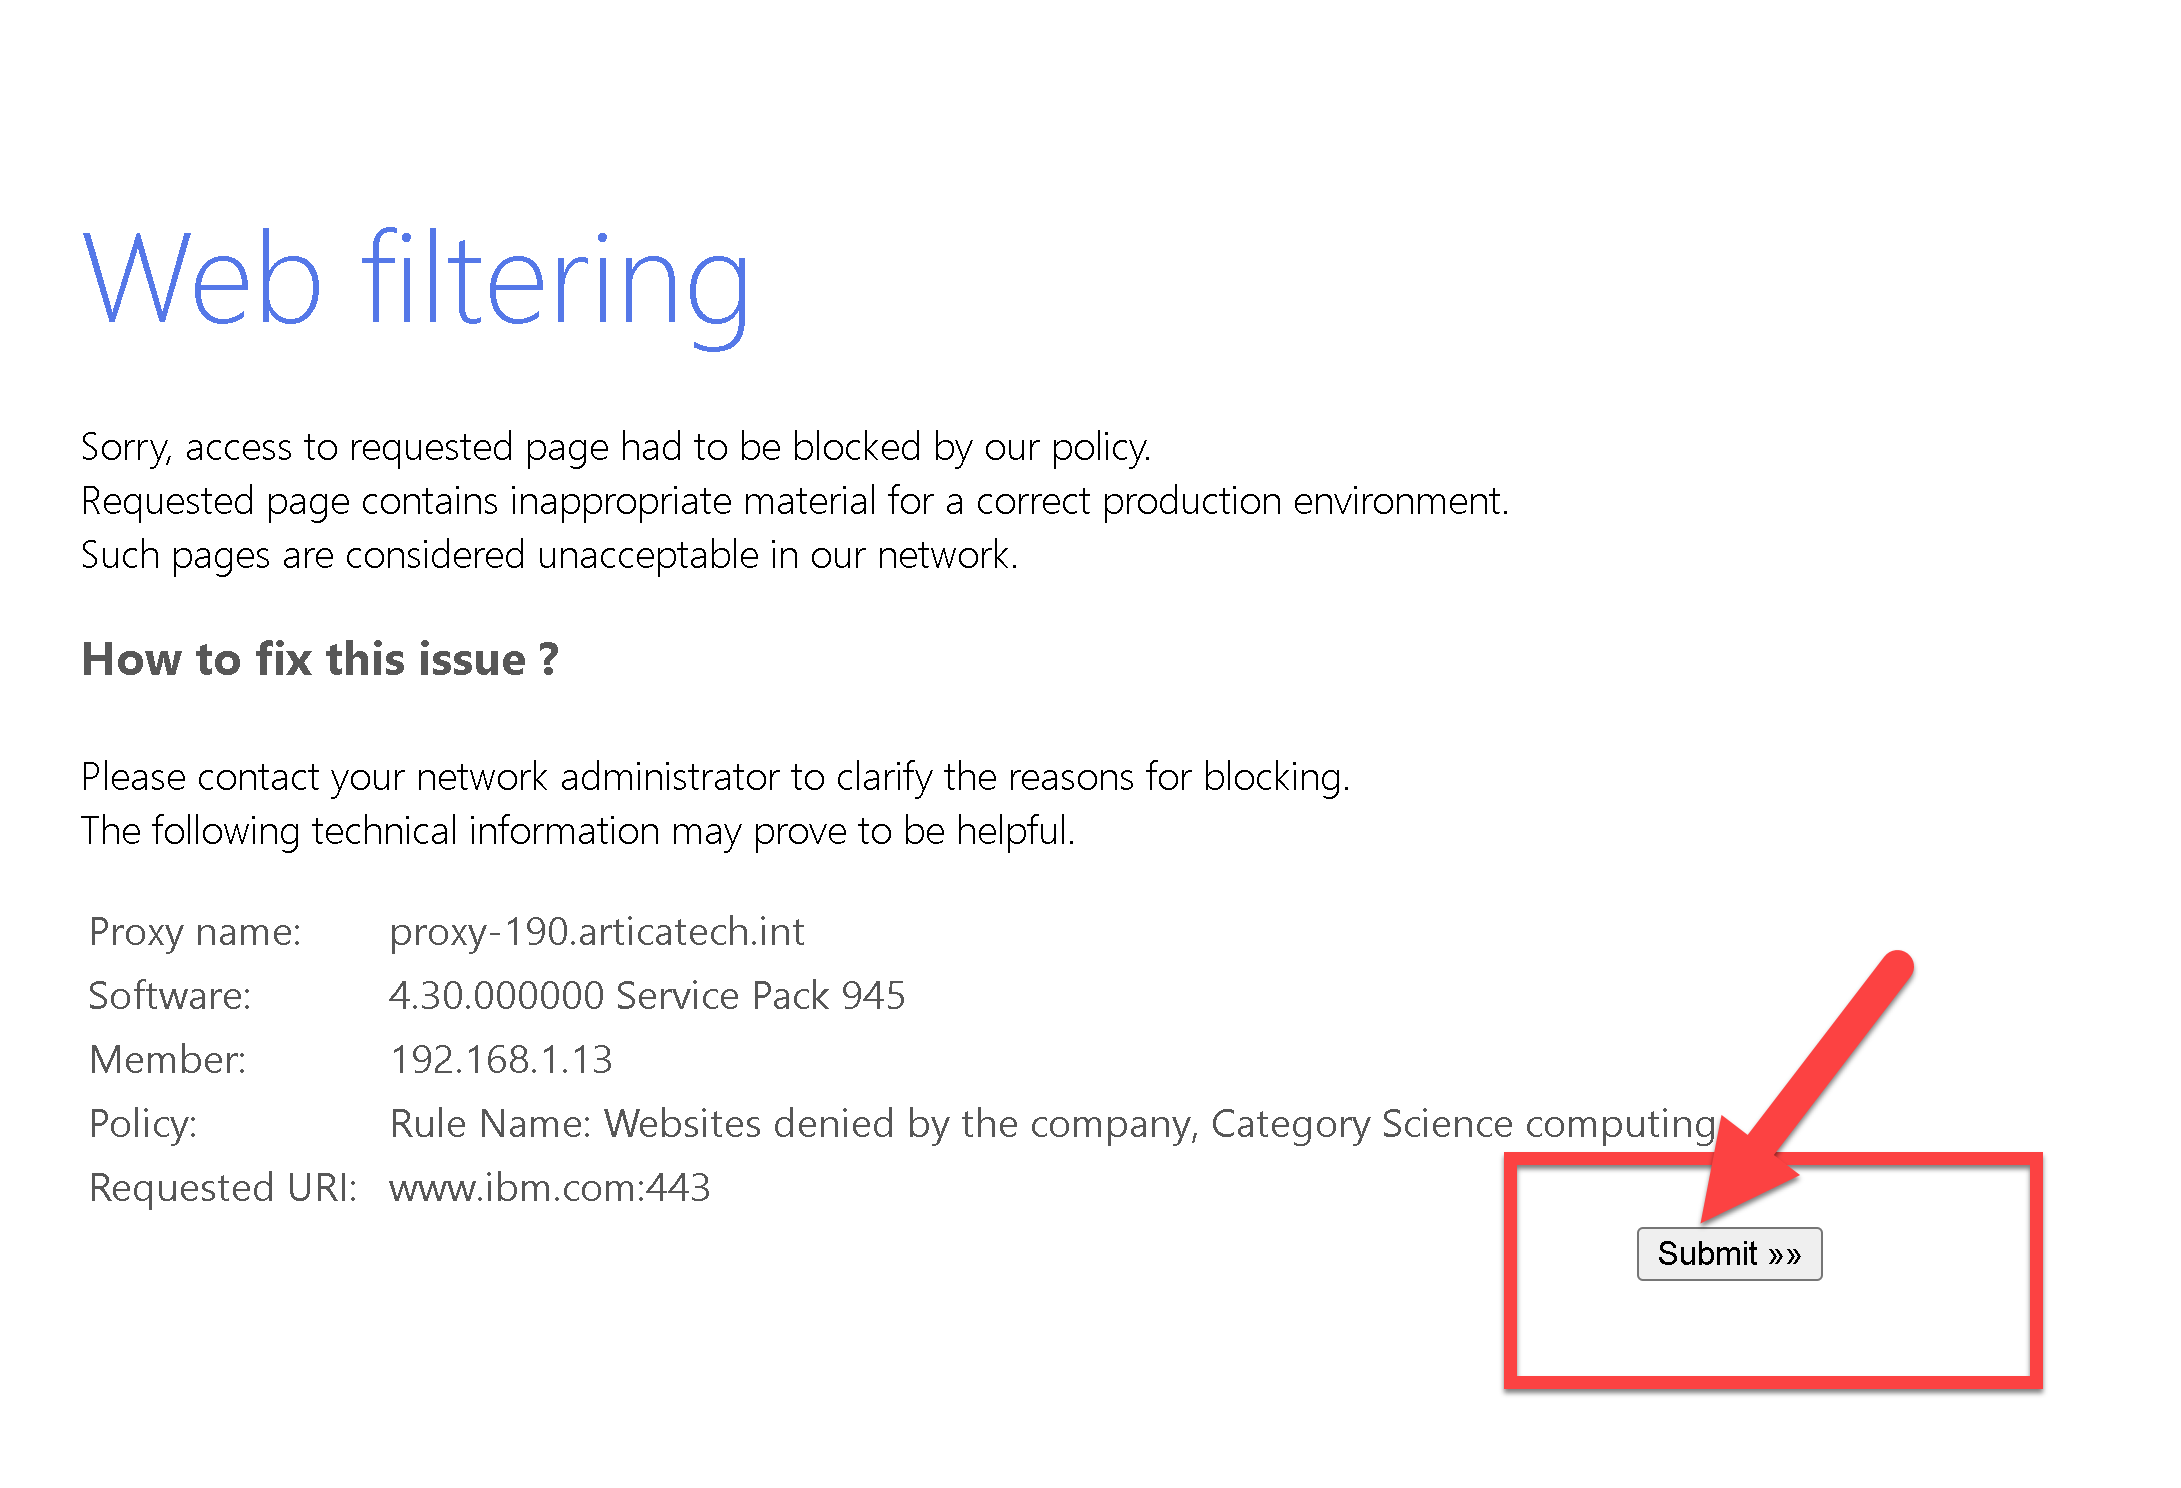
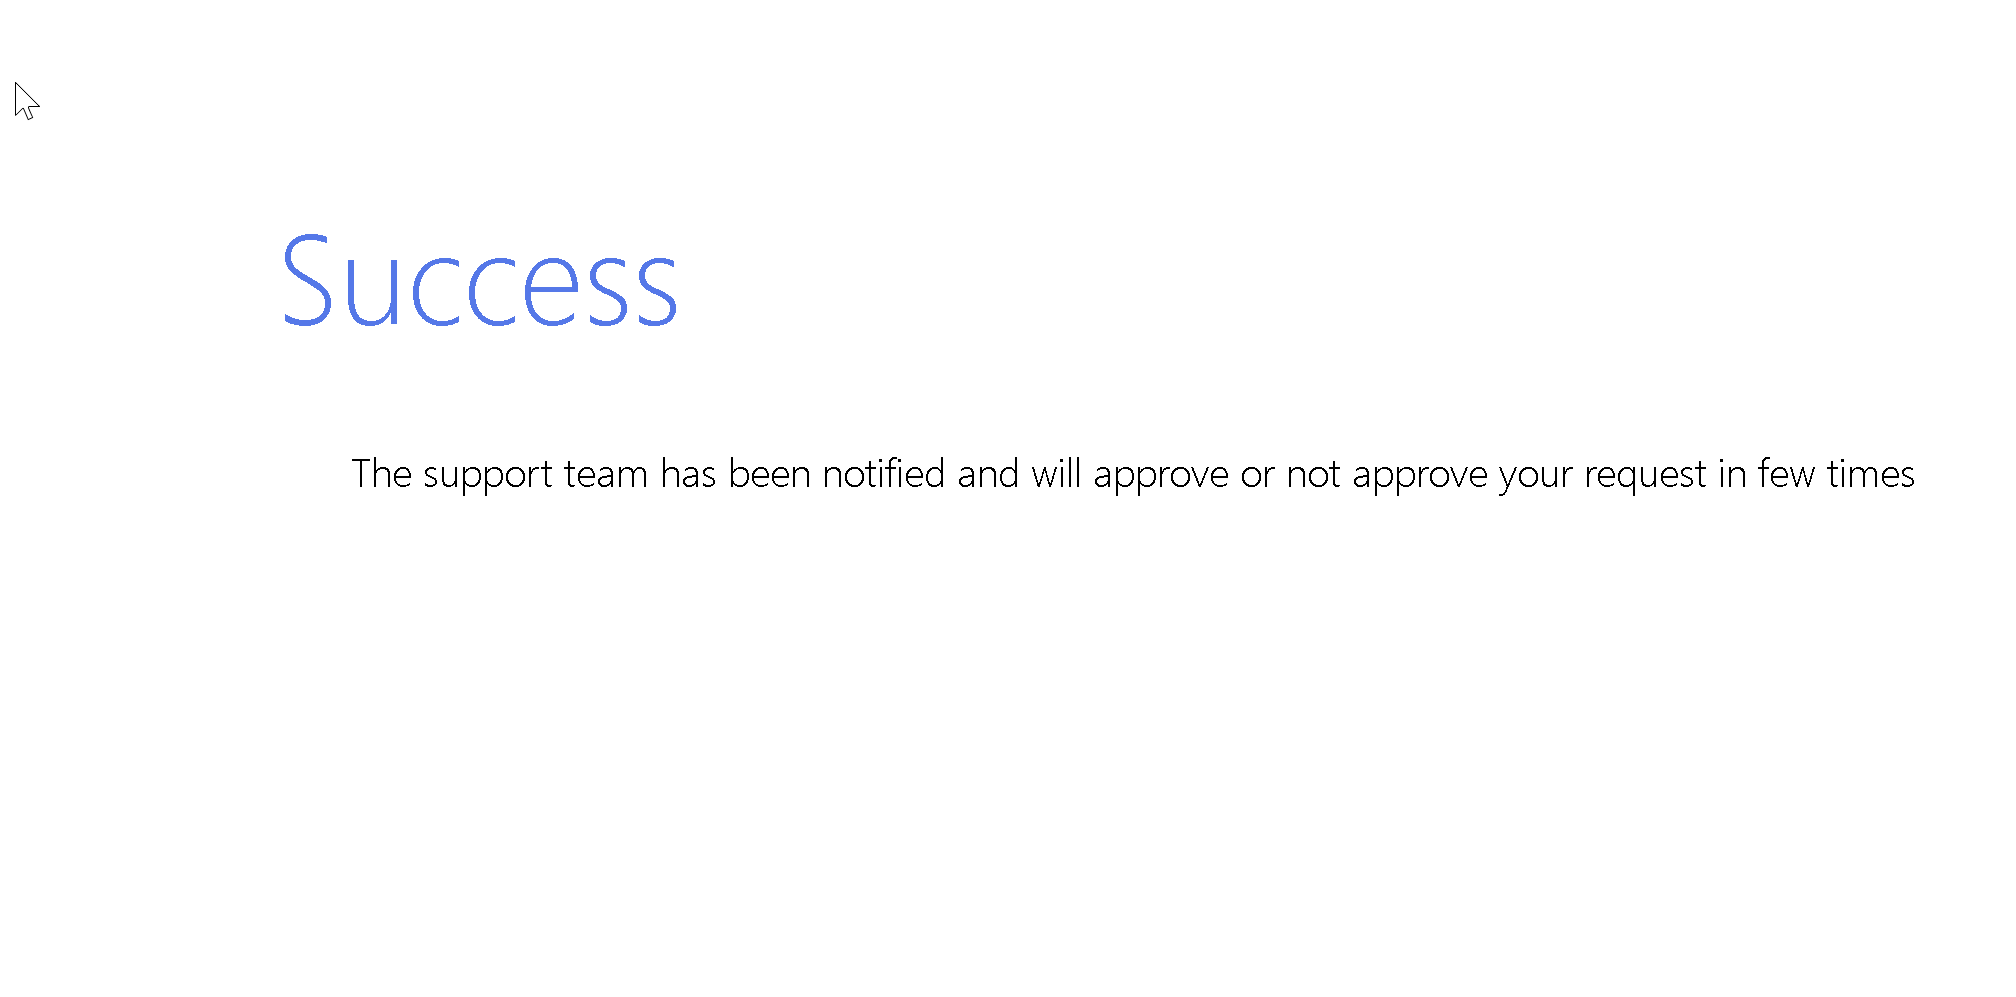
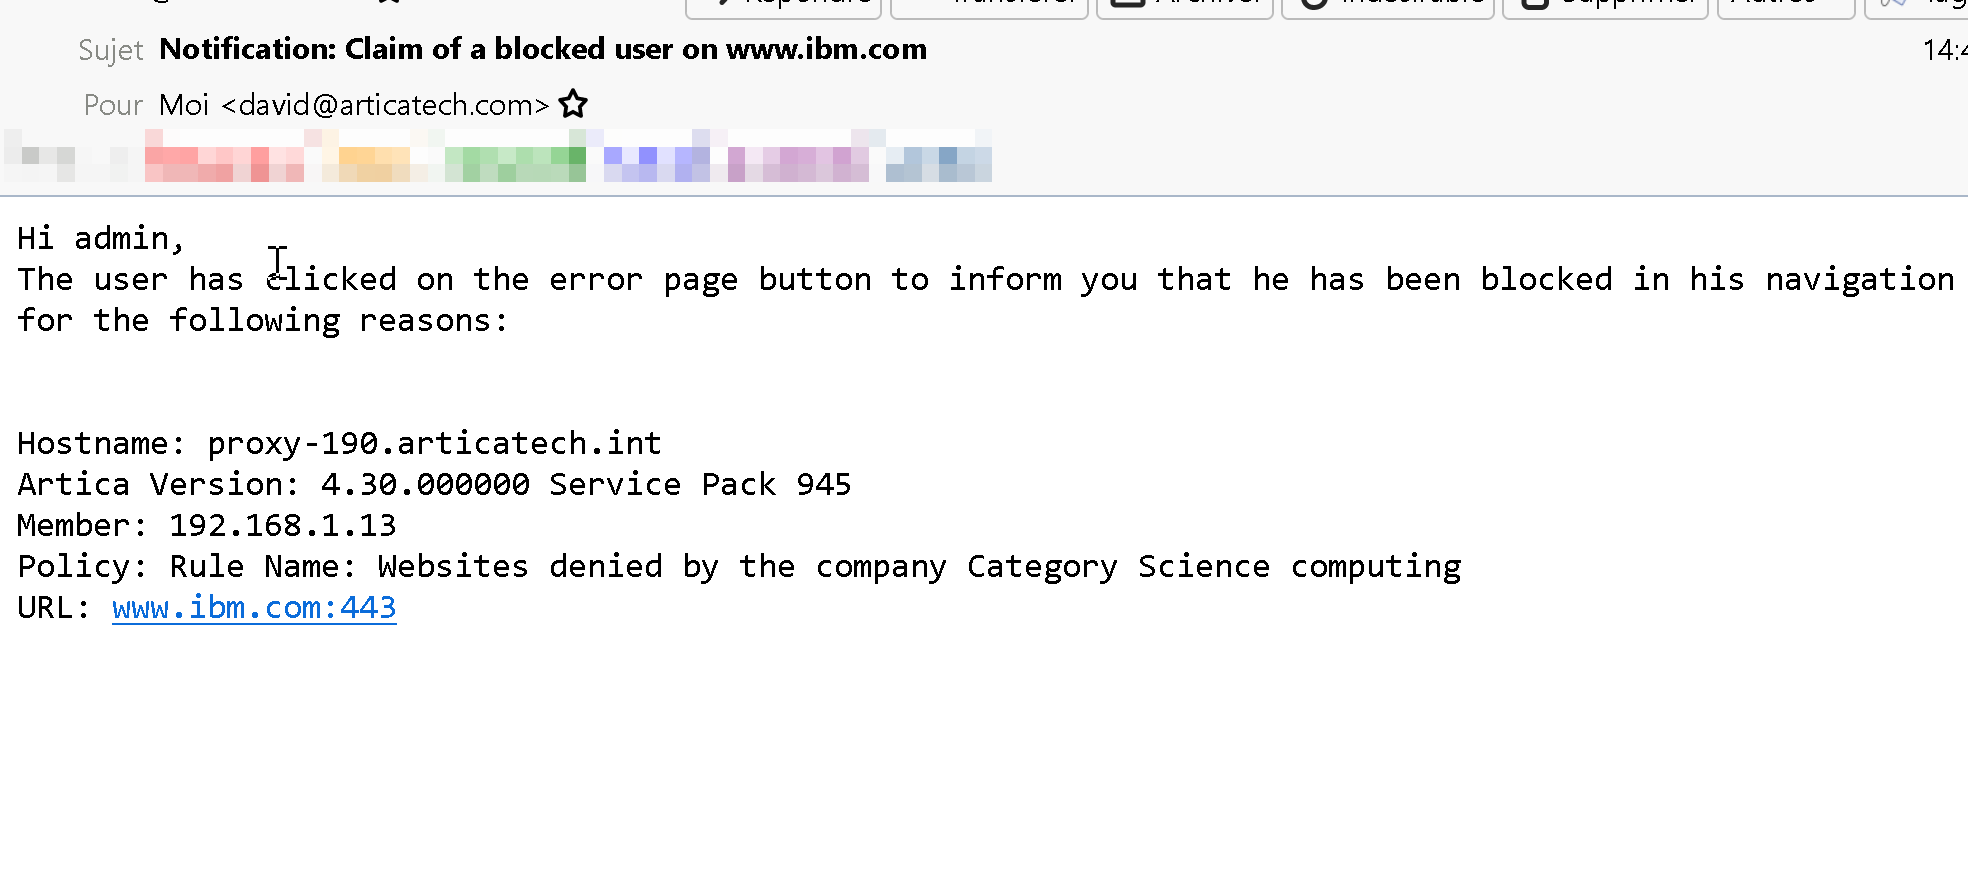
¶ B) Let user create a support ticket.
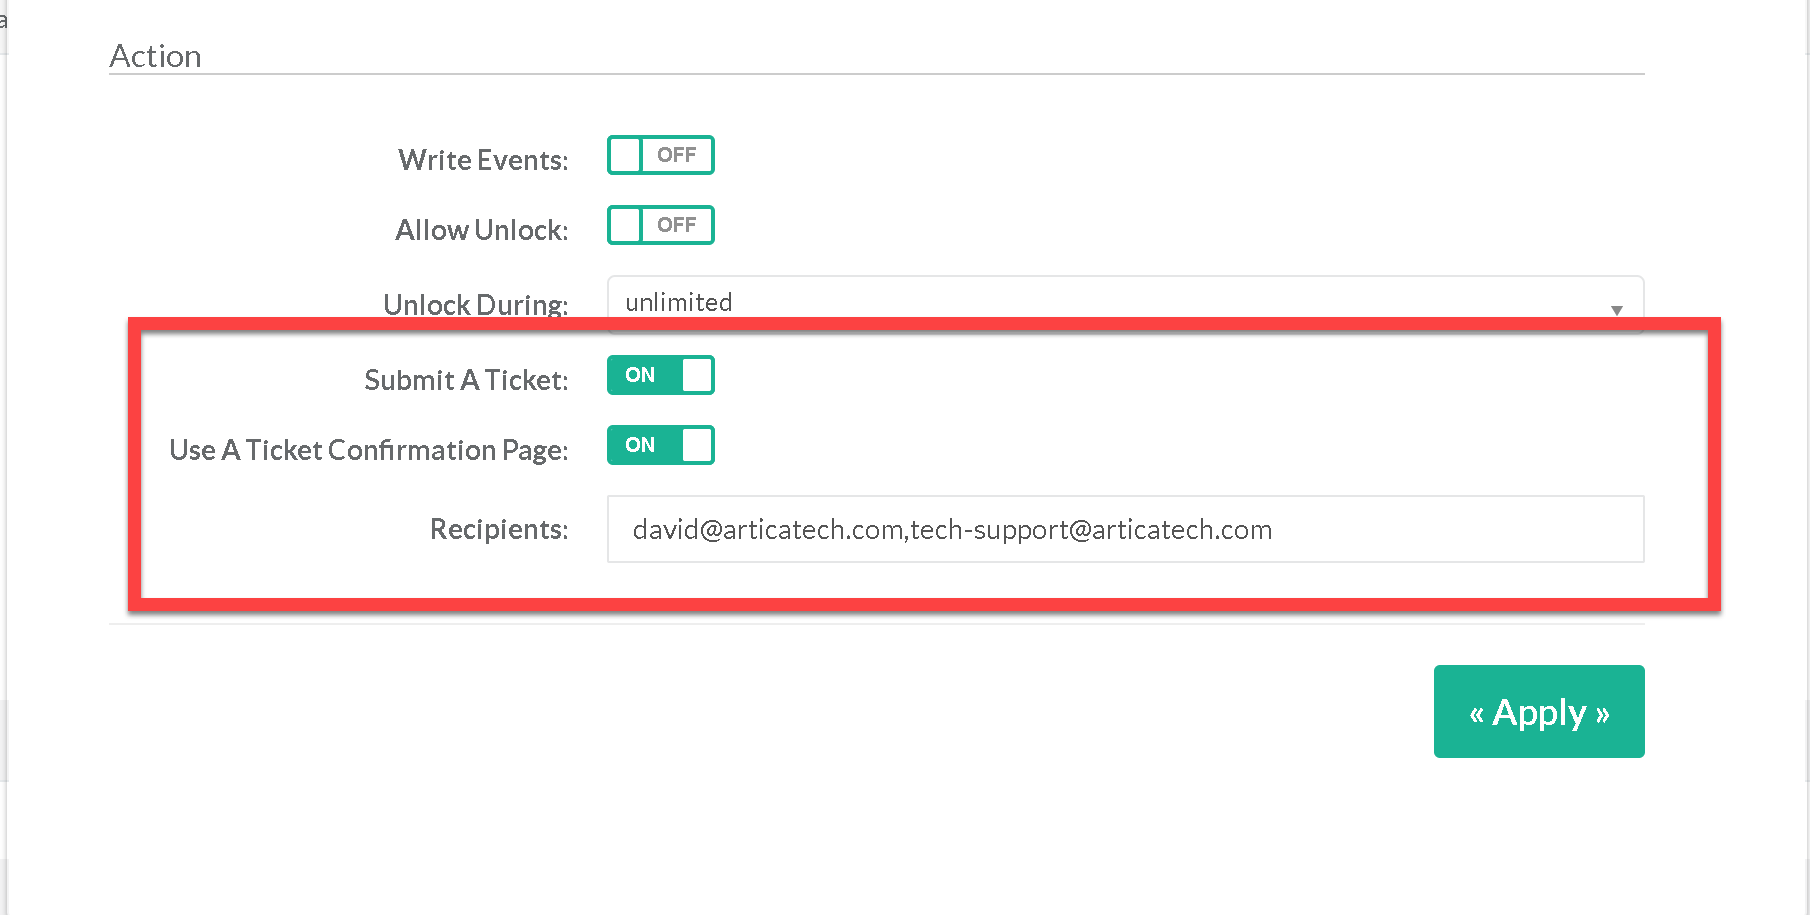
The “Submit A ticket” option allows administrators to receive a message with a link allowing them to quickly unblock the blocked website.
It is similar to option (A) except that it allows :
- Send the user to dedicated confirmation page (option “Use A ticket confirmation page”)
- Provide a direct link in the eMail notification message to unlock the website during the period defined with “Unlock during” value
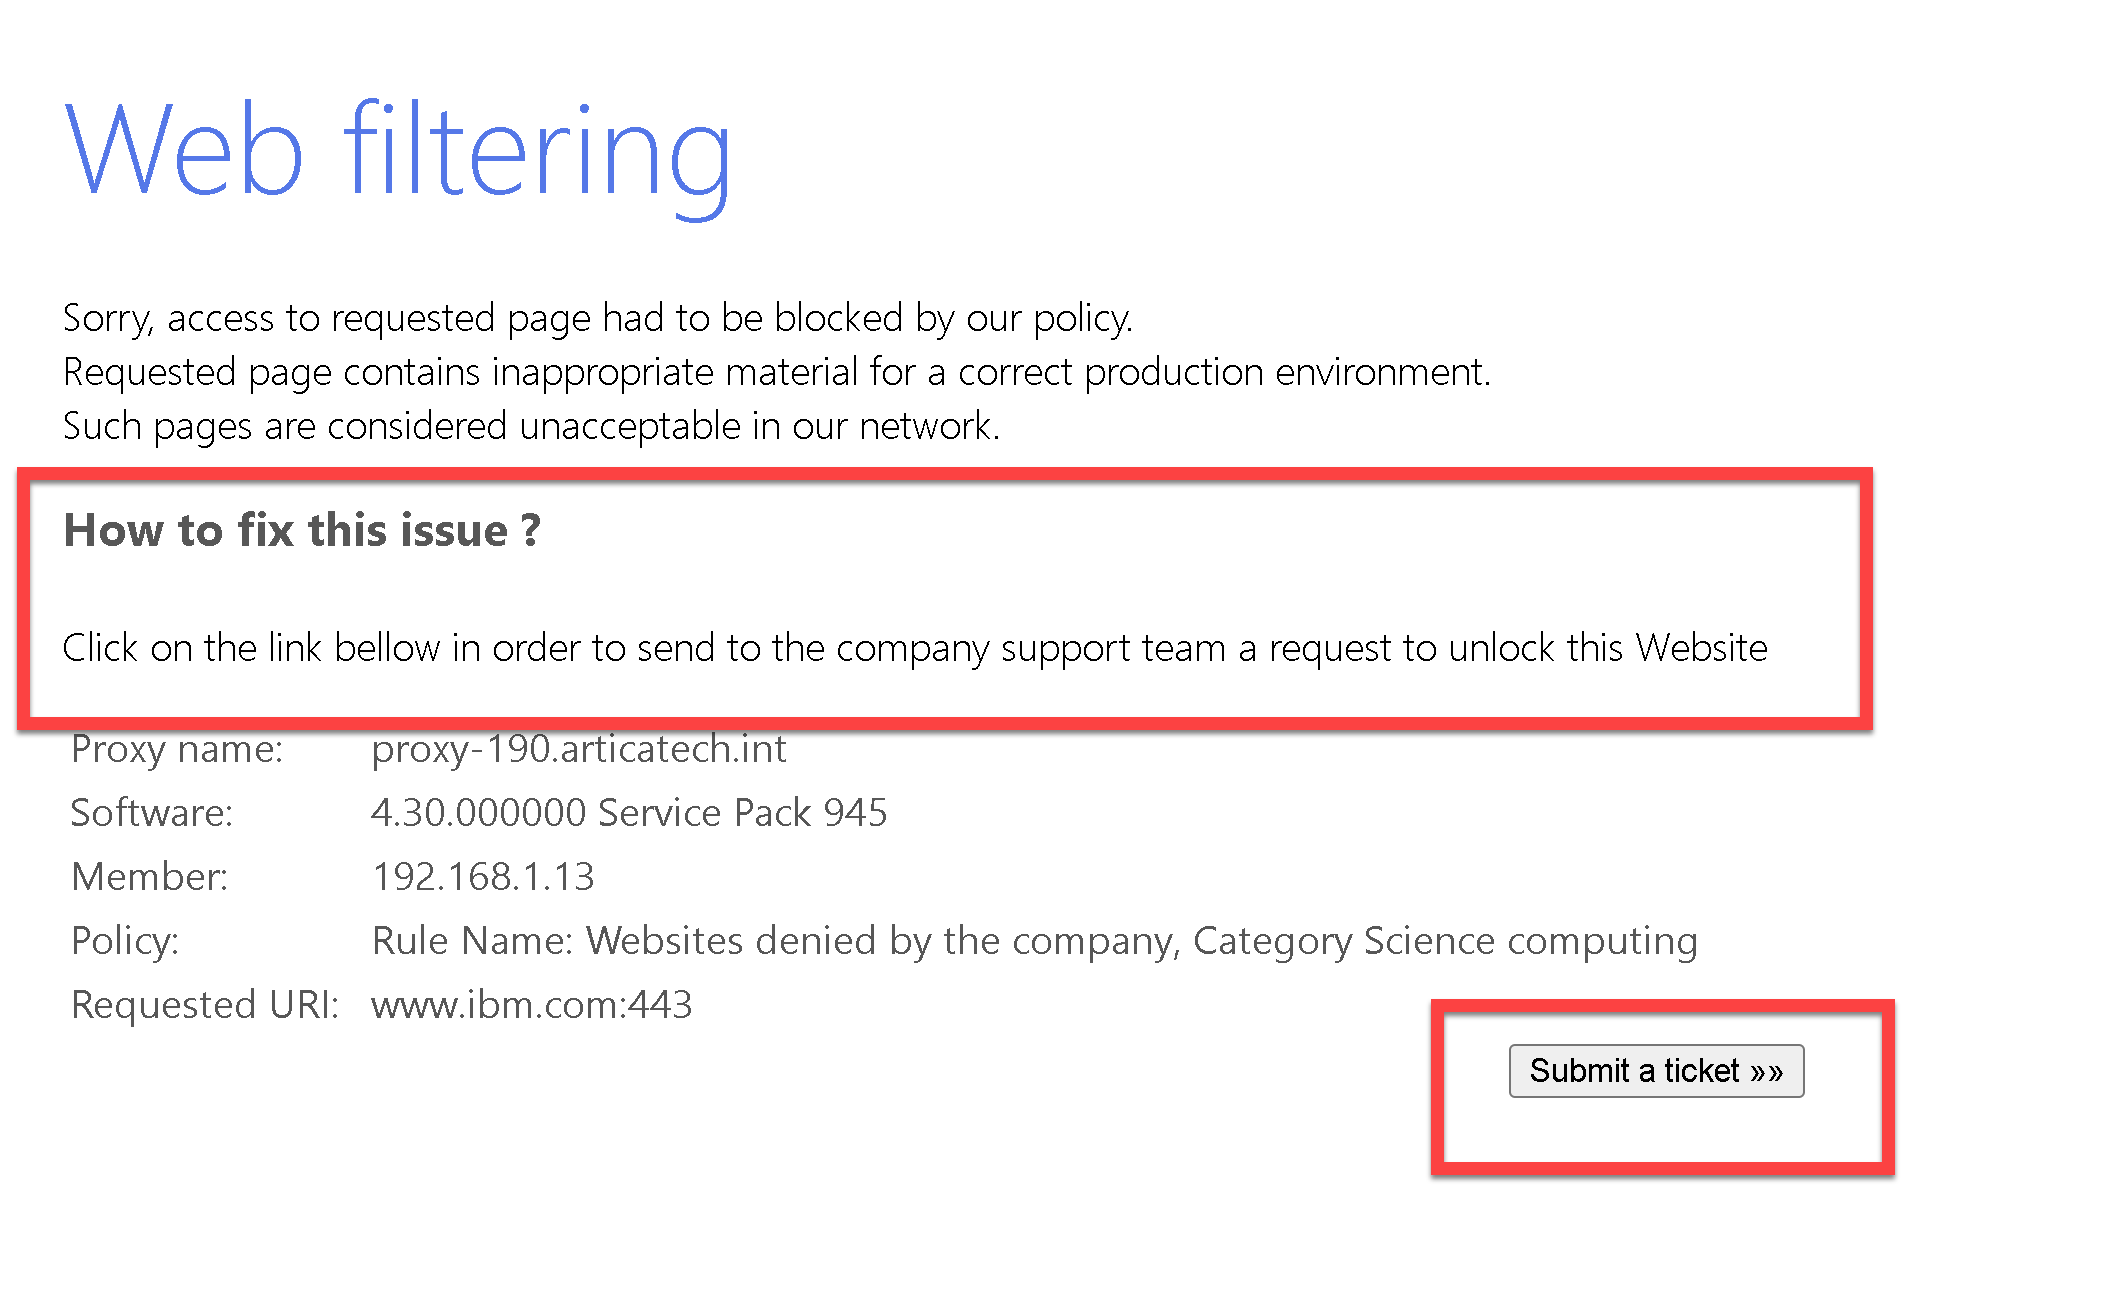
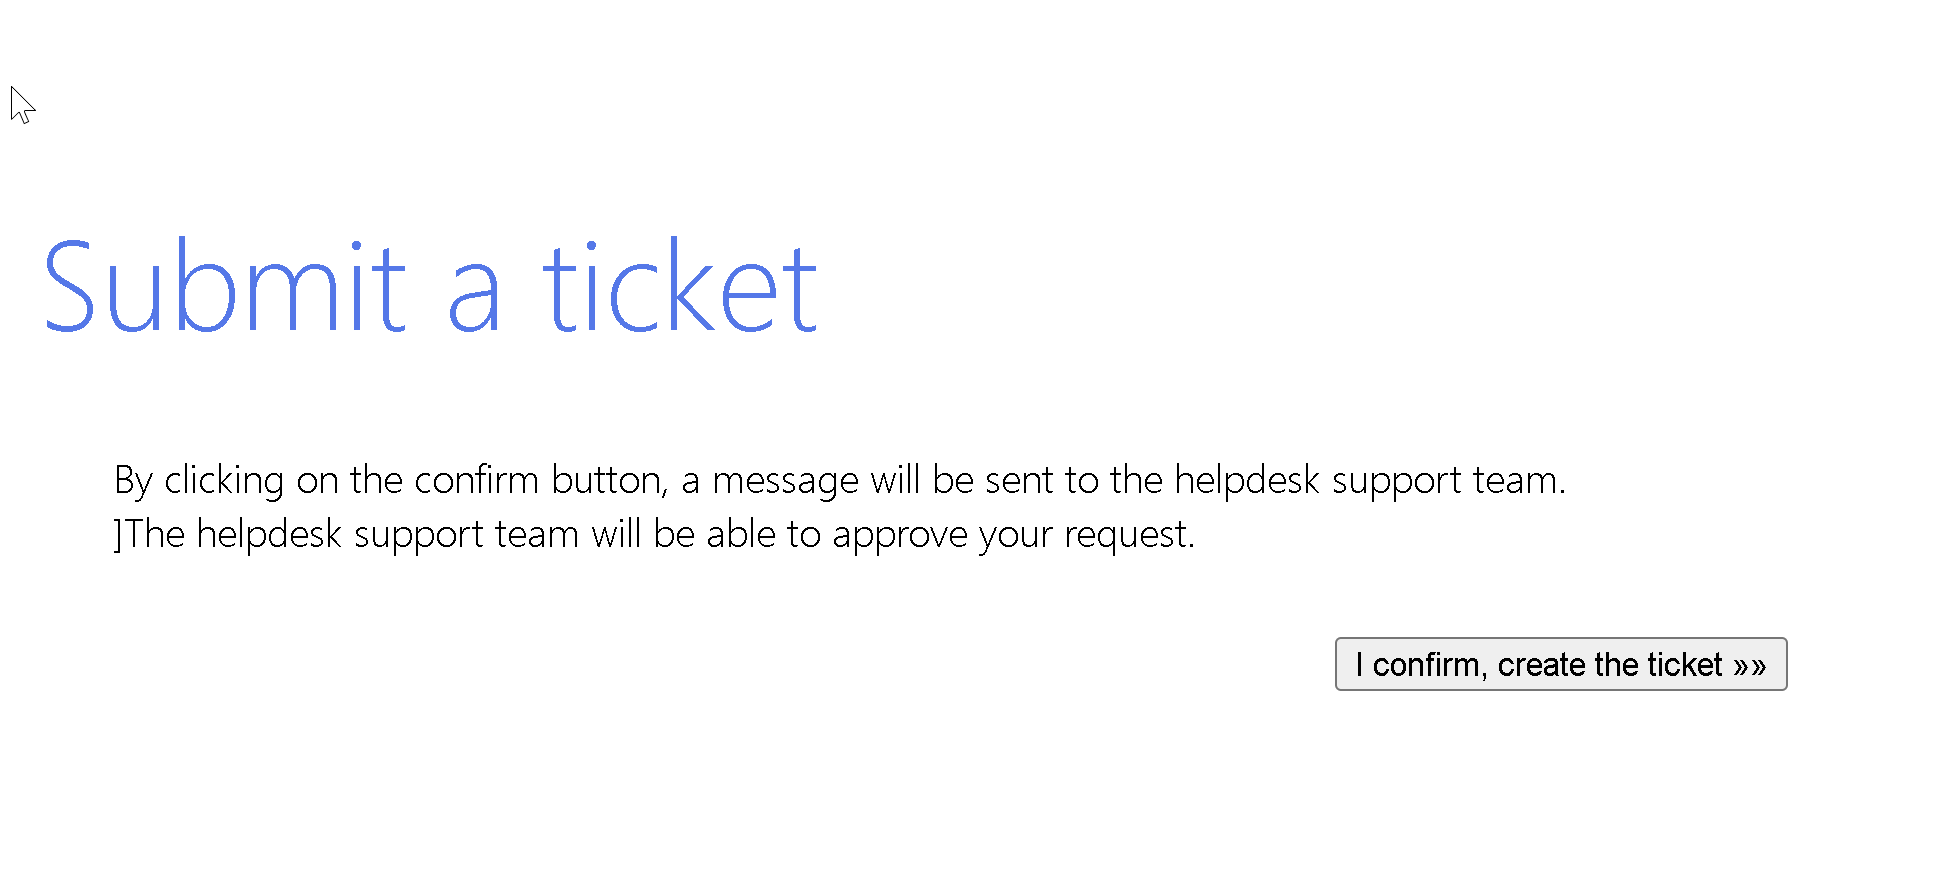

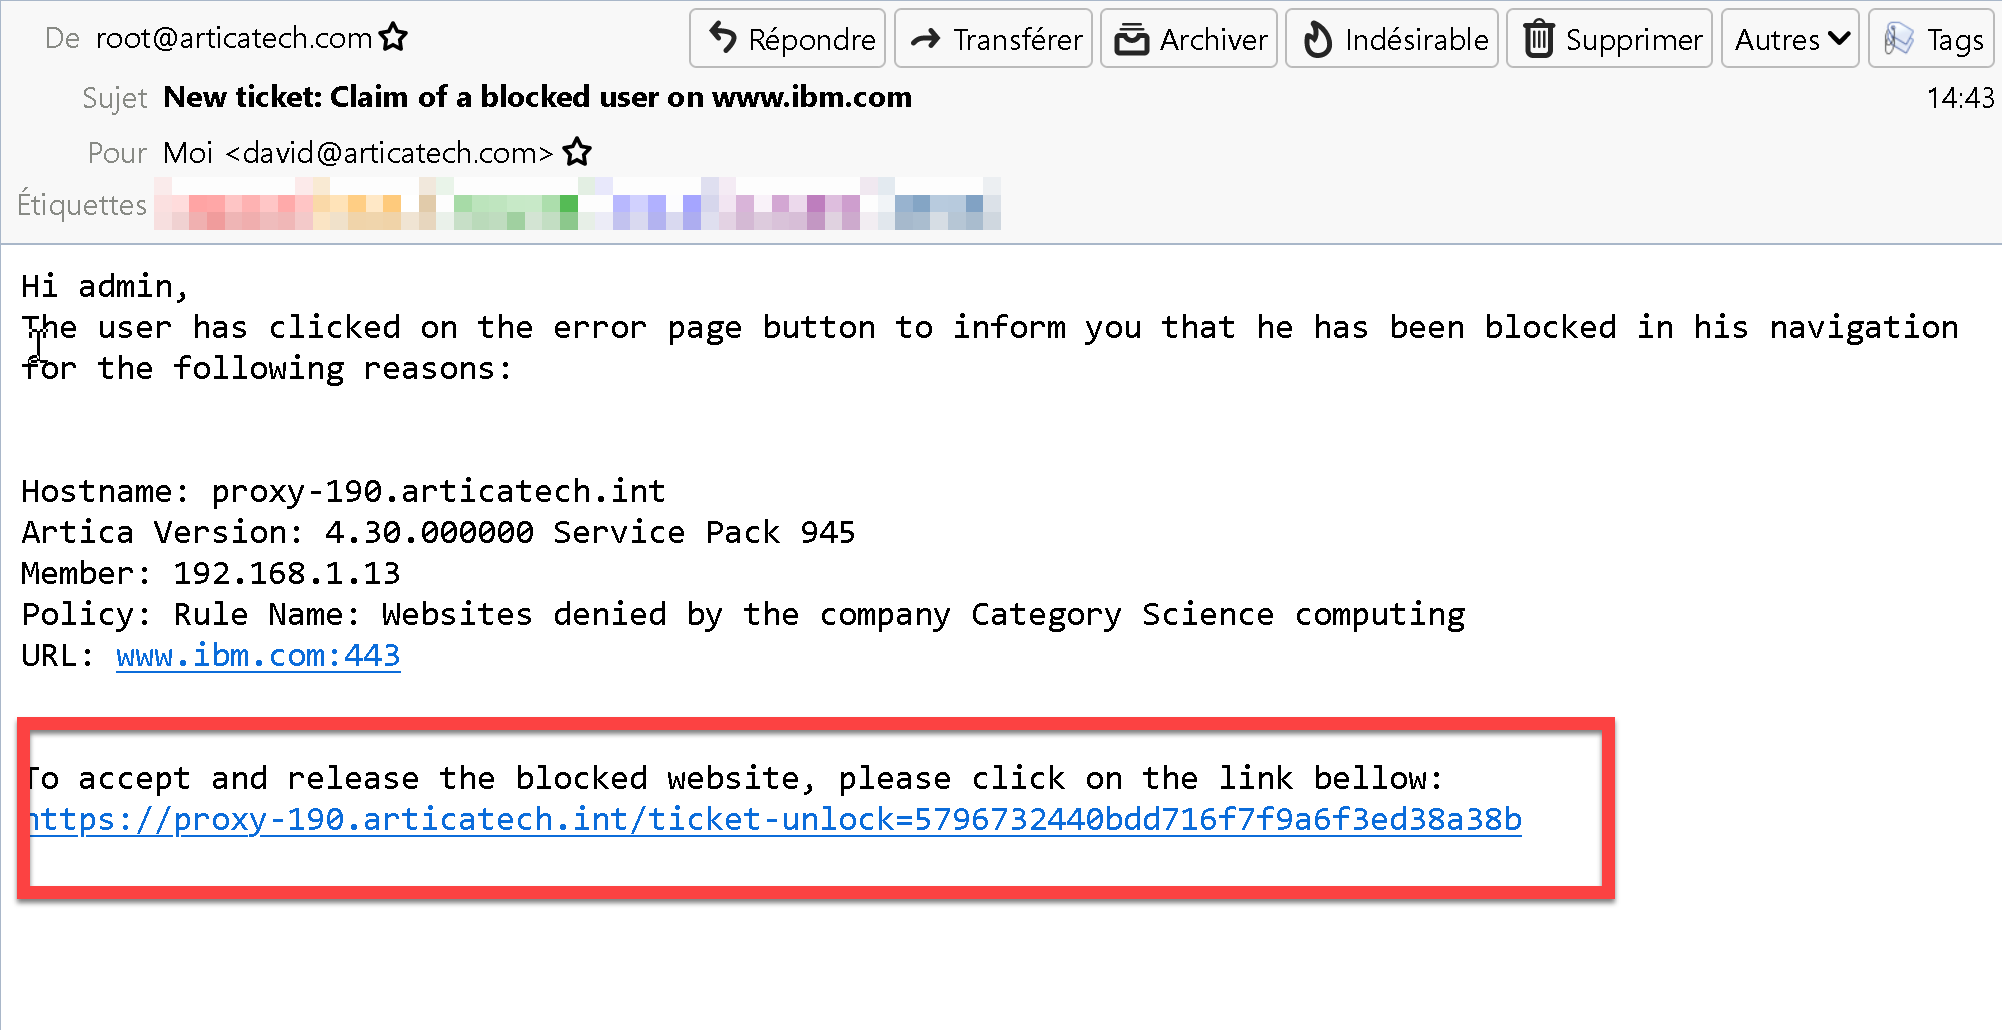
- Also, On the left menu, choose “Filtering service” / “Error page”
- Choose the “Requests list” tab.
- You will see all tickets that are not accepted.
- To accept a ticket, means allow the user's request, click on the “accept” checkbox.
- To refuse the ticket, remove it.
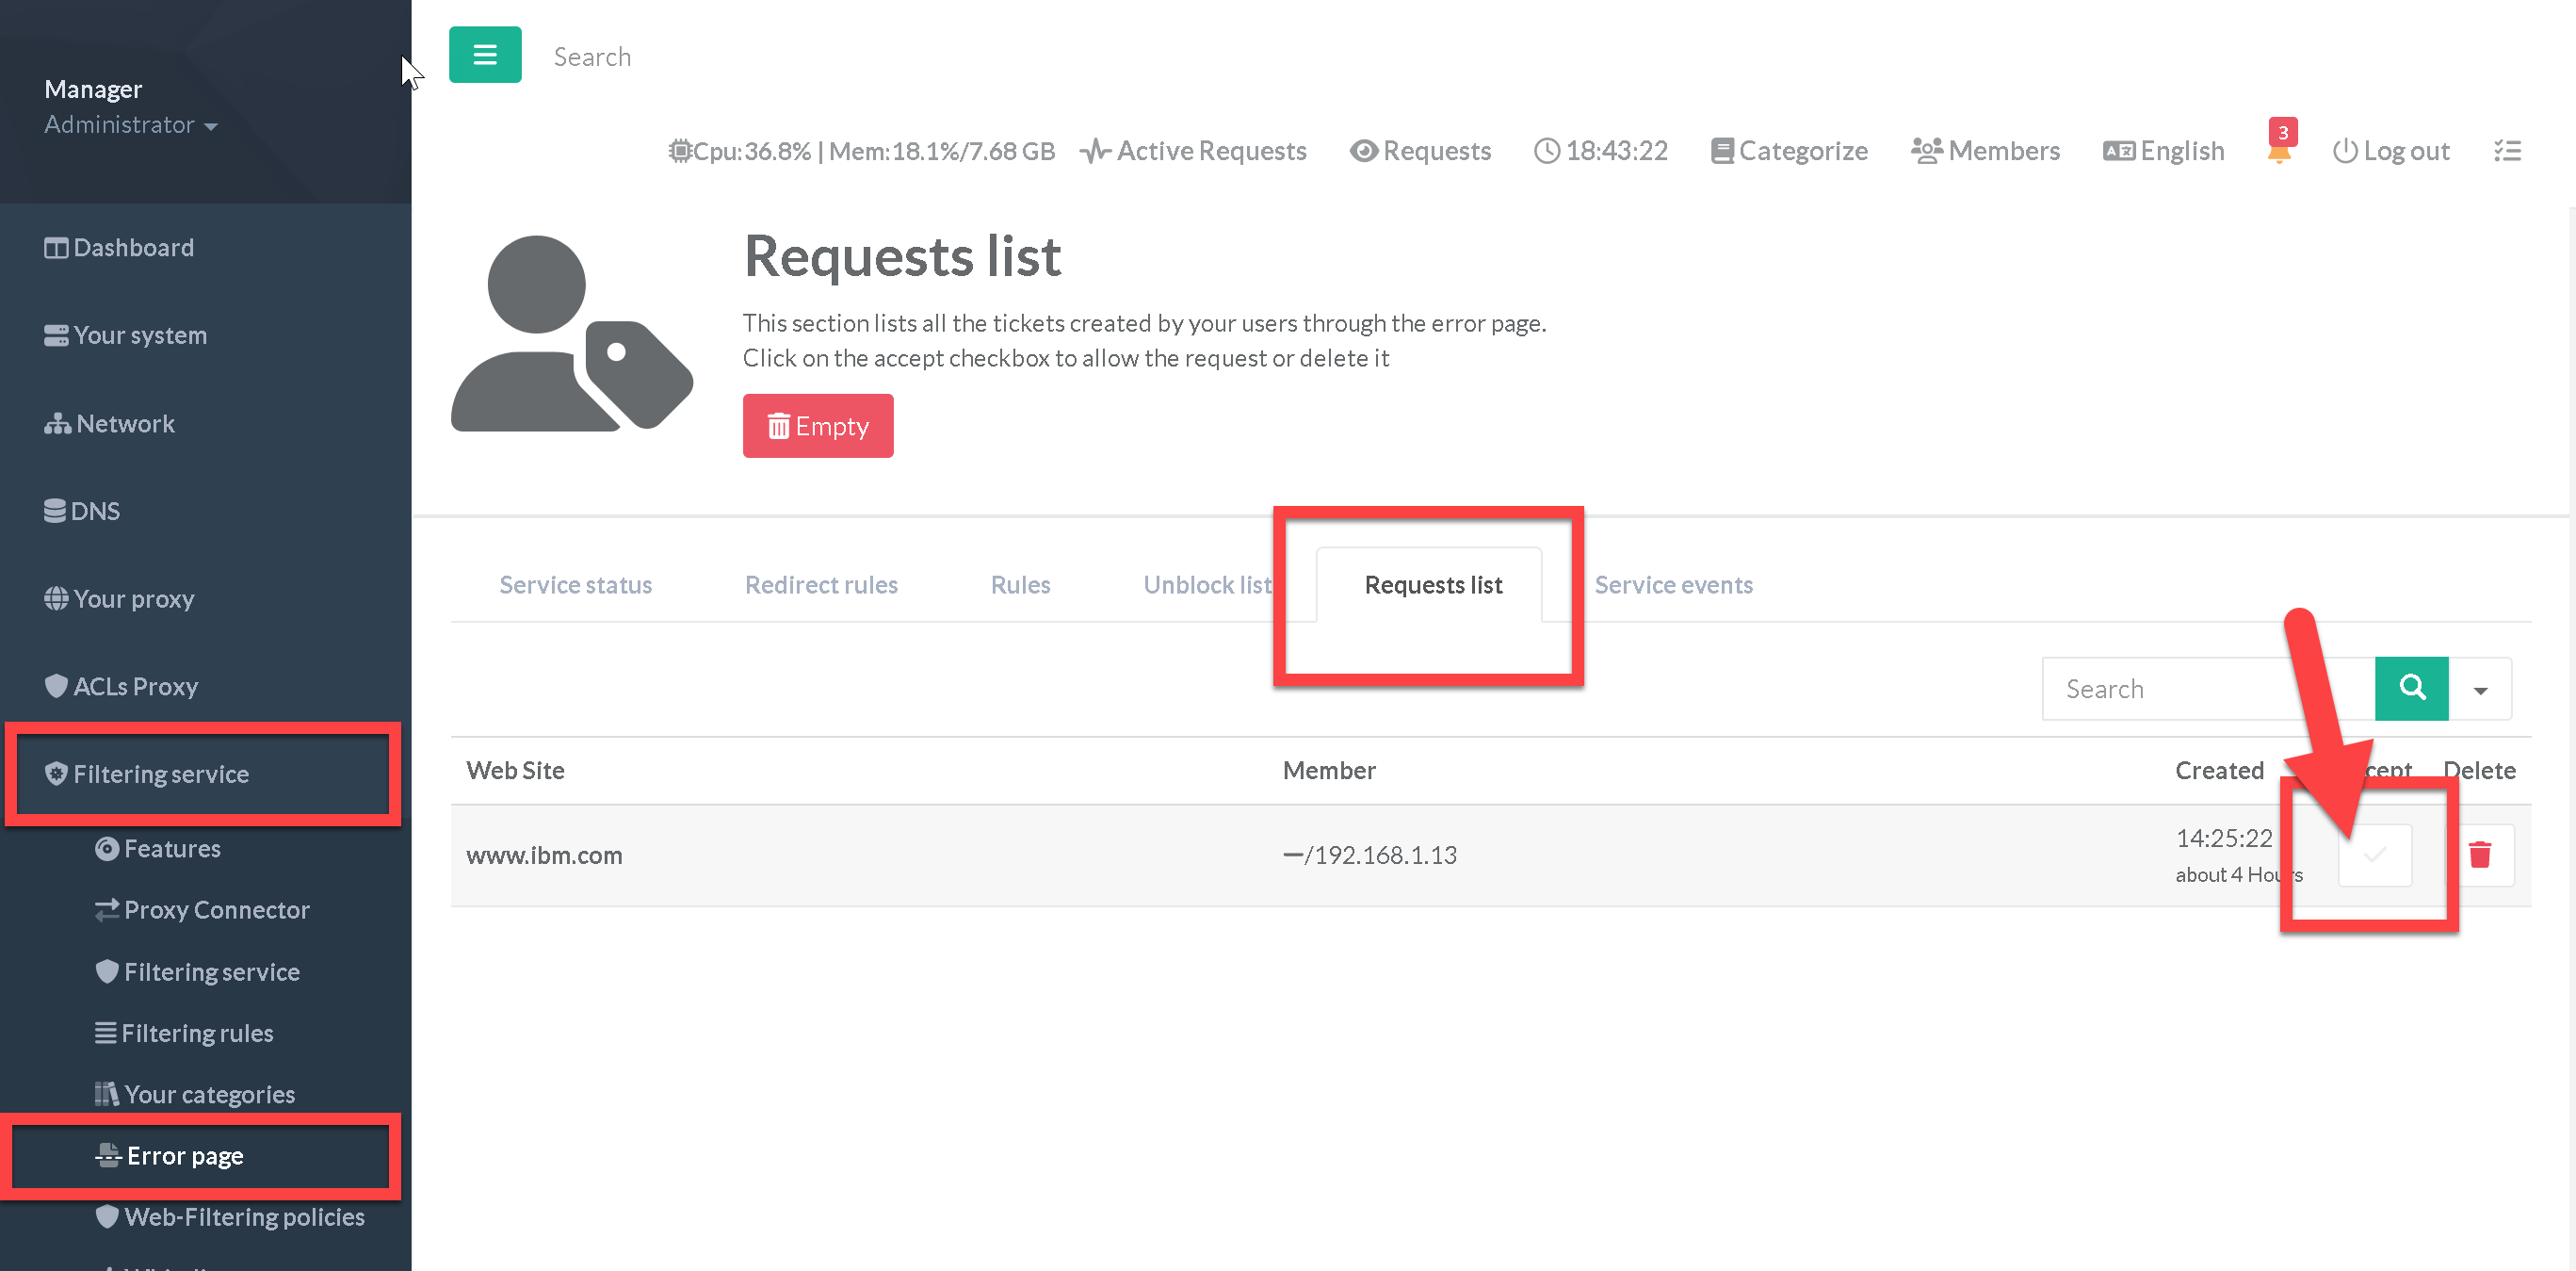
- If the ticket is accepted, the ticket will be moved to the “Unblock list” located in “Filtering service” / “Error page” and Unblock list tab
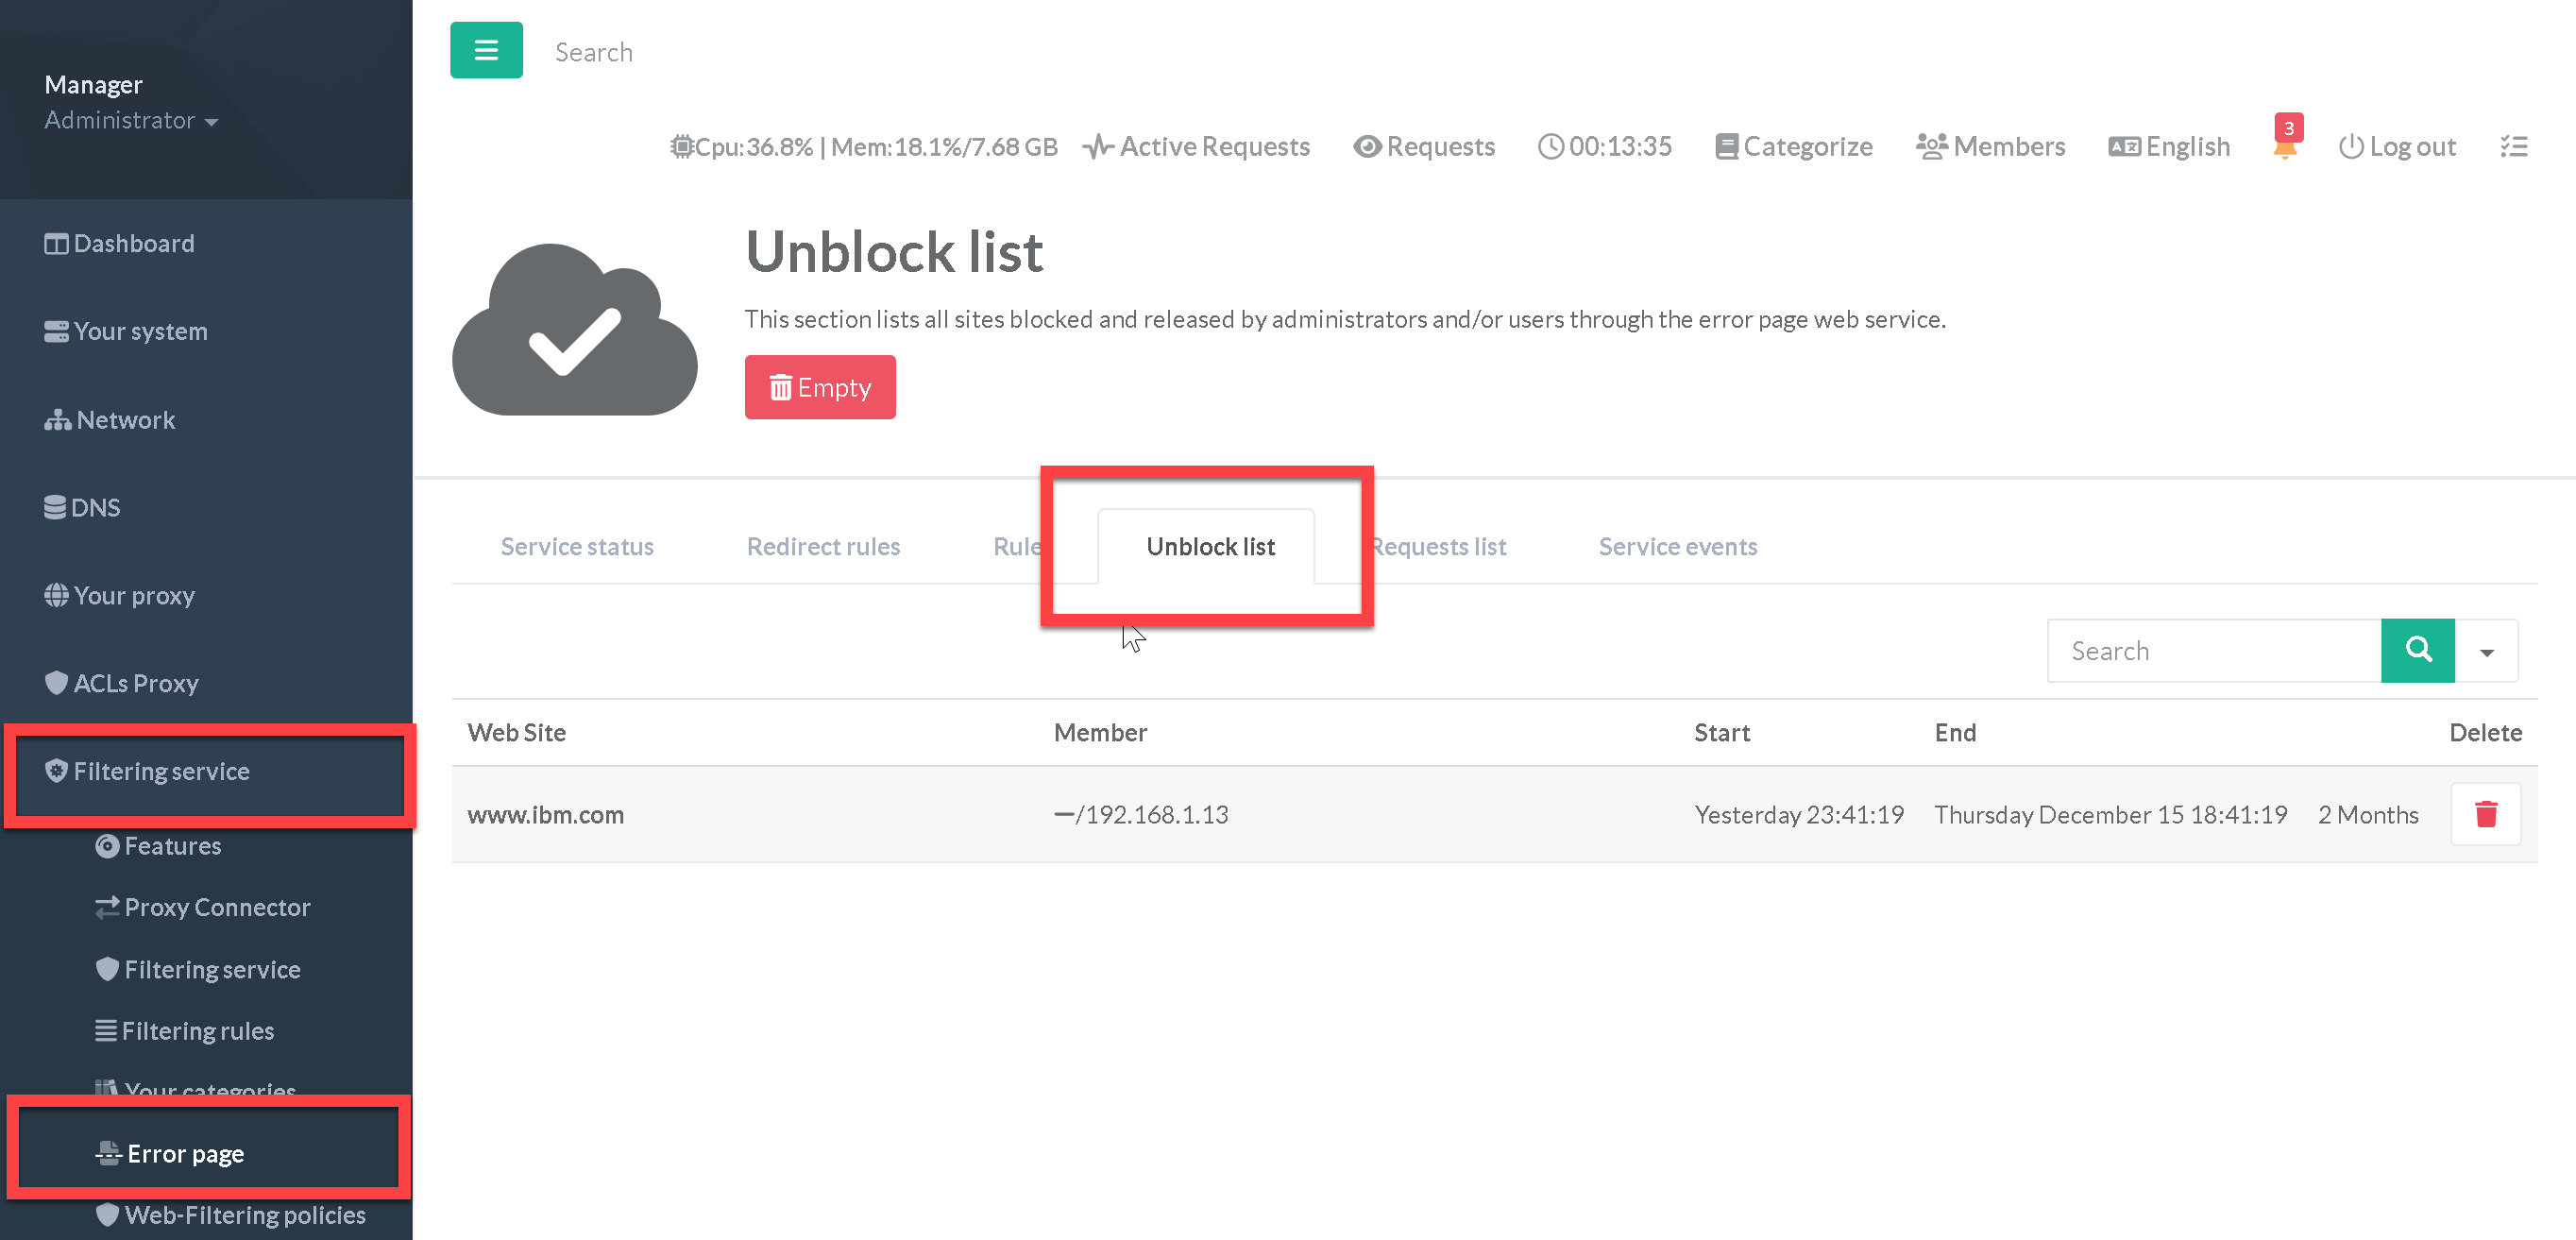
Each whitelist have a limited time (even it is defined as unlimited )
¶ C) Let user unlock the website itself.
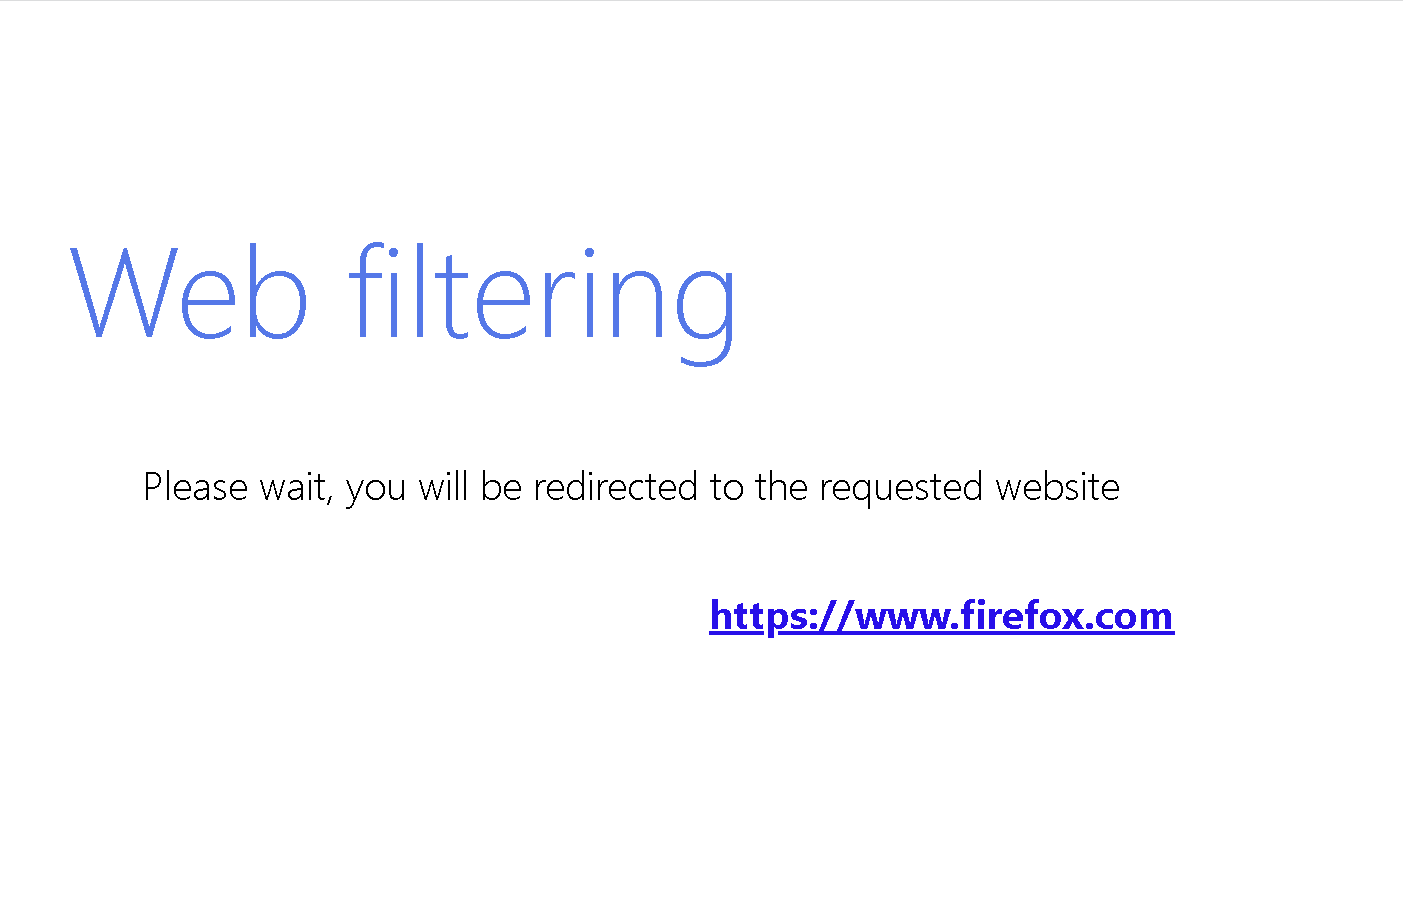
This method allows users who meet the criteria of the source section to unblock websites directly.
If one or more email addresses are specified, a notification of the unblocking will be sent by email.
