This page creates the first repository of the appliance and the bucket it stores its snapshots in.
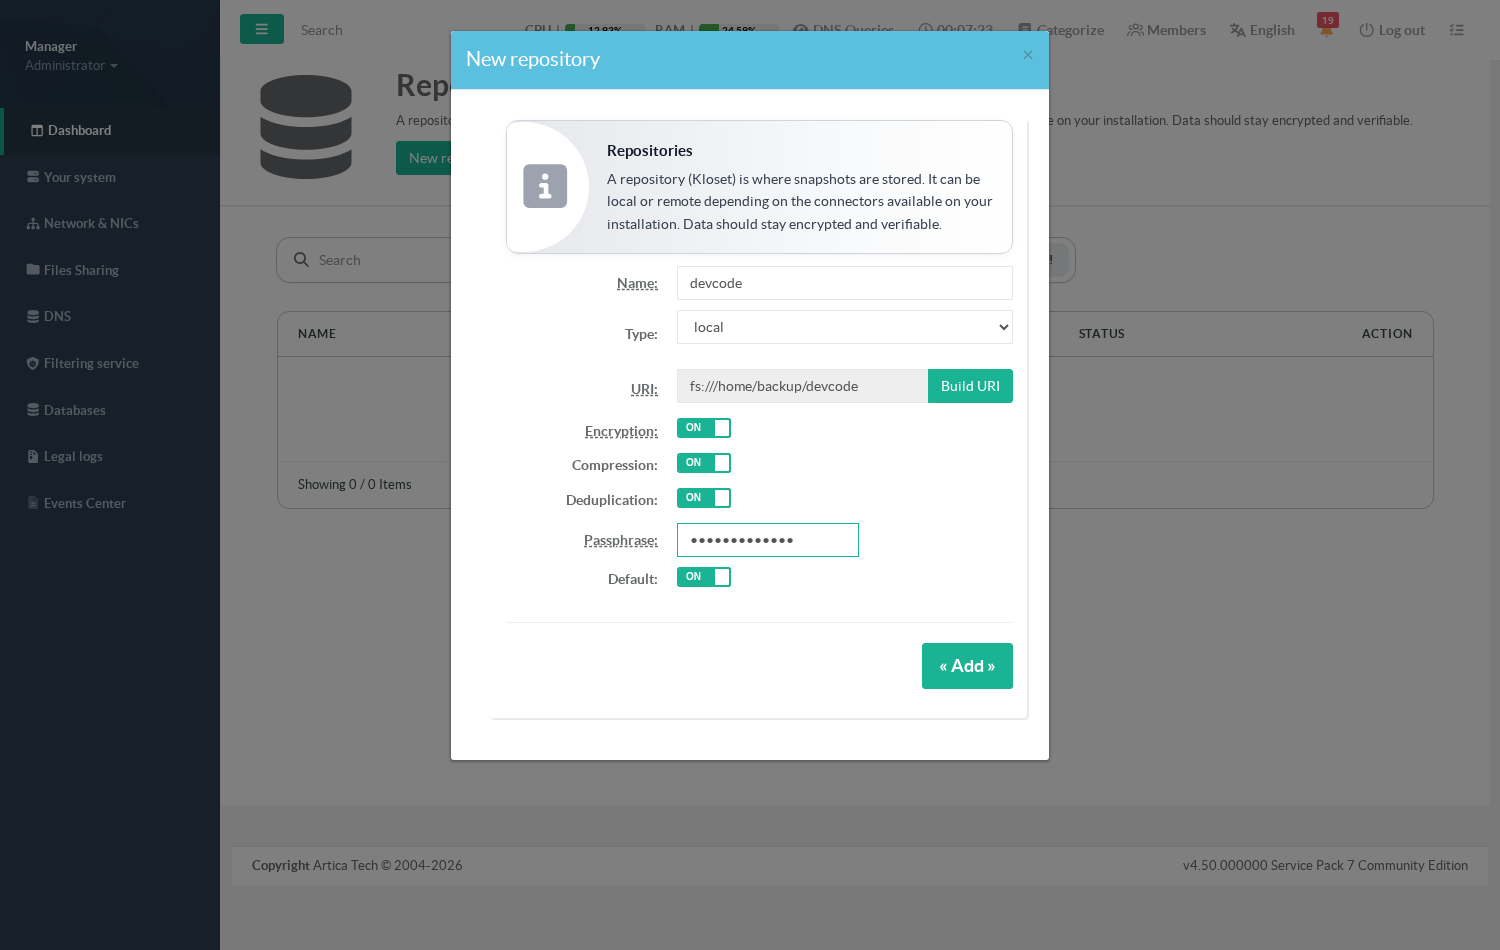
The example uses a local directory/home/backupand a bucket nameddevcode, which gives the repository URIfs:///home/backup/devcode.
Vocabulary: the console calls the object a repository; Plakar calls the store a Kloset.
The bucket is simply the named directory that holds it, so that one storage area can host several independent repositories side by side.
- The bucket directory itself —
/home/backup/devcode— does not need to exist. The console creates and initialises it for you at step 5.
¶ Open the backup service
- Go to
Files Sharing > Backup service. - As long as no repository is designated, the service reports Not configured in grey and offers a single button, Default Repository.
This is expected: the Plakar network server refuses to start until it has a repository to expose.
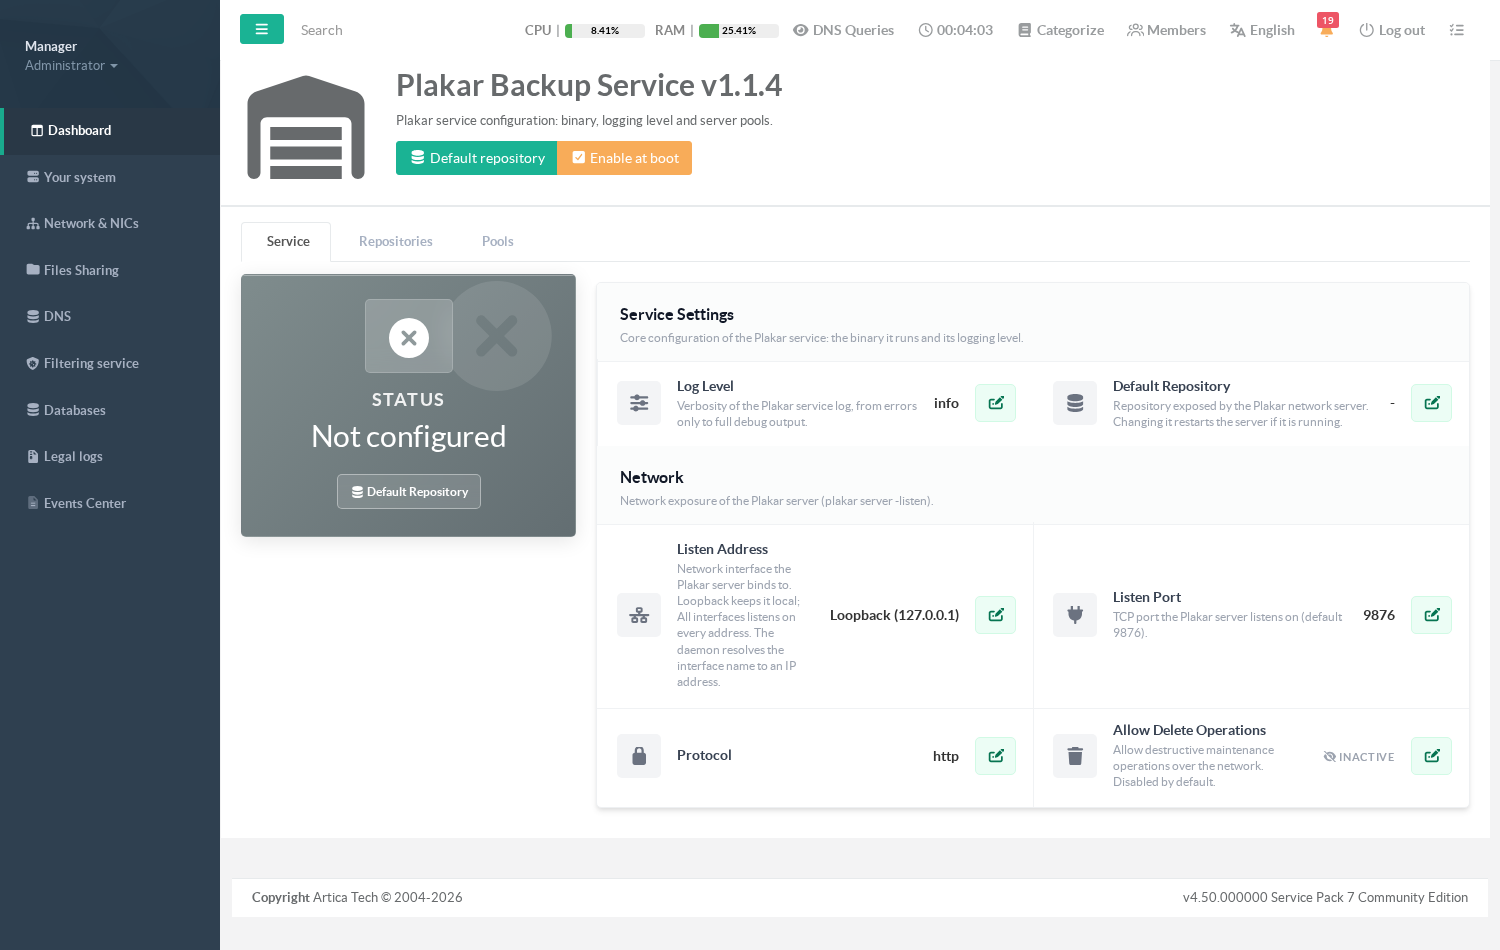
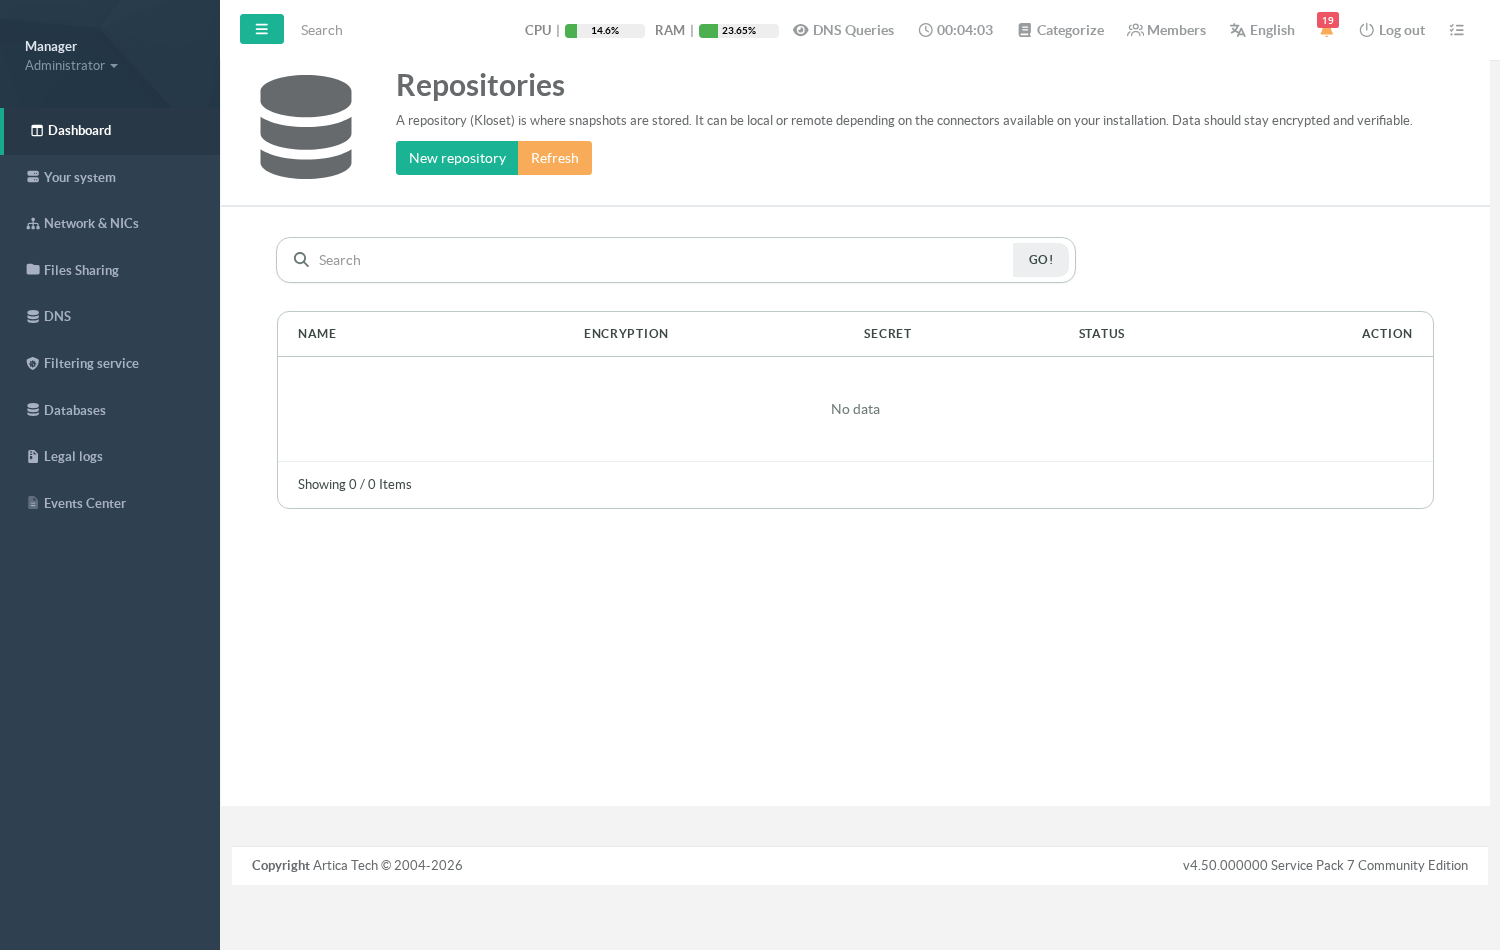
- Open the Repositories tab. On a fresh installation the list is empty.
¶ Create the repository
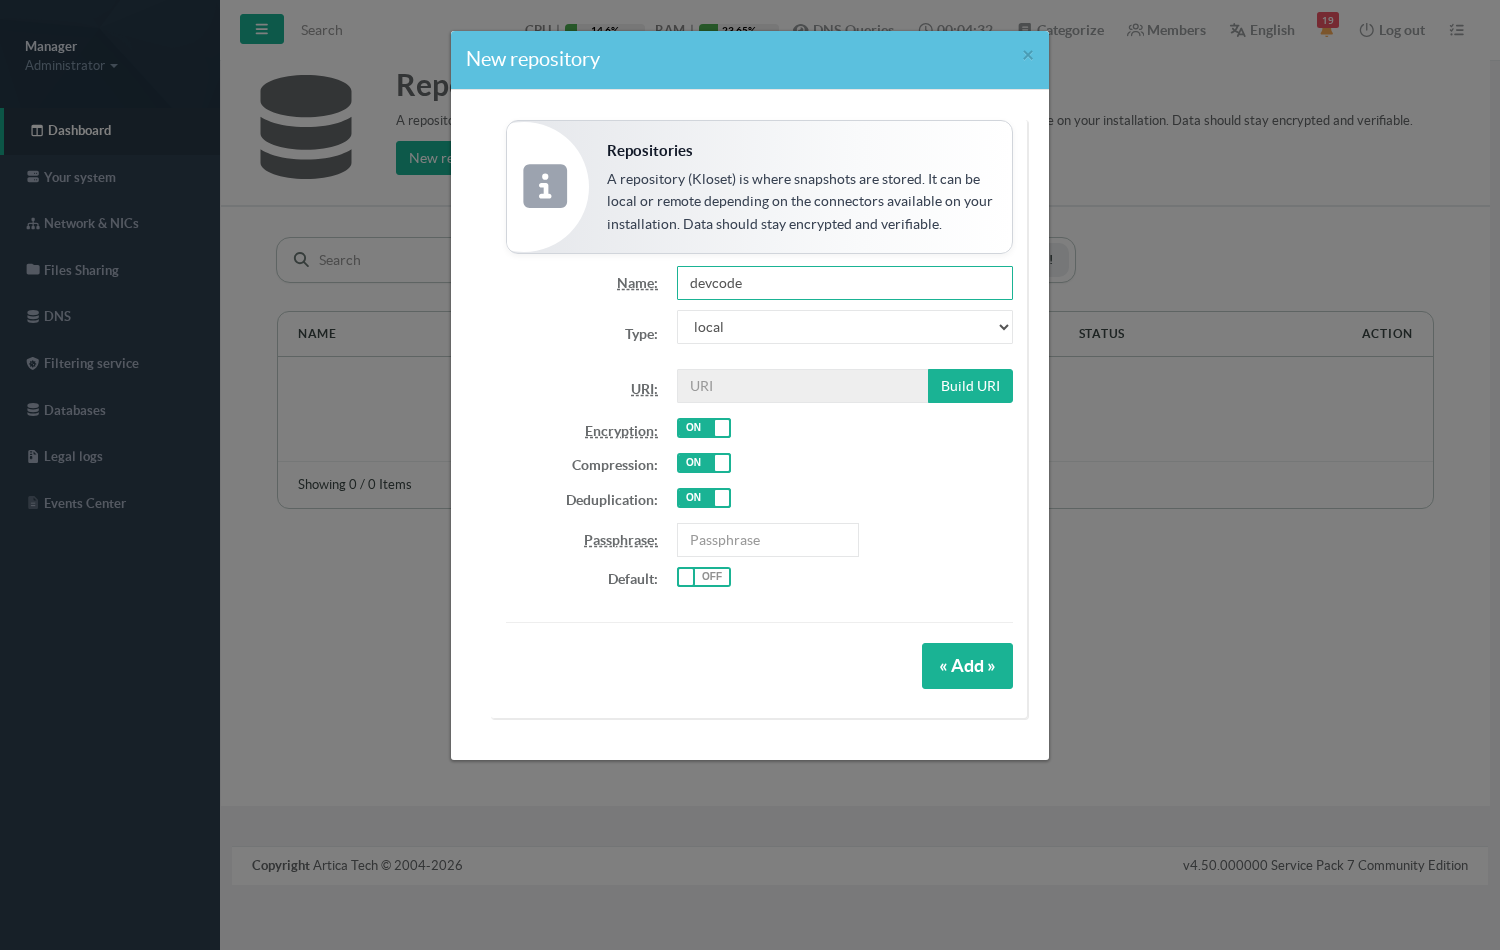
- Click New repository.
- In Name, type
devcode.
This is the label shown everywhere in the console; it does not have to match the directory name, but keeping them identical avoids confusion.
¶ Build the URI
The URI field is read-only on purpose: a malformed URI is the most common cause of a repository that never opens. Click Build URI and let the assistant compose it.
- Choose Local filesystem and click select.
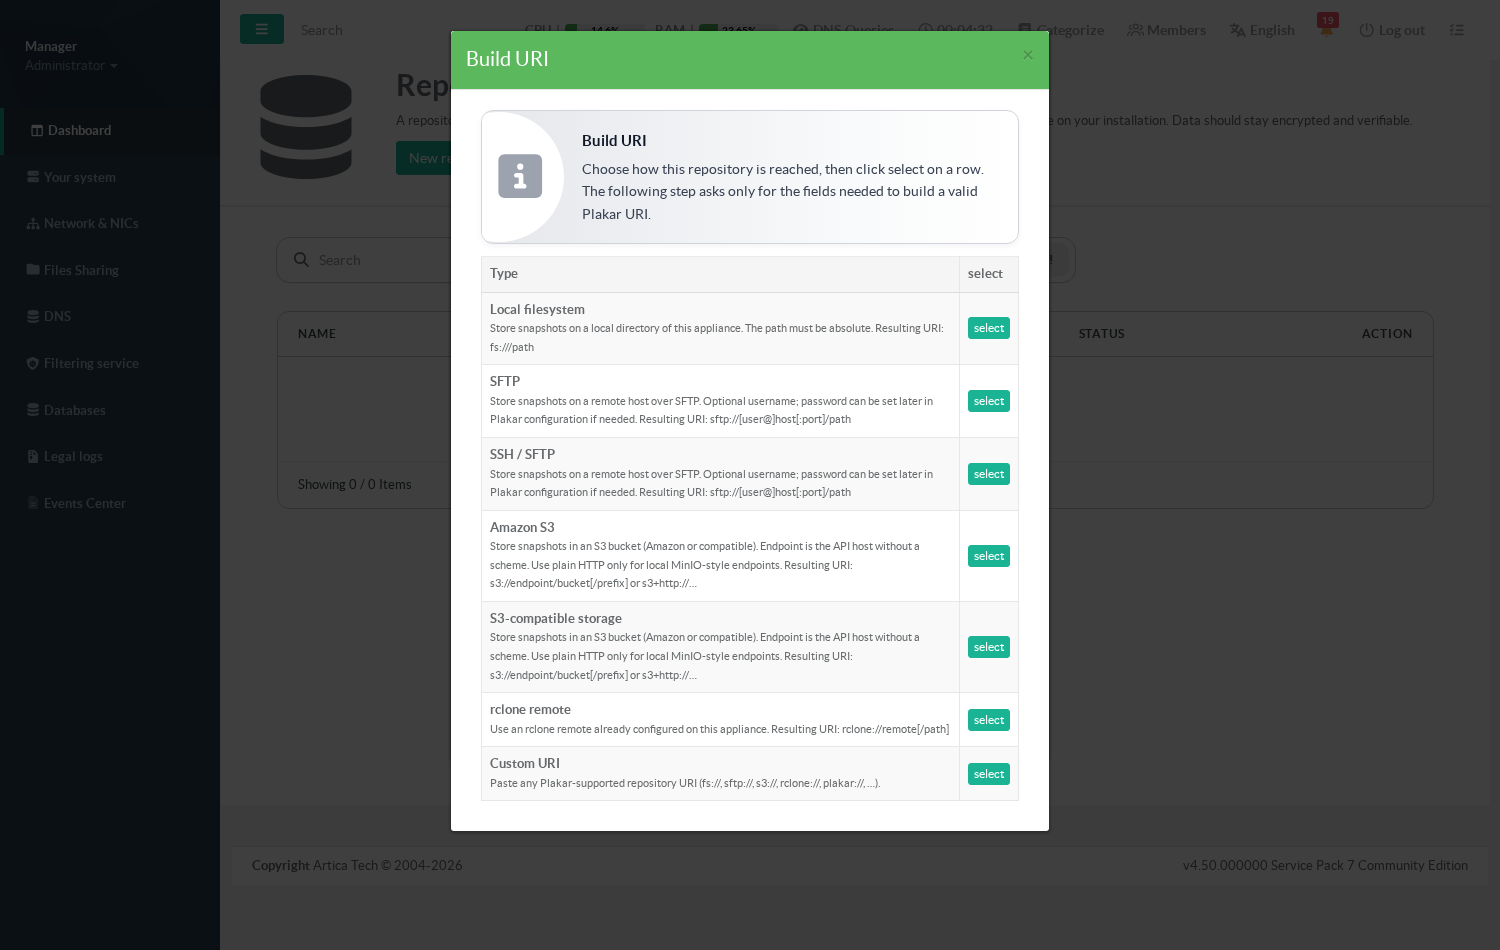
- Type the absolute path of the bucket,
/home/backup/devcode, then click Finish.
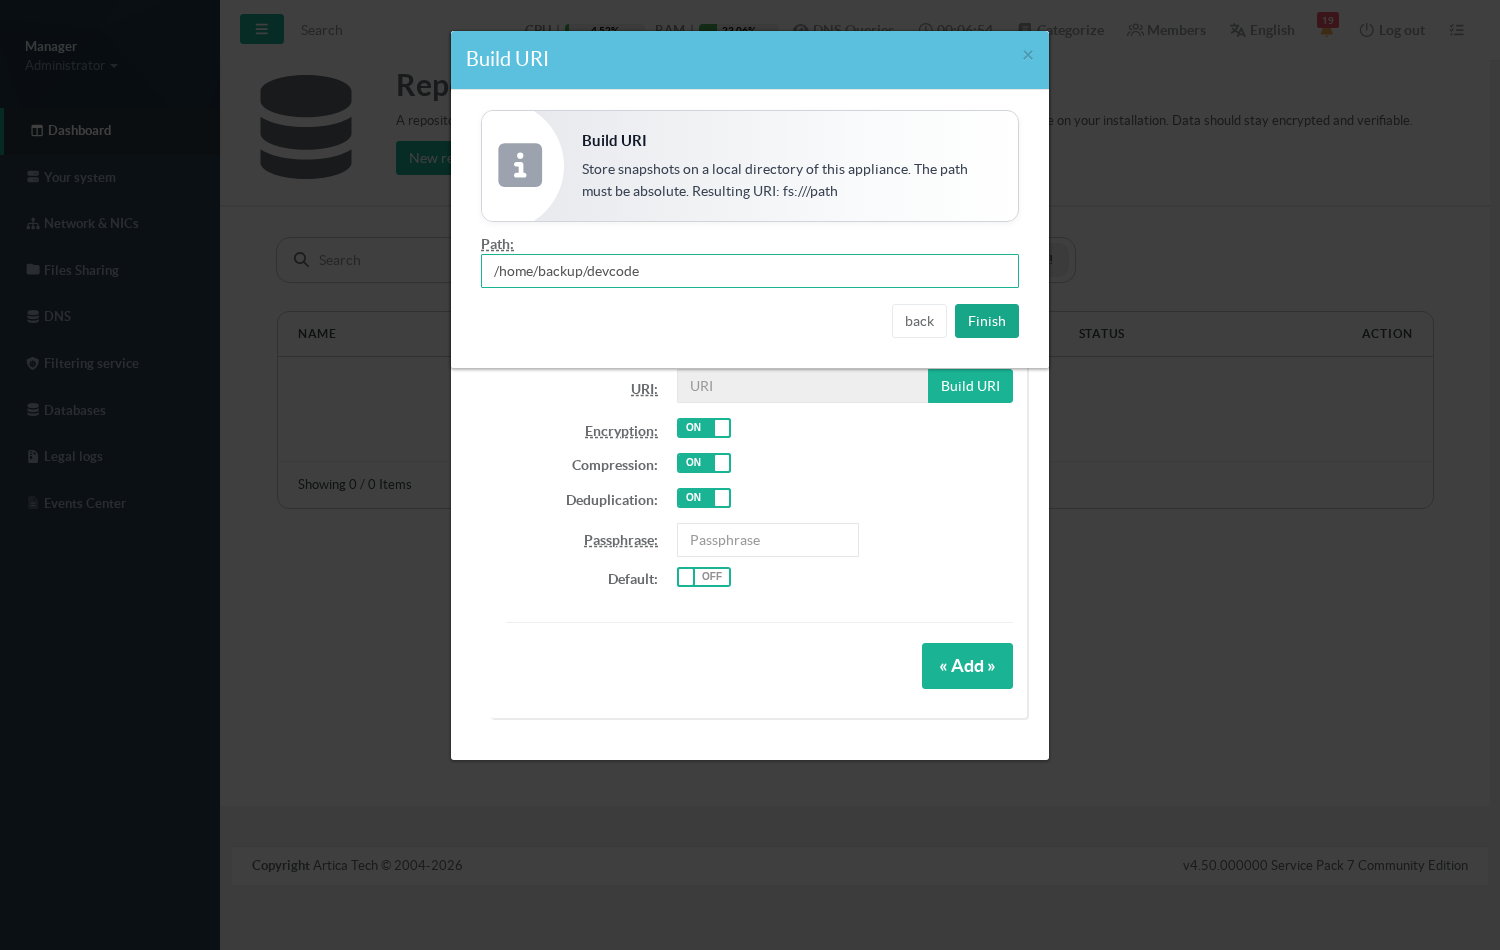
The assistant writes fs:///home/backup/devcode back into the form and aligns the repository type accordingly.
¶ 5. Set the passphrase and apply
- Leave Encryption, Compression and Deduplication on.
- In Passphrase, type
devcode-12345. - Turn Default on: this designates the repository the Plakar network server exposes.
- Click Add.
Keep the passphrase outside the appliance.
It is what protects every snapshot the repository holds.
Plakar has no escrow and no recovery: if the passphrase is lost and no copy exists, encrypted snapshots are unreadable, permanently.
The appliance does seal a copy in its own secret store, but that copy is bound to this host — it does not survive a rebuild on new hardware.
¶ 6. Initialise and verify
Adding the repository only records it. The Kloset store on disk is created by the check action.
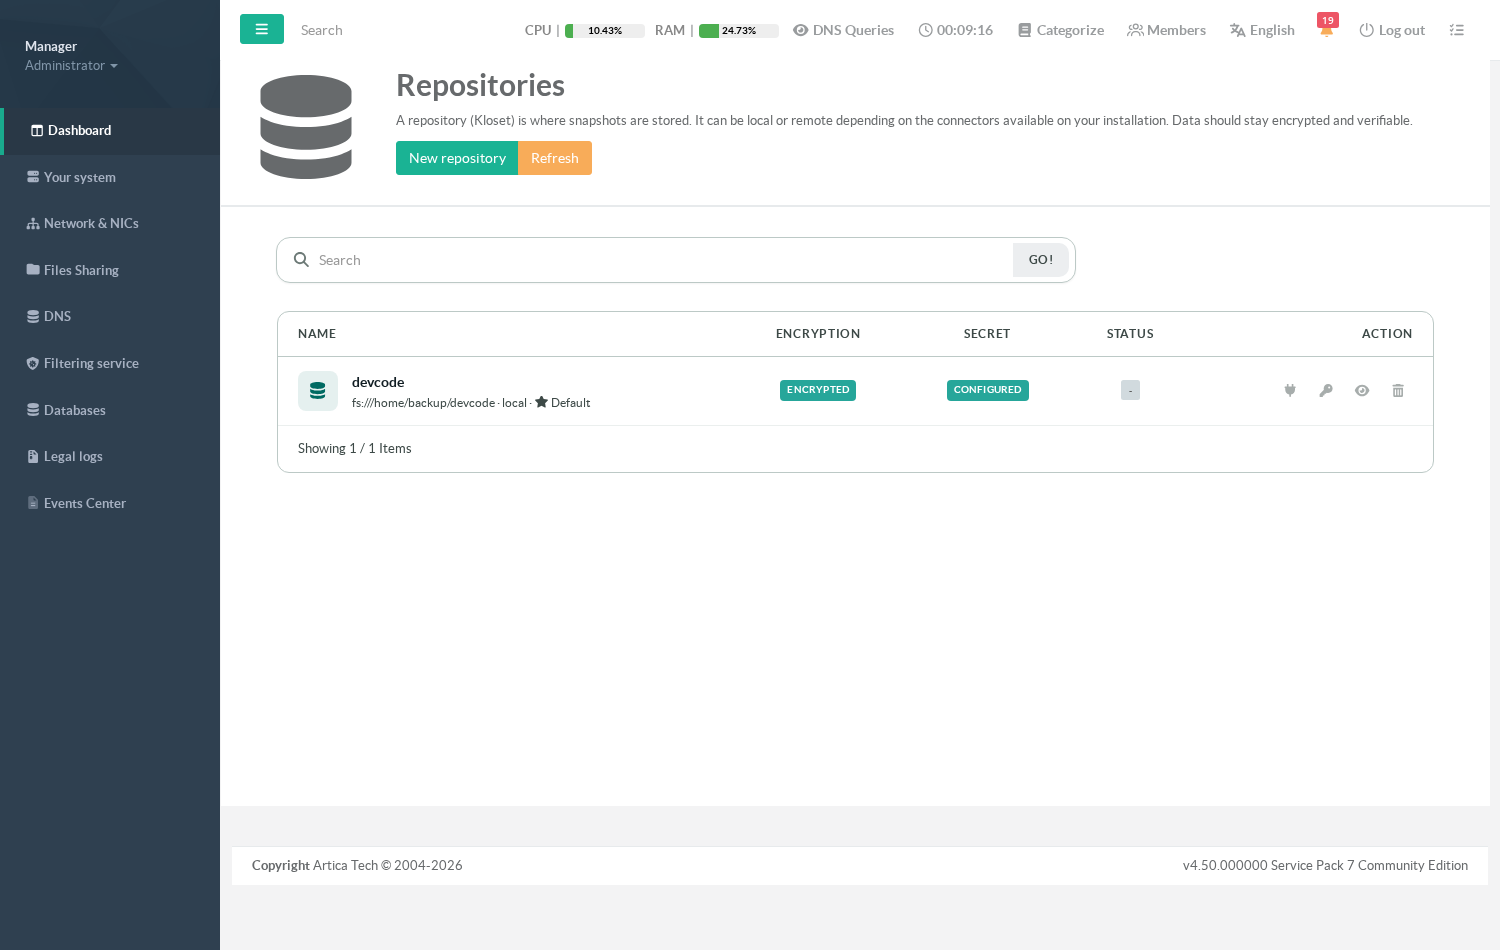
- On the repository row, click the plug icon (Check). The console creates
/home/backup/devcodeif it does not exist, then opens it to confirm it is readable. - The Status column turns to ok.
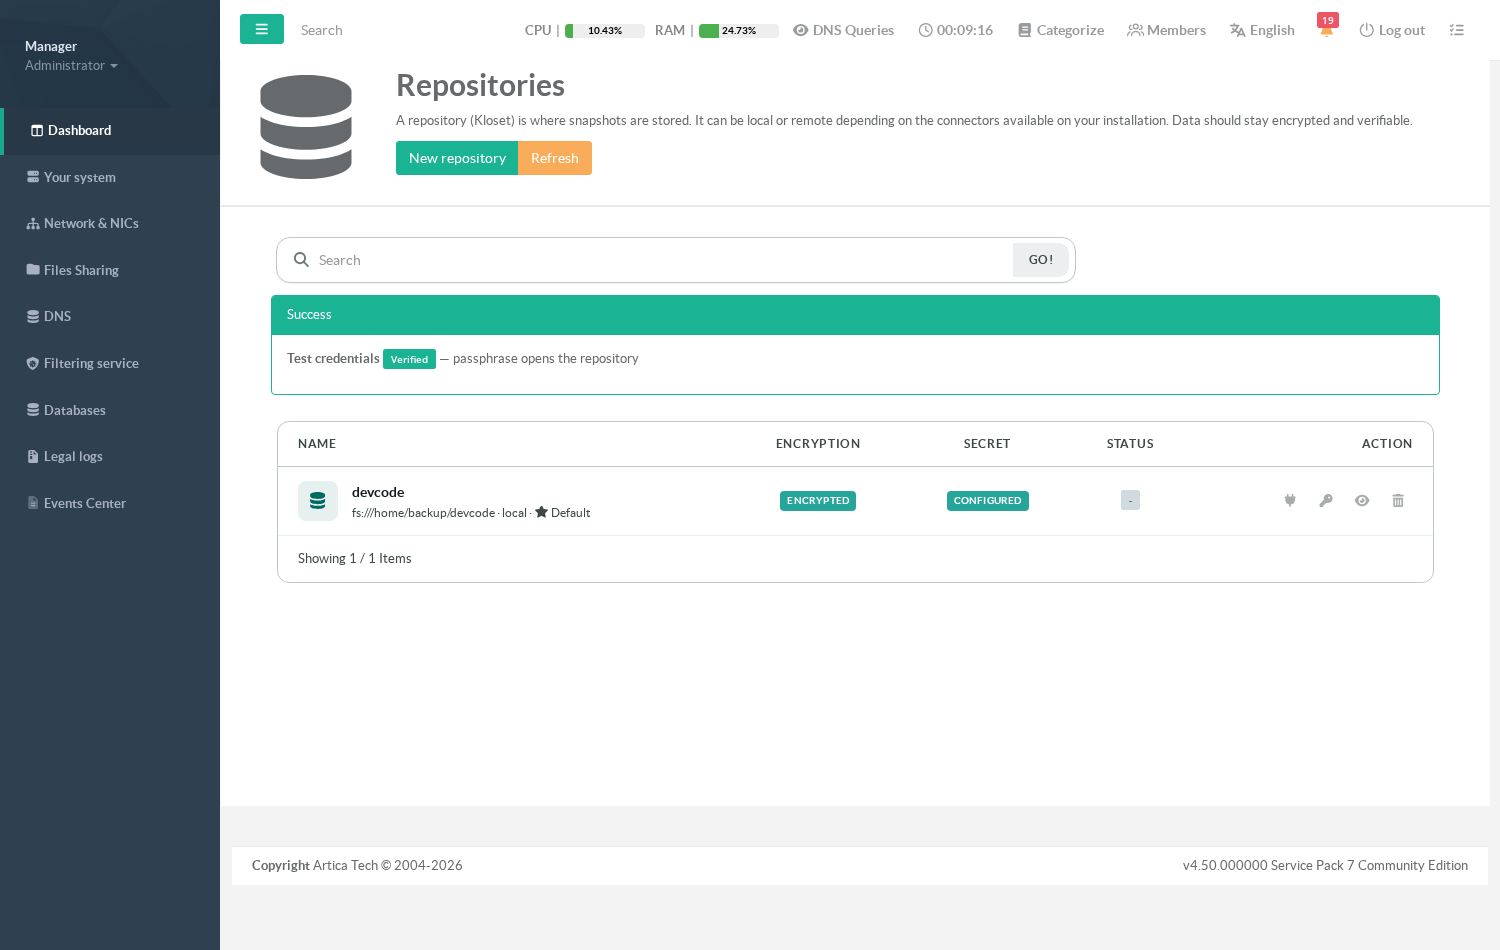
- Click the key icon (Test credentials) to confirm that the stored passphrase decrypts on this host and actually opens the store.
On the appliance the store now looks like this:
ls -la /home/backup/devcodeCONFIGlocks/packfiles/
¶ 7. The service is now configured
Back on the Service tab, the widget is no longer grey: the repository is designated, so the Plakar service can run and Default Repository shows devcode.
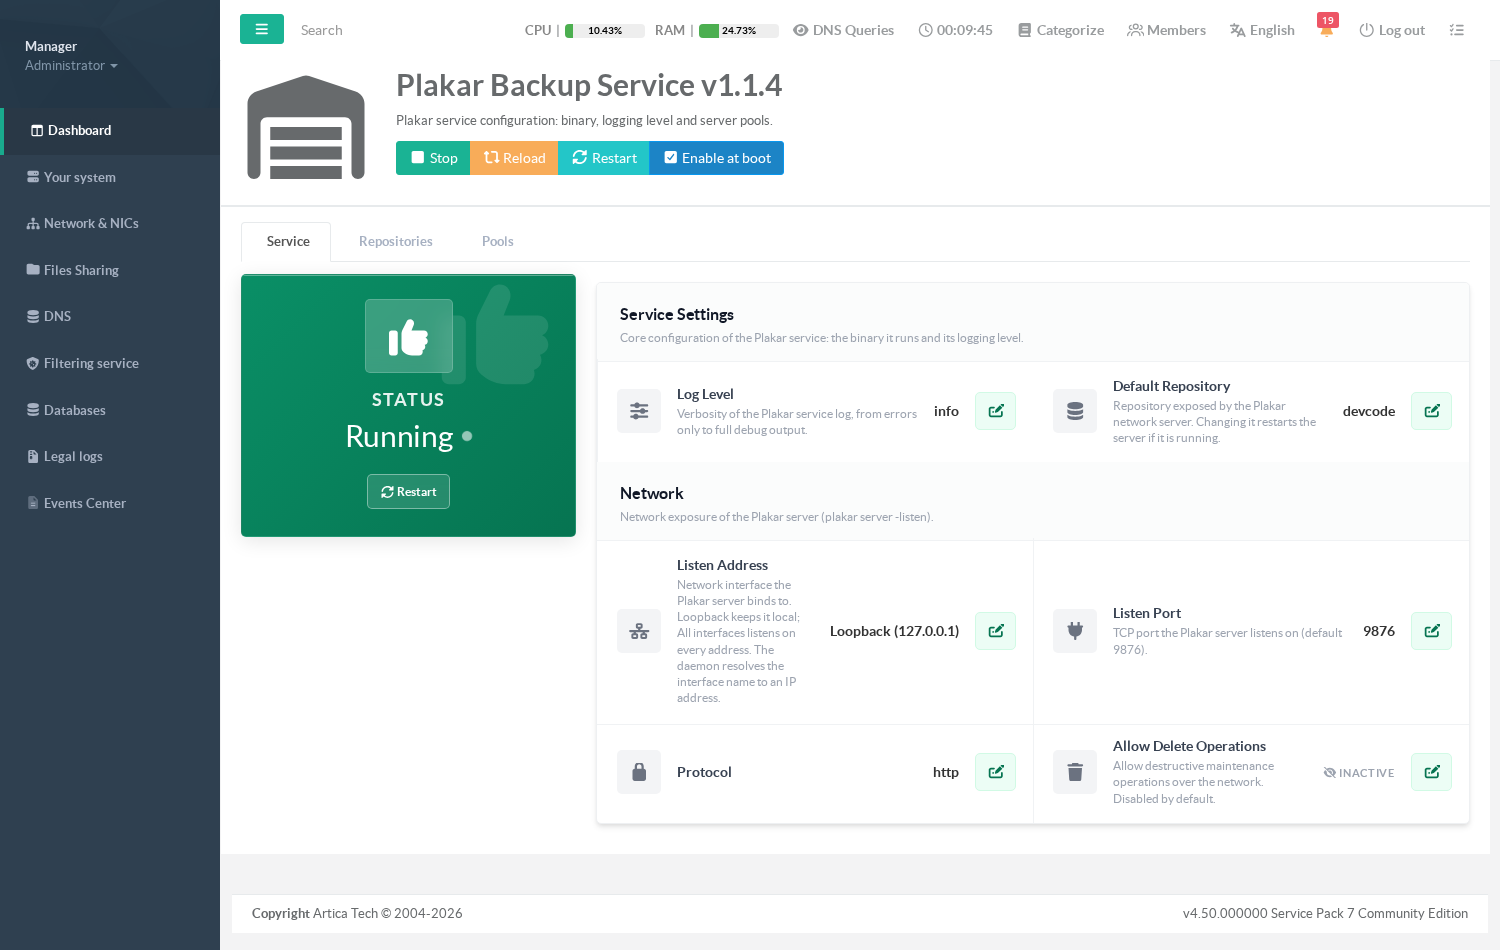
- Use Enable at boot so the service comes back after a reboot.
¶ Troubleshooting
- « invalid server config: no enabled default repository to expose » — no repository is both default and enabled, or its URI is empty.
Turn Default on for the repository you want the server to expose. - Status stays empty after Check
The path is not writable, or the parent directory does not exist. Create the parent by hand and check again. - « passphrase cannot be decrypted on this host » — the secret store of the appliance was restored from another machine, or its master key changed. The passphrase must be entered again on the repository.
¶ Next steps
- Declare a source and a job from
Files Sharing > Backup clientto start writing snapshots into this repository. - Back to Backup via Artica NAS