A connector link 2 networks Interfaces in order to make a communication bridge between 2 networks.
This section allows you establish a basic NAT (Network Address Translation) and activate port forwarding in order to make your Artica as a "router".
Basically the "Source network card" is your local network interface and the "Destination network card" is your Internet connection.
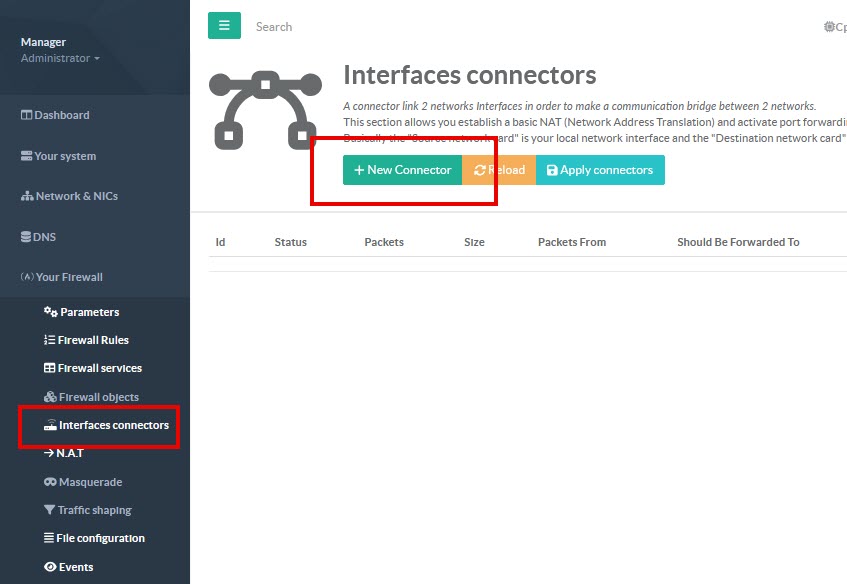
On the left menu, choose Your Firewall > Interfaces connectors
Click on the button New connector

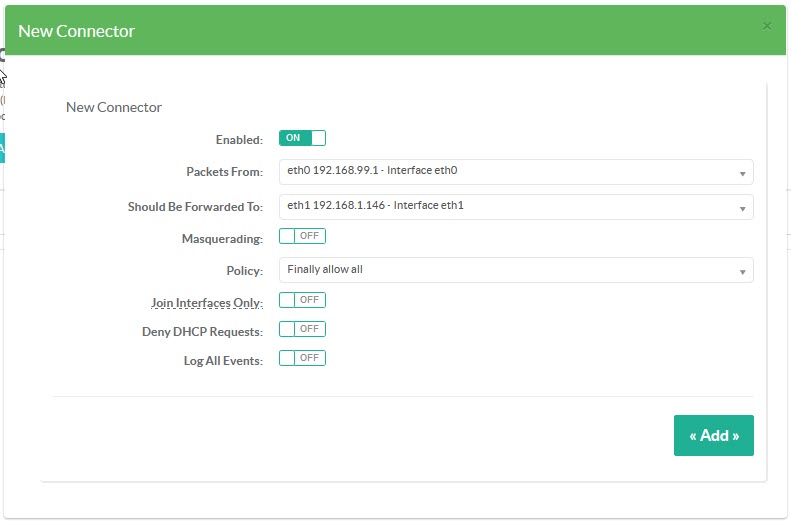
- Set the network interface that receive TCP packets in
Packets fromdrop-down list and the Network and the network Interface that will receive packets in “Should be forwarded to” drop-down list

- Masquerading:
When masking is enabled, the firewall modifies the source IP address of outgoing packets so that they use the IP address of the outgoing interface (for example, the public IP address of the gateway).
When a response is received, iptables performs reverse translation to restore the packet's original source IP address.
- Policy:
Specify the default policy applied to this network bridge.
If the policy is "Finally allow allow", then you must only create forbidden rules: everything that is not forbidden is allowed.
Otherwise, everything is denied and you must create allow rules.
- Join Interfaces only:
If checked, you just join communication between defined interfaces but not allowing to create default Firewall rules or allow to create rules on this bridge.
- Deny DHCP requests:
This is a simplification option.
If you omit rules, DHCP requests may pass through the bridge and network nodes may be assigned an IP address you don't want.
- Log all events:
Logs packets passing through the bridge in firewall events
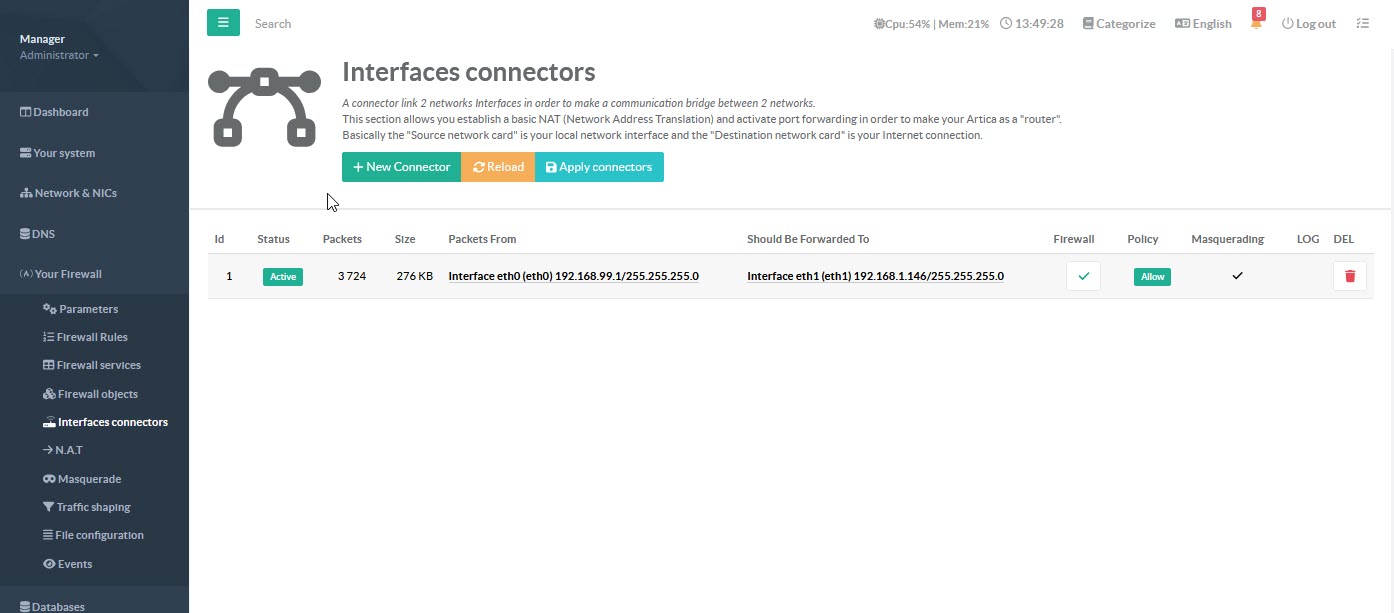
Once your connector has been created, you can view the number and size of packets transferred in real time.
